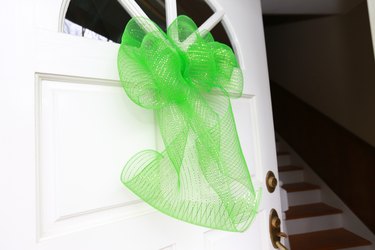
Whether it's for door decoration or as a present topper, mesh is a perfectly pliable material to use when making decorative bows. With just a few supplies, you'll be able to master mesh bows in no time.
Things You'll Need
Video of the Day
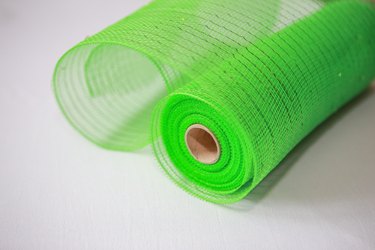
- 10-inch poly mesh ribbon
- Scissors
- Twine or wire
Video of the Day
Step 1
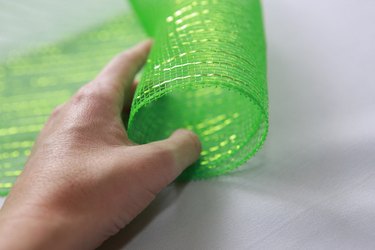
Make a tube out of the mesh. It will be about 2 inches in diameter and will serve as the center of your bow. Fold the ribbon over itself so the tube is double layered. This will make the last step easier—your ends won't slip out.
Step 2
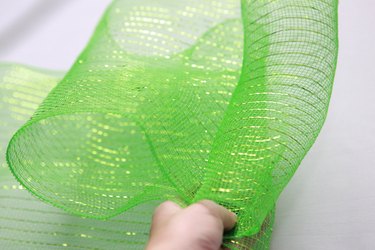
While holding the tube in place, pull the ribbon out a few inches and layer behind your center tube. It is about 2 inches out, depending on your preference. Wrap the end to the other side of tube to repeat this step.
Step 3
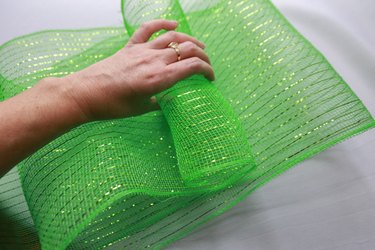
Continue step 2 until you have two loops on either side of the center tube. Bring the ribbon around the back each time. You can add more loops if you want to make the bow fuller and larger. In this version there will be five loops including the center one.
Step 4
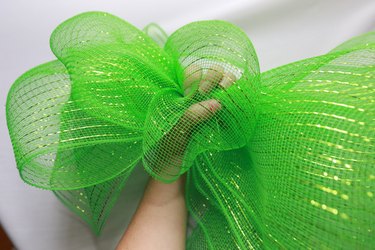
Gather up the ribbon with your index finger and thumb. Grab the ribbon around the back of the stack you made and clasp inside the center loop. Bunch up the ribbon to prep for fastening.
Step 5
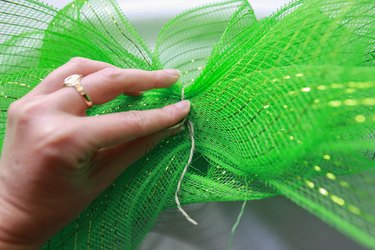
With some craft wire or twine, loop through the middle and tie securely on the back of the bow. Trim the end of the ribbon. If you want your bow to have two traditional tails, cut a second piece and attach it to the back of the bow, tucking it under the craft wire or twine knot.
Step 6
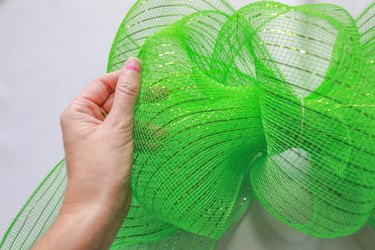
Fluff and adjust the loops on the bow. They may have become uneven in the process of tying all this mesh ribbon together. Adjust gently so you don't pull out any of your work.