Things You'll Need
Cardboard
Craft knife
Craft glue
Packing tape
Spray paint

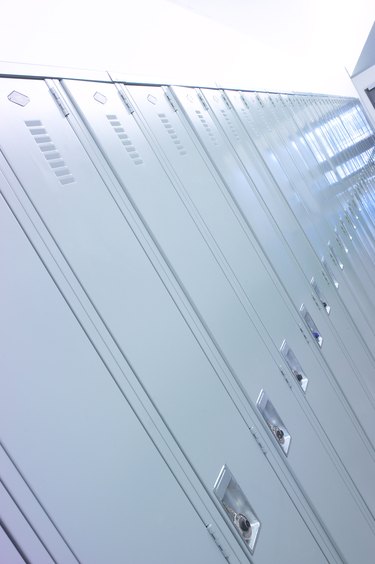
Schools lockers are often associated with high school, making lockers a perfect prop for a play or skit set in high school. Luckily, it is not necessary to haul steel lockers onto the stage to create a locker room or locker-filled hallway setting; you can use cardboard and no one will know the difference. Cardboard lockers can also be used for school-themed parties, or for adding a bit of nostalgia to the decor of a room.
Cutting The Pieces
Step 1
Lay out a piece of cardboard at least 76 inches tall and 32 inches wide. Appliances boxes work well for this. You can save old appliance boxes or ask a local appliance store to donate them to your cause. Don't worry if there is a crease or fold in the cardboard.
Video of the Day
Step 2
Draw two rectangles on the piece of cardboard. Each rectangle should be 76 inches tall and 16 inches wide. Use a craft knife or a pair of sharp scissors to cut out the rectangles.
Step 3
Cut out a 2-inch-by-2-inch square from each corner of the two rectangles. Fold the cardboard from the edge of one cut-out square to the edge of the adjacent cut-out square. Your result will be two cardboard rectangles 72 by 12 inches with 2-inch flaps on all four sides.
Step 4
Lay out a second piece of cardboard at least 72 inches tall and 24 inches wide.
Step 5
Draw two rectangles on the piece of cardboard. Each rectangle should be 72 inches tall and 12 inches wide. Cut out the rectangles.
Step 6
Lay out a third piece of cardboard at least 12 inches tall and 24 inches wide.
Step 7
Draw two squares on the piece of cardboard. Each rectangle should be 12 inches tall and 12 inches wide. Cut out the squares.
Step 8
Lay out a final piece of cardboard at least 12 inches tall and 32 inches wide.
Step 9
Draw two rectangles on the piece of cardboard. Each rectangle should be 12 inches tall and 16 inches wide.
Step 10
Fold 2 inches of the side edges of the rectangles created in Step 9 down, creating two rectangles that are 12 by 12 inches, each with two 2-inch flaps on the sides. You now have your locker components.
Assembling The Locker
Step 1
Add a line of glue to the outside of the 2-inch flaps on one of the rectangle pieces created in Step 3 of the first section.
Step 2
Attach the edge of one of the rectangle pieces created in Step 5 of the first section to the glue coated flap. Repeat Step 1 and Step 2 for the opposite side of the rectangle, creating a three-sided rectangle.
Step 3
Attach the second rectangle created in Step 5 of the first section to the second set of flaps, using the same method as in Step 2. You now have a three-dimensional rectangle without end pieces.
Step 4
Add a line of glue to the outside of the 2-inch flaps on the bottom of the three-dimensional rectangle. Attach one of the pieces created in Step 7 of the second section to the glued flaps. Repeat this step for the opposite end of the three-dimensional rectangle. You now have a six-sided three-dimensional rectangle.
Step 5
Lay the rectangle so one of the long sides (one that originally had flaps) is facing up.
Step 6
Draw a door on the side facing up, leaving a margin of 2.5 inches all the way around. Use a craft knife to cut out the door.
Step 7
Trim 1/4 inch from one long edge of the door.
Step 8
Cut six pieces of 2-inch-wide packing tape into 4-inch-long lengths.
Step 9
Attach three of the pieces of packing tape to the inside edge of the door so 1 inch of the packing tape is attached to the cardboard. Insert the door into it's location, with the tape on the inside of the locker, and press the remaining 1 inch of packing tape to the inside of the adjacent cardboard (the door frame).
Step 10
Attach the remaining three pieces of packing tape to the outside edge of door so they correspond with the tape placed on the inside of the door. Squeeze the tape together so it sticks to the inside tape in the 1/4-inch gap. These are your hinges.
Finishing Touches
Video of the Day
Step 1
Set the locker upright one one of the 12-by-12-inch ends and open the door of the locker.
Step 2
Add a line of glue to the outside of the 2-inch flaps on one of the cardboard pieces created in Step 10 of the first section. Insert the square into the locker so the glued flaps connect with the interior of the side walls, creating a shelf. Repeat this step for the second shelf. Allow the glue to dry.
Step 3
Cover the interior and exterior of the locker with a gray or silver spray paint. Allow the paint to dry.
Tip
Cut a mail slot or air vents into your lock door before attaching it.
The friction of cardboard edges will keep your locker door closed but, if desired, you can add a small piece of cardboard to the lip of the door to keep the door shut.
Warning
Use caution when handling craft knives and cutting cardboard pieces.
Use spray paint only in well-ventilated areas.