Things You'll Need
Sonic pattern
Scissors
Fabric glue
Cotton fabric
Sewing machine
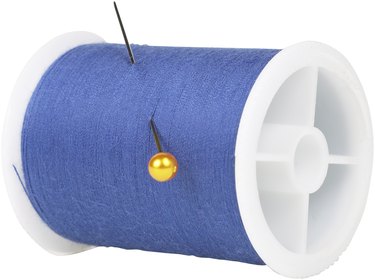
Thread
Cotton filling

Originally released in 1991 for the Sega Genesis game console, "Sonic the Hedgehog" video games have grown to feature over 30 different games starring the blue hedgehog. Sonic the Hedgehog is the principle character in games, such as "Sonic Generations," "Sonic Free Riders," and "Sonic and Knuckles." Children can spend hours playing their favorite Sonic games and naturally become attached to the hedgehog as a character. For your child that just can't get enough of Sonic the Hedgehog, make a Sonic plush doll so he can take his favorite character to bed with him every night.
Step 1
Buy a Sonic the Hedgehog plush animal pattern at your local toy store or craft supply store. Look for a simple pattern without too many details, such as complex poses or difficult facial expressions, which will be easier to make yourself.
Video of the Day
Step 2
Buy cotton fabric in Sonic colors, such as blue, white, beige, red and black. Depending on the size of the pattern you buy, you will need more blue fabric than the other colors. Use beige for his stomach, arms and face; white for his hands and eyes; black for his pupils and nose; and red for his shoes.
Step 3
Lay the fabric flat on a bed or table. Cut out the pattern pieces and place them on their corresponding fabric color. Cut the fabric around the patterns. Discard or set aside the remaining fabric scraps.
Step 4
Set the stitch length regulator on your sewing machine to 2 and choose a zigzag stitch for a stronger bond.
Step 5
Sew the individual body parts together using the sewing machine leaving small gaps in each piece for the filling. Match the thread color to the fabric color. Remember to sew the cloth pieces inside out to conceal the seams of the doll. Sew the head, body, legs and arms separately.
Step 6
Turn the pieces right-side up and stuff each with cotton filling. Push the cotton through the gaps you left in each body part. Distribute the cotton evenly, keeping in mind that the cotton will settle over time, so fill the doll as much as possible without ripping it.
Step 7
Attach the limbs, head and body together. Use a sewing machine if your doll is large enough or sew the pieces together by hand if it is smaller.
Step 8
Glue small black circles on the eyes with fabric glue to make pupils and one on the tip of the face for a nose. Cut small white strips of fabric and glue across the shoes to make white stripes. Glue white strips of fabric around the ankles as well to make the doll more realistic. Allow the glue to dry for two to six hours before giving the doll to a child.
Tip
Choose a larger Sonic doll pattern if you are a beginner on the sewing machine. Large pieces of cloth are easier to work with than smaller ones. Use a universal point needle or an overlook needle to sew your Sonic doll together.
Warning
Read sewing machine operating instructions carefully before using to avoid injury.
Video of the Day