Things You'll Need
2-by-4 stringer back plate
8 penny nails
Delta Multi-choice Universal Tub/Shower Rough-in valve with cartridge
Wood screws
Phillips screwdriver
Pipe fittings in copper, iron, or Pex
Pipe plugs
Wrench
Teflon tape
Emery cloth
Wire pipe cleaning brush
Pipe flux
Solder
Soldering iron or torch
3/8 inch 6-point, deep well socket
Flat-head screwdriver
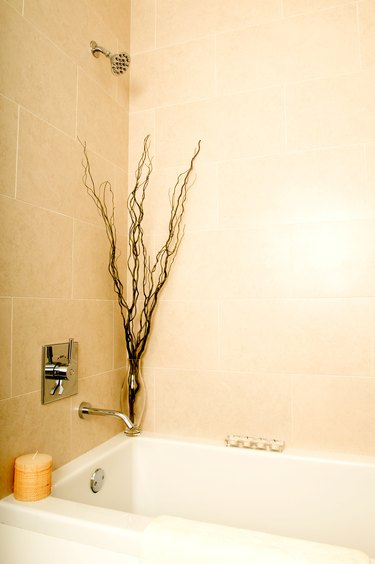
The faucet leaks and needs a replacement part. Or you're remodeling and want to install a new trim kit. You can accomplish such tasks by turning the water off at your shower and bath surround, without affecting the water supply for the rest of the house, by using the Delta Faucet R10000 UNWS with stops. This version has stops -- a form of plugs -- which allow you to turn off the water solely to the tub and shower using only a screwdriver. Installed in new construction or when remodeling, this valve can save you time and headaches in the future.
Install the Stringer Back Plate
Step 1

Determine the location and depth for the stringer back plate. The distance from the stringer to the front of the plaster guard is 2.8 inches. The plaster guard is the squared piece that surrounds the valve and gives support to the wall and the unit.
Video of the Day
Step 2
Place your stringer back plate 2.8 inches to the rear of the level of your finished wall surface for normal installation. If a thin wall is used, the plaster guard should be installed behind the wall. See the directions on the valve package for thin wall installation.
Step 3
Toe nail the stringer into the studs with the eight penny nails. The finished wall should be even with or 3/8 inch behind the front of the plaster guard.
Step 4
Attach the plaster guard to the stringer back plate. Screw it in place through the two upper-left and lower-right mounting bracket holes on the rear of the valve unit. You may need to remove the cover to access the holes for the screws.
Connect Water Supply
Step 1
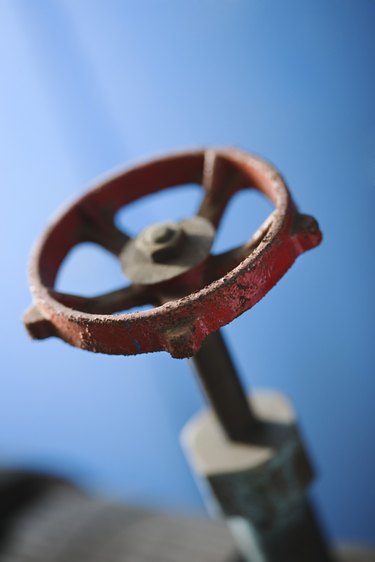
Turn off the main water supply to the house. Connect the water supply pipes to the valve, attaching the line for the cold inlet on the right side port and the line for the hot inlet to the left side port. Use fittings to match the water supply pipes, such as copper fittings for copper pipe or iron fittings for iron ones. Plug any port that will not be used with a pipe plug.
Step 2
Cover the threads of any iron pipe being used with Teflon tape. Screw the threaded connections onto the valve. Before soldering any copper pipes, remove the bonnet, or outer ring, as well as the test cap from the front of the unit to prevent them from melting. The stops, long bolt-shaped pieces with a screw head on the end, screw into holes to the left and right on the valve. These should not be inserted until after soldering is done. Leave the screen inside the valve in place.
Step 3
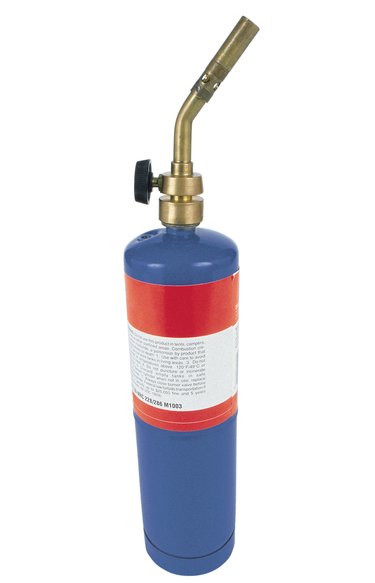
Clean dirt and corrosion off the outside of the copper pipe end with an emery cloth until the pipe shines. Clean the inside of the fittings with a special wire brush that's sized to fit the tube diameter. Brush an even layer of flux over the pipe ends and the insides of the fittings that will be joined. Push the joints together securely and solder the pipes in place. Use solder and a torch on a low setting. Heat the fittings and melt the solder around the joint, allowing it to travel from the cooler pipe to the heated joint.
Step 4
Solder or connect the top outlet of the valve to the upper pipe running to the shower head.
Step 5
Solder or connect the bottom outlet of the valve that leads to the tub faucet with a minimum of 1/2 inch of copper or iron pipe that's no less than 8 inches in a straight length. It should not exceed 18 inches long and must include only one 90-degree elbow leading to the tub spout.
Test and Flush the Installation
Step 1
Check that the o-ring is installed on the cap and that the filter screen is seated within the unit. Reinstall the cap and bonnet, and tighten them.
Step 2
Plug the shower and tub outlet ends. Screw pipe plugs onto the ends of the open pipes that lead to the shower head and tub spout, and tighten them to prevent water from escaping while testing the connections.
Step 3
Turn on the water supply while someone checks for leaks. Tighten joints or re-solder as needed until you obtain a leak-proof connection.
Finishing Steps
Step 1
Remove the cover, bonnet and test cap. Remove the filter screen inside the valve. Insert the cartridge. Replace the test cap, bonnet and cover.
Step 2
Insert the included stops -- threading the nut on the stem of the stops then threading the nut assembly into the openings to the right and left of the center portion of the valve. Tighten the stops with the 3/8-inch deep well socket. To adjust the stops, use a flat-head screwdriver and turn the stem clockwise to close or counterclockwise to open.
Step 3
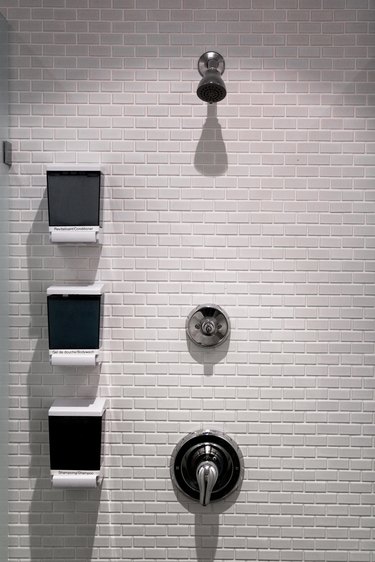
Install the trim kit and spigots of your choice.
Tip
If you are making a back-to-back or reverse installation -- hot on right and cold on left -- install the valve body the same as above. But note that the water supply lines will be reversed with the cold water on the left and the hot water on the right.
PEX tubing may be used for the supply lines, but do not use it for the tub spout drop. Different brands are available. Check the manufacturer's website for more information about working with this flexible pipe.
Warning
Avoid soldering at high temperature. Exposure to high temperatures may damage the screen and could burn surrounding walls.
Video of the Day