Things You'll Need
White polymer clay
Knife
Cookie sheet
Conventional oven
Glove
Sewing chalk
Fabric
Scissors
Needle
Thread

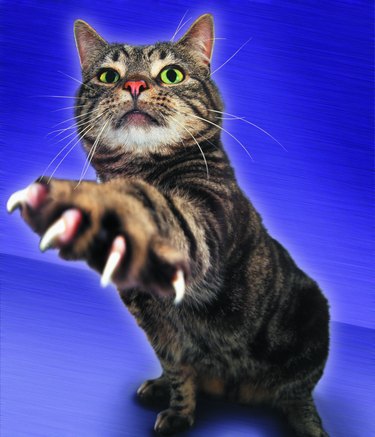
Make a set of costume claws that will retract or withdraw when you want them to. It's easy to make a set of claws that are always out, but if you are going as a feline for Halloween, or an animal that has retractable claws, having the ability to push them out and pull them back in will make your costume more realistic. Use polymer clay and other inexpensive materials found in the craft store to make a set of claws.
Step 1
Condition some white polymer clay by molding it in your hands to soften it enough for shaping. Roll a 2-inch-thick ball of the clay into a tube and cut it into five equal-sized sections with a knife.
Video of the Day
Step 2
Roll the sections into balls and then roll one side of each ball between your fingers to make a sharp, narrow end, while the other end is round and wide like a teardrop. Gently flatten the teardrop shapes so that each one is about 1/8-inch thick. The flattened teardrop shapes should now resemble individual claws.
Step 3
Bake the flattened teardrops on a cookie sheet in a conventional oven for 15 minutes at 250 degrees F. Remove them from the oven and wait at least 45 minutes before handling them.
Step 4
Put on a glove and bend your fingers so the tips are all touching the top of your palm and your thumb is bent as well. Make a mark with sewing chalk on the middle joint of each finger on the top of the glove. Take off the glove.
Step 5
Place one of the claws on a piece of material in the same color as the glove. Trace around the outside edge of the claw on the fabric with the sewing chalk, to get a triangular shape, and cut it out. Do this for each individual claw.
Step 6
Glue the wider end of the claws onto each chalk mark on the fingers of the glove with epoxy adhesive. Make sure only the wider end is glued so that the narrow tips of the claws can extend past the joints of your fingers.
Step 7
Sew each triangular shape over the glued-on claws and make sure you only sew through the top of the fingers and no through both sides. Make sure the pointed ends of the triangles are pointing toward the tips of your fingers. Sew across the bottoms of the triangles and leave the tips open so the claws can fit through the opening. Start and stop each series of stitches by stitching back and forth in one spot six or seven times to secure them, and trim off the excess thread.
Step 8
Put on the glove and bend your fingers to cause the joints in your fingers to push the claws out of the coverings.
Video of the Day