Things You'll Need
Compressed air
Screwdriver
Wrench
Replacement thermocouple

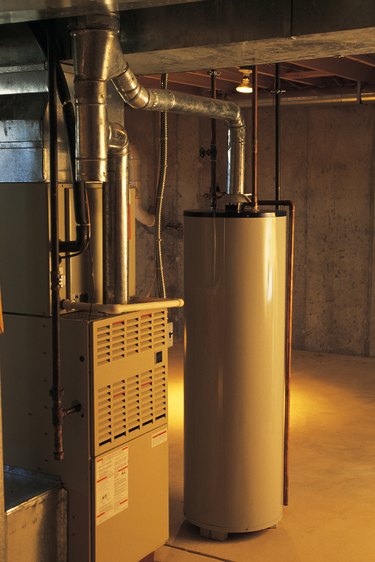
A boiler has a pilot light that ignites incoming gas to the unit. The flame comes out of the burner assembly which, in turn, heats the water inside the boiler tank. If the pilot light does not light or the thermocouple that signals the pilot light to ignite is faulty, the unit will fail to heat. This can also lead to gas leaks, which are very dangerous indeed. Troubleshooting the pilot light and the thermocouple and replacing parts, as necessary, will save you a call to a repair technician.
Step 1
Check that the electricity leading to the boiler is turned on. Some boilers are controlled by a standard light switch on the wall, which may be flipped accidentally. Inspect the fuses in the fuse box for signs of burning or faulty fuses and replace them as necessary.
Video of the Day
Step 2
Locate the gas supply valve and make sure it is turned to the "On" position. Without gas the unit will not light. The knob should be parallel with the gas line.
Step 3
Clean the end of the pilot light with a can of compressed air to remove any debris from the opening.
Step 4
Look for the label next to the pilot light for lighting instructions. Light the pilot light and check to see that it remains lit. Adjust the pilot light screw located on the pilot light in 1/4-turn increments to adjust the strength of the flame.
Step 5
Turn off the gas supply to the boiler.
Step 6
Loosen the nuts on the thermocouple and gas line that connect to the gas adjustment knob panel with a wrench. Pull the tubes out toward you to remove the burner assembly from underneath the boiler unit.
Step 7
Slide the end of the old thermocouple out of the burner assembly and slide the new one on. Reassemble the unit in the reverse order that you took it apart. Turn on the gas supply and test that the unit fires up.
Video of the Day