Things You'll Need
Tape measure
Bloomer pattern
Old newspaper
Scissors
Sewing pins
Fabric for the bloomer (silk, satin or cotton)
Sewing kit/sewing machine
1/2-inch wide elastic

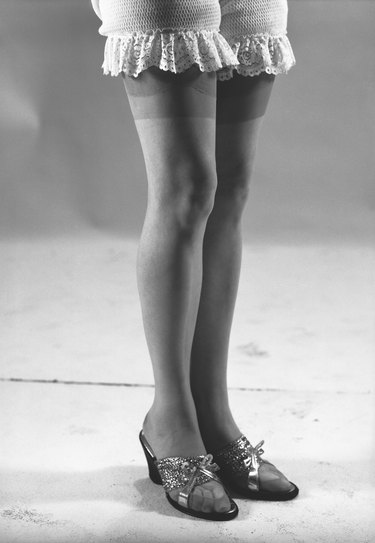
Bloomers are undergarments that are knee-length or shorter, worn under a skirt. In the old days when women were more conservative, they needed to wear bloomers to make sure that they wouldn't unintentionally expose their underwear. Cheerleaders and other people who do stunts wear short bloomers to hide their underwear.
Step 1
Measure your waistline, hipline and front rise, which is the distance between the waistband and the crotch.
Video of the Day
Step 2
Measure the back rise. To do this, sit on a stool and ask a person to measure the distance between your waistband to the area where your body meets the chair.
Step 3
Decide on how long you want the bloomers to be. Draw your pattern on an old newspaper and make the necessary adjustments.
Step 4
Lay your pattern pieces on the fabric and pin the edges. Cut the fabric pieces out.
Step 5
Pin the inside leg seams together (with the "wrong sides" of the fabric on the outside) and sew the edges to make two tubes.
Step 6
Sew the "crotch seam" together. Start at the front portion, and then at the back portion of the bloomers.
Step 7
Fold the waistband with the wrong sides of the fabric together. Fold it a second time and then press.
Step 8
Pin the folded sides of the waistband together to hold the fabric together. Sew the edges and leave a gap of at least five centimeters to make way for the elastic. Do the same to the inside leg seams.
Step 9
Insert the elastic around the waistband and sew the ends together. Adjust it so that it feels right and comfortable. Sew the gaps in the waistband to cover the elastic. Do the same for the inside legs.
Step 10
Nip loose threads for a clean finish.
Video of the Day