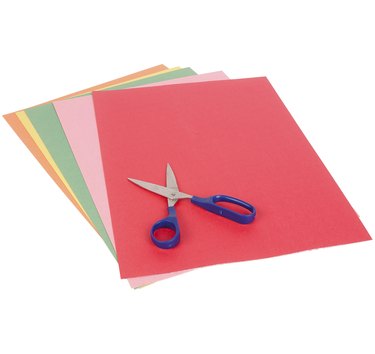
Things You'll Need
Colored paper
Metal ruler
Pencil
Craft cutting mat
Rotary cutter
Paper cutter

Paper quilling is the art of using very thin strips of paper and shaping them into intricate coils that you then glue to flat sheets of paper. Paper quilling is also known as paper filigree and paper rolling, and it adds an intricate and detailed look to cards and other types of paper art. When you are getting started with paper quilling, make your own paper strips to cut down on your initial expenses.
Rotary Cutter
Step 1
Draw faint 1/8-inch-wide lines across the length of a piece of colored paper using a metal ruler and a pencil.
Video of the Day
Step 2
Place the paper onto a craft cutting mat to protect your work surface. Position the ruler along one line.
Step 3
Cut along the edge of the ruler with the rotary cutter.
Paper Cutter
Step 1
Position a piece of colored paper so that only 1/8 inch protrudes over the lip of a paper cutter, with the rest of the paper lying on the bed of the cutter.
Step 2
Cut the paper by bringing the blade down. A paper cutter allows you to make quilling strips very quickly and with a high degree of accuracy.
Step 3
Move the paper to the right 1/8 inch and check the alignment to ensure you have the paper perfectly straight.
Step 4
Cut another 1/8-inch-wide strip of paper.
Step 5
Continue positioning the paper and cutting until you have as many strips as you need.
Tip
Paper quilling strips should be roughly 1/8 inch wide, though some designs call for strips that are larger or smaller. If you do not have a rotary cutter or a paper cutter, draw lines and cut along the lines with a scissors.
Warning
Use extreme care with the rotary cutter or the paper cutter. Only adults should use these tools.
Video of the Day