Things You'll Need
Air-dry clay
Medium-sized stiff artist's brush
Clay knife

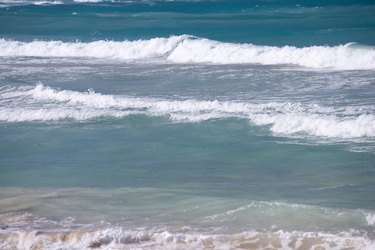
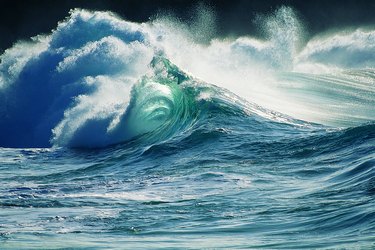
Make ocean waves using clay by first observing real waves. The waves you see in the ocean are created from winds transferred across the sea's surface. One method of constructing waves for a diorama or craft is to build up clay for the ocean. Then, waves are added on top depending on the height of the waves needed for the project. Use air-dry clay for this project because you do not need to fire it in a kiln.
Step 1
Construct a block of air-dry clay that is 12-by-12-by-4-inches. This allows for the creation of the waves. Depending on your project, add more or less clay. You need at least 3 inches of clay depth in order to build up the waves.
Video of the Day
Step 2
Dip your fingers in water and add drops all over the top of the clay block. You want a wetter than usual clay surface to help construct the waves. Gently press the moisture into the clay with your fingers.
Step 3
Brush the entire surface of the clay block in one direction with a medium-sized stiff artist's brush to form gentle ripples on the clay. Ocean surfaces are not flat and the brush creates an uneven surface.
Step 4
Press the brush into the clay in in short bursts over the entire surface of the clay. Press down for roughly 1-inch and then lift the brush up in one direction only. The action forms small waves.
Step 5
Push a clay knife into the one side of the clay block to form larger waves. Usually larger waves are near a vessel or when they are closer to shallower water. Push the knife into the clay and lift up at a 45-degree angle, in the same direction as the smaller waves.
Step 6

Form the peaks of the waves with your fingers. They are a crescent shape with a peak that curves. Repeat the higher waves where needed.
Tip
Uneven waves look more realistic than uniform looking waves. A trowel clay tool can also be used to form waves. Waves can be created with only your fingers. Press into the clay all over and add the peaks with extra clay.
Video of the Day