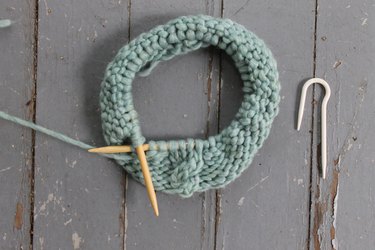
Knitted cables in the round are similar to cables knitted flat, except that the right side of the cable is always facing you as you stitch. Converting cable rows to cables in the round requires just a few simple adjustments.
Things You'll Need
Knitting pattern with cable
Graph paper and pencil, optional
Yarn, weight of your choice
Circular knitting needle or double-pointed knitting needles, size that corresponds to your yarn's weight
Cable needle
Row counter, optional
Video of the Day
Step 1
Refer to the knitting pattern with cables. If the pattern is written for cables in the round, proceed to Step 3.
Video of the Day
If the pattern is written for flat cables and you would like to convert it to cables in the round, first check to see if the pattern includes a chart, written instructions or both.
Step 2
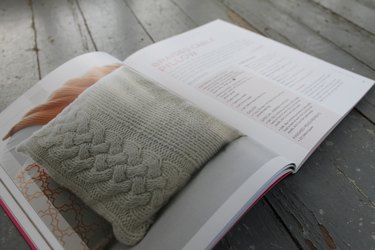
If the pattern is written for flat cables, you will need to make a few adjustments before you begin knitting. Remember that when knitting in the round, there are no wrong-side rows; all rows are right-side rows facing you as you knit. Therefore, all the right-side rows of the chart or written instructions are worked as they are written; all wrong-side rows will need to be converted to in-the-round knitting.
To convert a wrong-side row, remember that all purls worked on the wrong side become knit stitches, while all knit stitches worked on the wrong side become purl stitches. If you think you may not remember this while you are knitting, use your pencil to make notes on the pattern's chart or written instructions. Alternatively, recreate the chart using graph paper and a pencil, making the necessary changes to the wrong-side rows.
Step 3
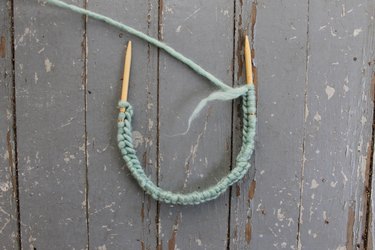
Cast on the number of stitches indicated in the pattern.
Step 4
Join the stitches to knit in the round. You will work the first row (right-side row) as it is written or charted on your pattern. To work a Cable Four Back (C4B) for example, slip two stitches onto the cable needle.
Tip
If you do not have a cable needle, you can use a double-pointed needle as a substitute.
Step 5
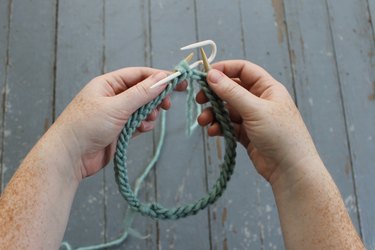
Hold the cable needle behind your work.
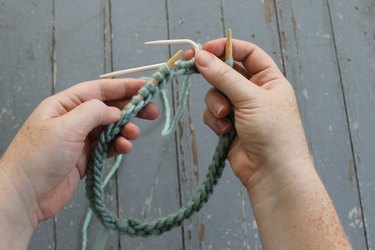
Step 6
Knit the next two stitches off the needle while the cable needle is still in the back.
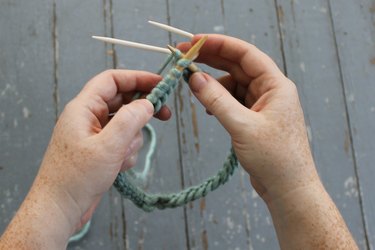
Step 7
Bring the cable needle back to the front of the work and knit the two stitches from the cable needle. Notice that if you are using a hook-shaped cable needle like the one pictured, you will need to shift the stitches to the other side of the cable needle to knit them in the right order.
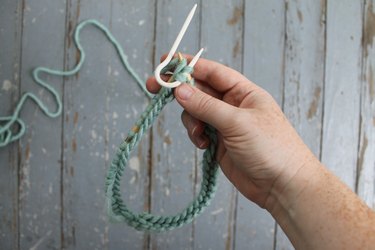
Step 8
Complete the remainder of the right-side row as instructed in the pattern.
Tip
Use a row counter as you knit to keep track of the rounds and avoid confusion.
Step 9
If the pattern is written for in-the-round cables, continue to follow the pattern's instructions.
If the pattern is written for flat cables, look at your notes to determine what to do when you reach the wrong-side row. If the pattern is written and simply indicates that you should knit the knit stitches and purl the purl stitches, then you can follow the instructions without making any changes. When you come to a knit stitch, simply knit it. When you reach a purl stitch, purl it. In this example, only the cable stitches are knit, while the background stitches are purled.
However, if your chart or written instructions are different, remember to follow the changes noted in Step 2.