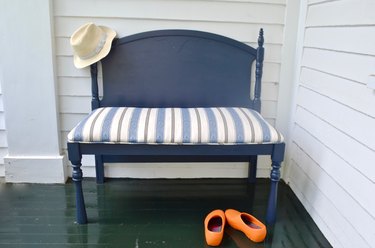
A common item at any flea market or thrift store is a headboard for a twin bed. Even if you are not redoing a bedroom, you shouldn't necessarily pass this item up. With a few easy-to-find materials, you can transform a salvaged headboard into a chic and useful upholstered bench.
Things You'll Need
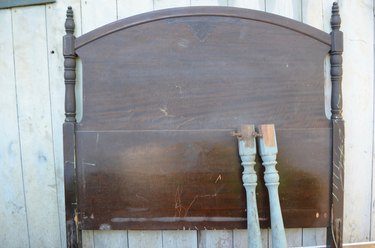
Twin-sized headboard
Table legs, (2)
1 x 4 pine boards, 8 ft. long (2)
½-inch plywood cut to size for the seat
Kreg jig
1 1/4-inch kreg screws
Drill with driver bits
Miter saw
Power sander and fine-grit sandpaper
Spray primer (Use a shellac-based product if the headboard has a dark stain, such as the one shown)
Latex paint
Paintbrush
2-inch foam (an egg-crate foam mattress was used for this bench)
One yard of upholster-weight fabric
Staple gun
3/8-inch staples
3-inch inside corner braces (4)
Sewing machine (optional)
1/4-inch cotton piping
Step 1: Cut the Legs and Frame Pieces
The first step in making this headboard bench is cutting the pieces to size for the seat frame and the front legs. Begin by cutting down each table leg to 18 inches (standard height for a bench). Use a miter saw to ensure square ends on your cuts.
Video of the Day
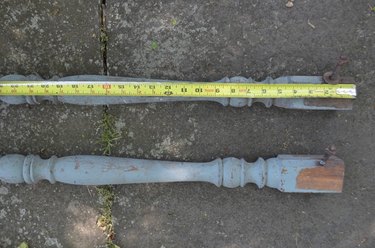
For the side frames for the seat, cut two lengths of pine 1 x 4 to 17 inches long. This will create a seat 18 inches deep. Now cut the front frame for the seat, matching the length to that of the salvaged headboard. Our bench will be 41 inches wide.
Step 2: Drill Pocket Holes in the Seat Frames
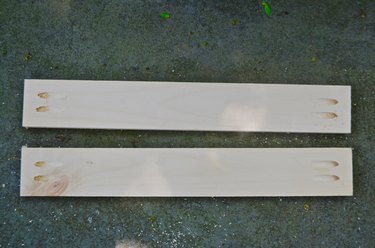
Using the Kreg jig, drill a pair pocket holes into each end of all three seat frame piece—the two sides and the front frame.
Step 3: Attach the Side Frames to the Bench Legs
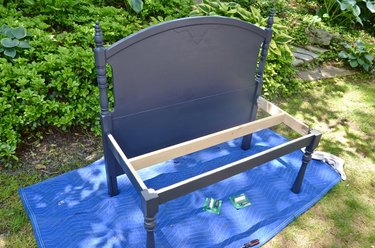
With 1 ¼- inch Kreg screws, attach the side frames to the table legs. Make sure they are positioned in the same location on the face of the legs. The top of the frame pieces should be flush with the tops of the table legs.
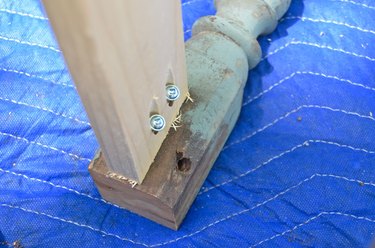
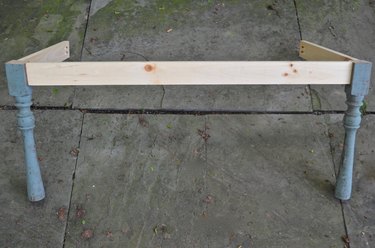
With 1 ¼- inch Kreg screws, attach the front frame to the two table legs. There should now be three sides to the bench.
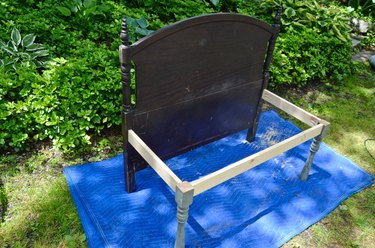
Using the same-sized Kreg screws, attach the two side frames to the headboard. To ensure the bench will be level, the side frames should be attached at the same height as they are on the legs—18 inches on our bench.
Step 4: Add the Support Beam
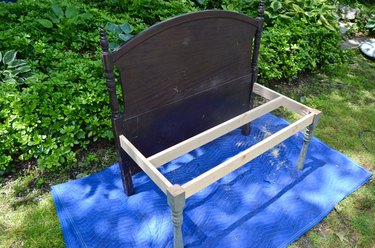
Measure from the inside edge of one side frame to the inside edge of the other, and cut a 1 x 4 cross beam to this length. Use pocket holes and Kreg screws to attach this support piece across the middle of the seat frame.
Step 5: Sand, Prime, and Paint
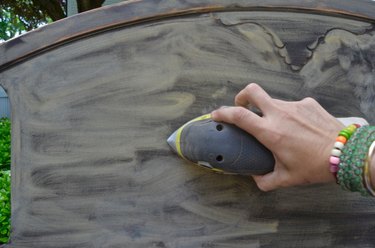
Sand the wood with a fine-grain sandpaper, roughening the surface so that paint will adhere. Be careful to remove all dirt, grime, and dust with a damp rag before priming and painting.
Tip
Use a shellac-based primer to seal the old finish and prevent dark stain from bleeding through the finish paint.
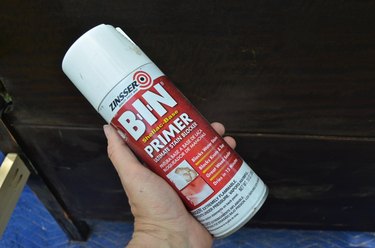
Apply spray primer, following the directions on the can. Now apply two coats of latex paint, allowing the first coat to fully dry before applying the second. Very lightly sanding the dried first coat will help the second coat to adhere.
Step 6: Make the Upholstered Seat
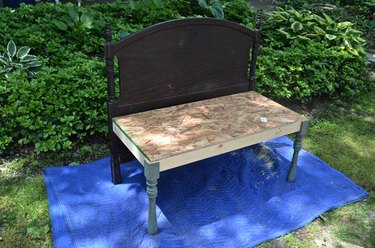
Cut the plywood to create the core of the bench seat. The edges should run flush to the corners of the table legs, slightly overhanging the frame pieces.
Cut the foam for the seat padding. If using upholstery foam, cut the foam to the exact size of the plywood core. If using an egg crate mattress, fold the foam in half and cut it to fit the plywood. Cut a third layer of foam, allowing an extra 6 inches on all four sides.
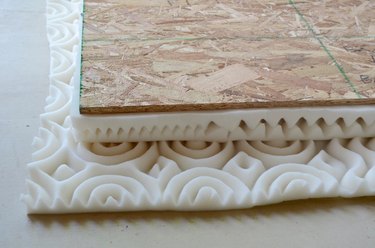
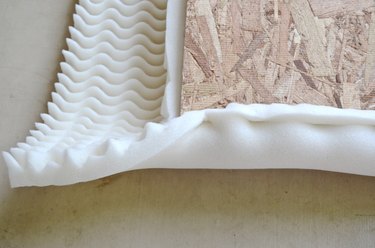
Wrap the larger piece of foam around the first two layers of foam, and staple the layers in place on the underside of the plywood. Start in the middle of each side and work towards the corners, being careful to make sure the foam is taut and free of wrinkles or bunching.
Cut the fabric, allowing an extra 6 inches on all four sides.
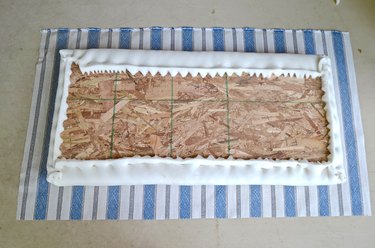
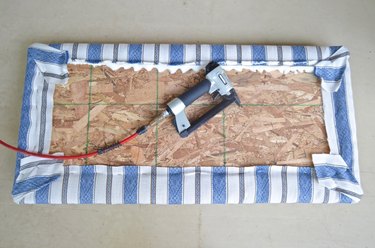
Pull the fabric tightly around the seat and secure it to the underside of the plywood, using a staple gun. Work from the middle, moving side to side in order to pull the fabric as smooth and tight as possible around the foam.
Step 7: Attach Piping (Optional)
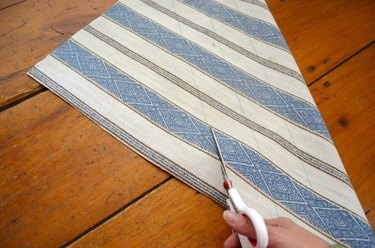
To make piping, cut 2-inch-wide strips of fabric, cutting diagonally across the pattern
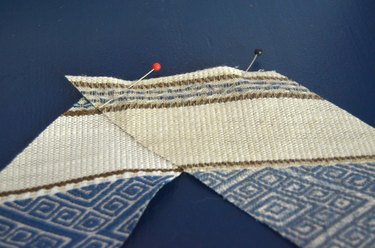
Sew these strips together end to end.
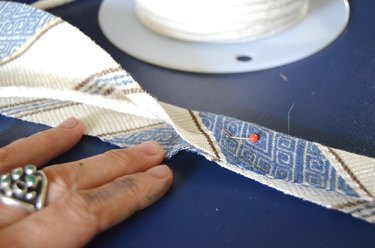
Fold the bias strips around the piping, and sew it closed as closely to the cord as possible.
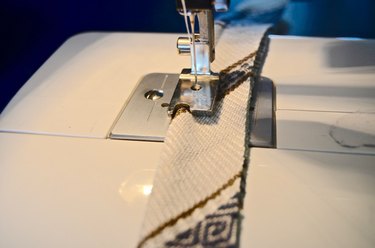
Tip
A piping foot on the sewing machine is a big help when sewing piping.
Staple the piping along the underside outer edges of the upholstered seat.
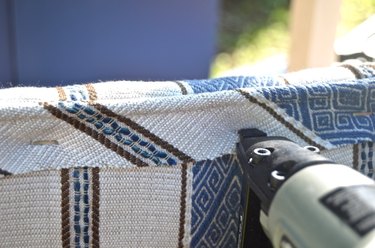
Step 8: Attach the Seat to the Bench
Screw the inside corner braces onto the frame members of the bench. Use one on each side frame, one on the front frame, and one on the cross beam.
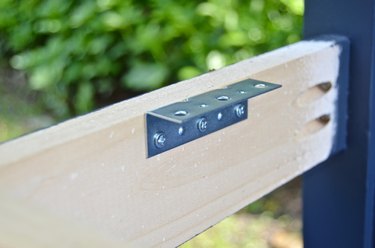
Place the upholstered seat onto the bench, and secure it in place with with screws driven up through the inside corner braces and into the plywood seat core
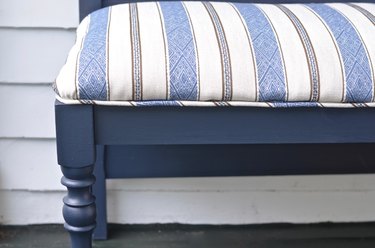
Your project is complete. This bench came together in one afternoon. With a salvaged headboard and minimal supplies, you can make your own chic upholstered seat.
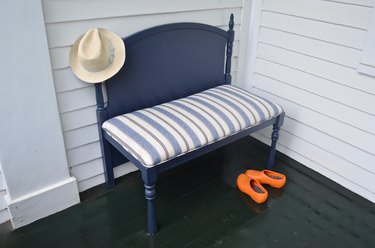
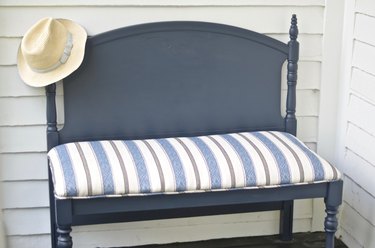
The clean lines and small stature of this bench means it can work in lots of places around the home. Whether used in a room, around a dining room table, or on a front porch, this is a simple way to transform that discarded headboard into something useful.
Video of the Day