Things You'll Need
Clear glass bottle
Graph paper
Colored pens
Tiles, glass or other mediums
Tile nipper
Tweezers
Silicon adhesive
Premixed tile grout (optional)
Sponge (optional)
Soft cloth (optional)

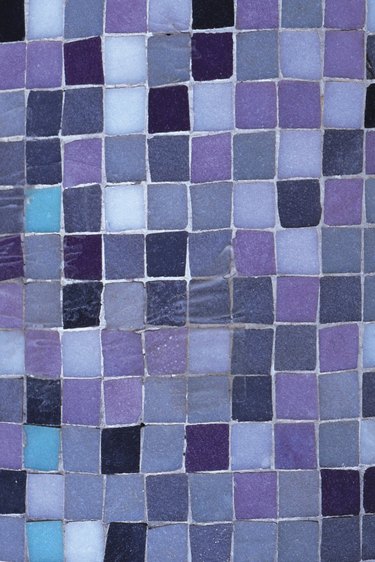
A mosaic bottle can be exquisite décor that works with nearly any decorating style. Most mosaics are created with ceramic or glass tiles. Depending on the look you are going for, these types of medium can create unique mosaic bottles. They can even be functional, used as candle holders or bath salt containers. For a funkier look, mix the traditional tiles with beads, small seashells, stones or broken terra cotta pots. Use your imagination to create a one of a kind mosaic bottle.
Step 1
Remove any labels from the clear glass bottle. Wash and rinse the bottle to remove any dust, dirt, food or glue. Dry the bottle completely.
Video of the Day
Step 2
Decide on a design for your bottle mosaic. If you wish to create your own design, use a sheet of graph paper and colored pens. You can also find mosaic designs online that can be adapted to a bottle (see Resources). As an alternate, you may place the tiles in a freestyle manner. Smaller tiles, up to an inch square are a better choice than larger ones, because of the curve of the bottle against the flat surface of the tile.
Step 3
Gather your mosaic mediums, such as ceramic tiles, glass tiles, beads or other small objects. Decide how you will incorporate the different mosaic mediums into your design.
Step 4
Spread silicon adhesive over a small area and place your tiles over it, for a firm attachment. The silicon adhesive dries quickly, so you need to work fast. Alternatively, you can dab a small amount of silicon onto the bottom of each tile as you place it.
Step 5
Place mosaic tiles, or other medium, to the bottle. Start at the lower part of the bottle. Cut tile pieces with the tile nipper to create the size and shape you desire. Use the tweezers to place the extra small pieces of mosaic medium. You may place the tiles right next to each other and eliminate grouting. Or leave a 1/8-inch space between tiles for grouting space.
Step 6
Place tiles from the lower part of the bottle up, until your design is complete. Allow the bottle to set for 24 hours to make sure the tiles are bonded to the glass completely.
Step 7
Grout the mosaic bottle, if you have chosen this process. Spread the premixed grout over the surface of the bottle, pushing it into the spaces between the tiles, or other mosaic medium.
Step 8
Wash the excess grout off of the tiles with a damp sponge, carefully. Allow the bottle to set for 15 minutes. Use a soft cloth to rub the remainder of the grout residue from the tiles.
Tip
Wine bottles and food jars are easy to find bases for mosaics.
Video of the Day