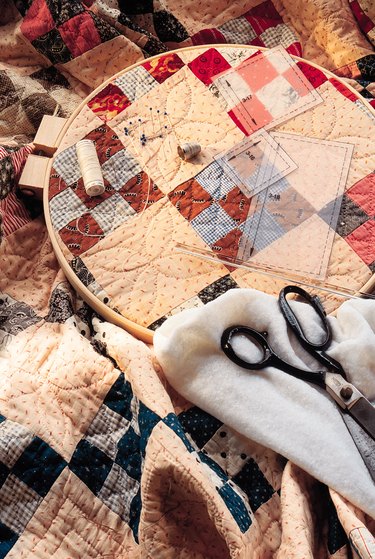
If you are a veteran quilter, it's likely that you have a lot more completed projects than you have beds where you can display them. A compression hanger will allow you to place your quilt on a wall without stretching any of the fabric, even though it's hanging by its own weight. This means you can leave it on your wall indefinitely, and the part of the quilt from which the quilt hangs will not experience any distortion or damage.

Video of the Day
Things You'll Need
Keyhole Hangers
T-Nuts
Hanger Bolts
Coarse- And Fine-Grit Sandpaper
Varnish Or Paint
Wood
Knobs
Step 1
Cut two pieces of wood. The first should be 6 inches wide and 3 or 4 inches longer than the width of your quilt. The second should be the same length, but 5 inches wide.
Video of the Day
Step 2
Sand the pieces of wood to remove rough edges. Add any desired varnish or paint to make your quilt rack fit in with the rest of the room decor or match the quilt.
Step 3
Drill holes for your keyhole hangers, and then slide the receptacles into the wall. Add the keys to the back of the wider piece of wood, following the specific instructions on the keyhole hanger packaging, as the process can vary depending on the manufacturer. Place the keyhole receptacles into studs, where possible.
Step 4
Drill holes through both pieces of wood. You'll need a hole for every foot of width for your rack. These will accept the hanger bolts. Slide them in and attach the T-nuts from the rear of the wider piece of wood. The wider piece will be the back board on the rack; the narrower piece will be the front board.
Step 5
Prepare the knobs for attachment to the front of the hanger nuts by applying any finish or paint that you would like, so that they match the rack, quilt or general decor of the room. Attach the knobs onto the threaded ends of the hanger bolts; tighten just a couple of turns. Make sure you still have room between the two boards.
Step 6
Fold the quilt at the point where you want to hang it. Most often, this will be in the middle so that it hangs down evenly. Slide the folded end up into the bottom of the gap between the two boards.
Step 7
Check both sides of the quilt to make sure that the folded end is at the same depth of insertion on each end. Tighten the knobs by turning them clockwise. Start with one end knob, then move to the other end knob, until both are as tight as you can get them. Then tighten the knob or knobs in the center.
Step 8
Hang the rack, with the quilt inside it, on the wall by sliding the hanging keys into the keyhole hangers. You'll know you did this correctly if your rack hangs flush to the wall.