Things You'll Need
Synthetic paper
Ruler
Scissors
16 toothpicks
Glue
Tissue paper
Transparent tape
Tea candle

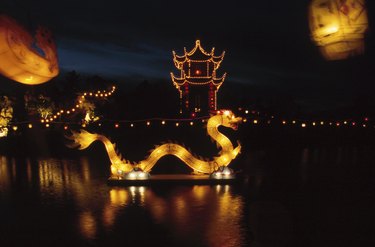
The use of floating paper lanterns began in 7th century Japan with a Buddhist festival known as Toro Nagashi. The festival takes place at the end of summer in memory of the spirits of dead ancestors. Participants take part in creating, and then launching, floating paper lanterns. They believe the spirits visit during the celebration and the lanterns carry the spirits back home. Floating paper lanterns are not used exclusively for Toro Nagashi and can be made at home for use in decorating swimming pools, ponds or other calm bodies of water.
Step 1
Cut synthetic paper into a 4 1/2-by-6-inch rectangle. Fold a 1/2 inch crease on each side. Pinch the corners and fold each inward. This will form the floating base of the lantern.
Video of the Day
Step 2
Glue two of the toothpicks together side-by-side. Allow glue to dry completely. Repeat with remaining toothpicks.
Step 3
Create four tissue paper designs, one for each side of the lantern. Each design should be as tall as the toothpicks and measure 3 inches in length. Glue one toothpick pair to the edges of each tissue paper design. Make sure the toothpicks are glued to the backside of the design. Allow glue to dry completely.
Step 4
Apply a small strip of glue to the toothpick pairs on the back of each design. Arrange the pieces into a standing box and secure by pressing the edges together. Allow glue to dry completely.
Step 5
Place a lit tea candle in the center of the synthetic paper float. Place the completed paper lantern over the tea candle. Gently set the lantern on the water's surface.
Warning
Do not let the tissue paper come in contact with the flame when setting frame over the candle. Floating candles pose a fire risk and should be supervised if in an enclosed space.
Video of the Day