Things You'll Need
Embroidery hoop
Embroidery needle
Embroidery floss
Scissors
Fine-tipped fabric marker
Iron

Stuffed animals make excellent inanimate companions, especially for small children. One common way of claiming ownership over a small, fluffy friend is having initials embroidered into the fabric of the animal. This is known as a monogram, and can be performed easily by someone with the proper skills and experience in embroidering.
Step 1
Choose a font or style for the monogram, and create a rough sketch of how the initials will look using your chosen font. Some monograms use varying letter sizes, and the middle letter in the monogram is often larger than the others. Monograms can be done in a classic cursive style script, with block letters, or with any other design that isn't too intricate to be seen in a single color. Obtain or create a stencil for the initials if you wish; some embroiderers are able to draw monograms freehand.
Video of the Day
Step 2
Carefully make a small incision in an inconspicuous area on the stuffed animal's body, and pull the stuffing material out through the hole. Set the stuffing aside, as it will later need to be re-inserted into the animal. It may be necessary to enlarge the incision so that your hand can reach inside the animal during embroidery.
Step 3
Inspect the fabric of the animal to be embroidered, and take note of the best place to put initials. Monograms are often placed on the stuffed animal's chest for easily visibility and to make the toy recognizable from a distance; although it is sometimes necessary to place the monogram in a different area if the animal's chest is too fluffy. Find a patch with little or no "hair", as this can get in the way of embroidery. Attach an appropriately-sized embroidery hoop to the fabric "skin" of the animal, and carefully iron the area to be embroidered. Lightly trace the monogram pattern in the desired location using a fine-tipped marker.
Step 4
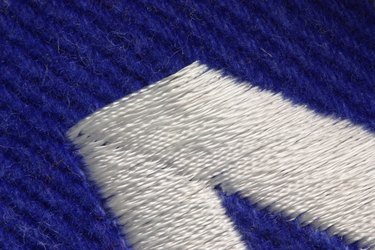
Use the embroidery needle and floss to embroider each letter, remembering to anchor the floss at one end of the letter with a knot on the inside of the fabric skin. Choose embroidery floss in colors that will contrast with the fabric of the stuffed animal to make the monogram more visible. For a basic monogram with thin initials, use a higher numbered needle, such as a #10 or #8 crewel needle, and use the back-stitching technique to embroider each letter. Larger and more elaborate embroidery involves using different needles and employing more advanced techniques. Choose a style suitable to you (or the animal's owner) and embroider over the outline until the fabric marker is no longer visible.
Step 5
Trim any spare threads when the monogram is embroidered, and check any areas that may need additional embroidery or trimming. Take the fabric off the embroidery hoop and carefully re-stuff it with the cotton stuffing removed in step 2, checking again to make sure the monogram still looks suitable. Sew the stuffing hole closed and squeeze the stuffed animal's body to distribute the stuffing throughout its interior.
Tip
The whip-stitching technique can be used for non-cursive monograms to allow the embroidery to double back on itself.
Video of the Day