Things You'll Need
Newspaper
Free-standing coat rack
Tape measure
Cardboard
Scissors
Clear tape
Hot glue gun
Hot glue
White paint
Paintbrush
Old garden hose and nozzle
Spray paints, red, black and silver

The first automobile to fill up in a gas station was driven by Bertha Benz in 1888 on her trip from Manheim to Pforzheim, Germany, a 350-kilometer journey; it was the first time a vehicle had been driven that distance. At the beginning of the trip, the vehicle quickly ran out of gas. She refilled at a pharmacy that sold Ligroin, a detergent that could also be used as fuel. The gas pumps that were built in response to Benz's need weren't roughly attached to a detergent bottle; they were beautifully crafted and colorful designs that are now valued by vintage gas pump enthusiasts. You can build a replica model with items you may already have.
Step 1
Lay the newspaper on a flat work surface. Set the coat rack in the middle of the newspapers.
Video of the Day
Step 2
Measure the length and width of the base of the coat rack. Measure the height of the coat rack.
Step 3
Cut two pieces of cardboard with the same height as the coat rack and the same width as the coat rack base's length. Cut two more pieces of cardboard with the same height as the coat rack and the same width as the coat rack base's width.
Step 4
Place the pieces so that they form a rectangle around the coat rack. One at a time, tape the pieces to the coat rack's legs and hooks.
Step 5
Cut a piece of cardboard that is 1 inch longer and 1 inch wider than the base of the coat rack.
Step 6
Glue the cut piece to the top of the rectangular cardboard shape with hot glue. This is the basic shape of the vintage gas pump.
Step 7
Spray paint the entire surface of the cardboard. You can use whichever color of paint you want, but a brighter color, such as red or yellow will make the pump stand out.
Step 8
Spray paint two silver rectangles on the two shorter sides of the pump. The rectangles should be at least 3 inches wide and 6 inches tall. These will act as the gas nozzle holders.
Step 9
Paint a white rectangular shape on the front of the pump to act as the pump's window. Make it big enough so that you can draw and label the gauges.
Step 10
Connect the old garden hose nozzle to the garden hose. Spray paint the nozzle silver; spray paint the garden hose black.
Step 11
Allow the paint to completely dry. This may take a couple of hours.
Step 12
Cut a rectangular hole into the middle of the gas nozzle holders. The shapes should be big enough to hold the garden hose nozzle.
Step 13
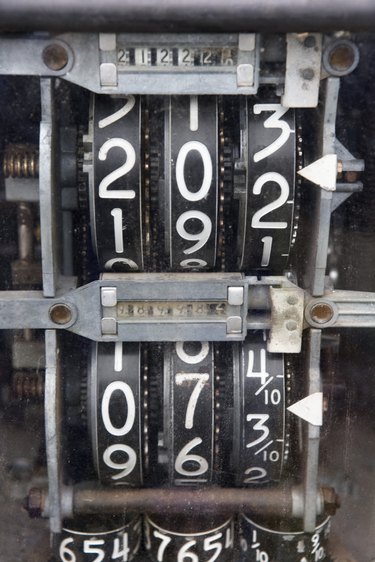
Paint the gauges and labels for the gauges on the window. Use black rectangles as the background to the gauges and white lettering for the numbers.
Step 14
Paint a company logo on the front of the pump and add any other paint details you wish, such as chrome.
Step 15
Allow the paint to dry for a couple of hours.
Step 16
Cut a small hole in the back of the pump that is just large enough to fit your hand through. You'll use this hole to move the pump by picking up the coat rack.
Video of the Day