Things You'll Need
Resin
Varnish
Paintbrush
Caulk
Adhesive spreader
Rubber cement
Wood putty
Sandpaper
Glaze
Kiln

There are many different ways to create a watertight seal. The method that you choose should reflect the properties of your craft materials and the purpose of the item. For example, the process for sealing a ceramic pot involves the application of heat and a thin glass coating. The heat removes moisture from the clay and makes it insoluble, while the glass coating fills the porous surface of the ceramic pot.
Step 1
Make a vessel such as a box or paper-mache vase out of paper or cardboard. Brush a thin coat of fiberglass resin onto the item to add rigidity. Repeat to build up five coats. Finish the treatment by applying a coat of varnish to the interior and exterior.
Video of the Day
Step 2
Apply a strip of caulk to the seam of a tiled or interior wood craft project. Press the caulk into the seam, and spread it thinly using an adhesive spreader. Hold the spreader at an angle, and drag it across the seam to make the caulk level. Clean up any seeping caulk while wet.
Step 3
Brush rubber cement over the mouth of a jar or lidded vessel. Wait for the coat to dry, and then repeat two to three times. Apply a thin coat of the same cement to the threads of the lid or cap, and then screw the jar closed.
Step 4
Seal a wooden box or chest, by applying wood putty to all cracks and seams. Roll the putty into a thin snake, and press it into the gaps. Then use your fingers or an adhesive spreader to smooth the putty. Remove any excess, then dry overnight. Sand the wood smooth. Apply one to three coats of varnish to the entire box.
Step 5
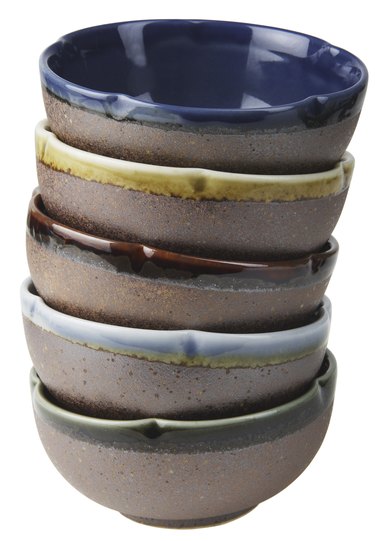
Craft a ceramic vessel, and then fire it once. Fill the pot with glaze, and then invert it to dump out the excess. Repeat two to three times. Paint glaze on the exterior of the pot, excluding the base. Fire as directed by the glaze manufacturer; do not exceed the safe firing temperatures for the clay used.
Video of the Day