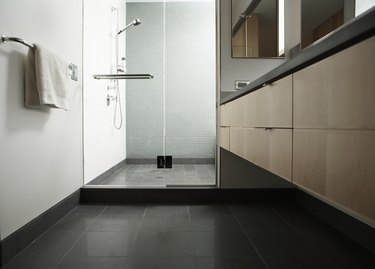
When moisture collects onto a smooth surface, like tiles, it can become very slippery. Bathroom and kitchen floors are often tiled and can become hazardous without some kind of nonslip coating. An epoxy nonslip sealant makes slippery tiles rougher, giving feet something to grip when the smooth surface becomes wet or oily. You can apply nonslip sealer yourself to just about any ceramic finish tile. If tiles and grout have been previously sealed, you'll need to strip them first so the new nonslip water-based sealer can bond properly.

Video of the Day
Things You'll Need
Cloths
Detergent
High-Quality Sponge Mop
Epoxy Sealant
Bucket
Step 1
Clean the tiles well using hot water and detergent. Ensure all dirt and oil are removed from the tiles as well as the grout. Let the tiles dry completely.
Video of the Day
Step 2
Pour the sealer into a bucket and dip the mop in. Apply the sealer to the tile floor in short and even strokes. Start in the corner of the tile area, and when it is time to re-wet the mop, pick up where you left off.
Step 3
Work on the farthest point on the tile and move toward the area closest to the door. Avoid boxing yourself into a corner and having to step on the sealant to get out.
Step 4
Allow the first coat of sealer to dry completely, according to the directions on the package. Place fans nearby to speed up the drying process if desired. Open windows throughout the house to increase circulation.
Step 5
Apply another coat of sealant after the first one dries, if the manufacturer's instructions say so. Allow a second coat to dry completely, anywhere from 24 to 48 hours, depending on the manufacturer's instructions.
Tip
High humidity can extend the time it takes the sealant to dry.
Keep foot traffic off the tile until the sealant is completely dry and cured.
Rinse out the mop and bucket well in between coats so the sealant will not dry on them.
Warning
Any failure to clean dirt and oil from the tile may result in the nonslip sealant being less effective or not adhering properly to the tile.