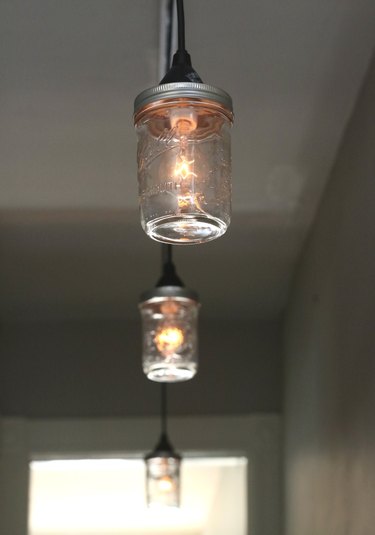
Learn how to make mason jar pendant lights compatible with a track light system for an industrial modern lighting update.
Things You'll Need:
Video of the Day
- Non-contact voltage tester
- Track for track lighting (compatible with pendants)
- Screwdriver
- Track pendant fitters
- Box cutter
- Wire cutters
- Wire strippers
- Mason jars and rings, old lids
- Drill and 1/8th-inch drill bit
- Metal cutters
- 40 watt candelabra based bulbs, 3
Video of the Day
Getting Started
To give an outdated track system a modern update, all you have to do is swap out the track heads for hanging pendant fittings. If the pendant fittings aren't compatible with the older track mount, it's simple to replace the entire system in a few extra steps for an updated look and feel.
Before starting, turn off the power to the lighting track by switching off the associated breaker on your home's breaker box and testing the circuit with a non-contact voltage tester to ensure that all power to the circuit is off.
Step One

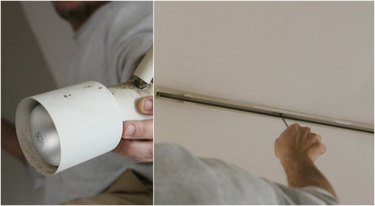
If updating an older system, remove the individual track fittings before dismantling the mounted track. The track should come loose by unscrewing it from the ceiling. Then carefully disconnect the wires at the light source.
Step Two
To install a new track compatible with pendants, first reconnect the electric wires at the light source. Then mount the track back along the ceiling, starting with the screws at the power end.
Step Three
Before installing the new pendants for the track, customize them for appropriate hanging length (if they need adjusting).
Tip: If the pendant kit came with lights in your desired length, you can skip the following wire-cutting steps and start with the shade instructions.
Step Four

To customize the length to work in your space, measure the ideal hanging length from the track, then cut the pendant cable (measuring from the pendant back up) using a pair of wire cutters.
Step Five

To refit the track connector to the end of the cut pendant, first disassemble the excess cut cable from the track connector by unscrewing the connector base and pulling the inside components free.
Step Six
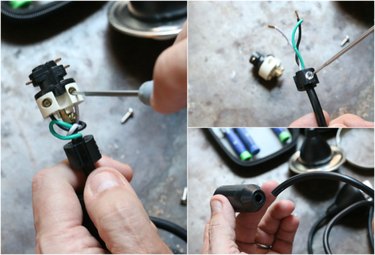
Unscrew the existing wires from the connector, remove the strain relief and discard the excess cable.
Step Seven
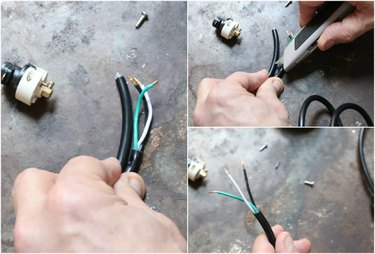
Now working with the pendant portion, use a box cutter to strip the cable to expose the wires at the tip, being careful not to nick the wires inside. Use wire strippers to expose the copper wires at the tips of each exposed wire.
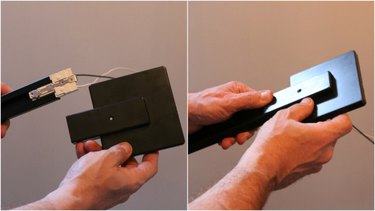
Step Eight
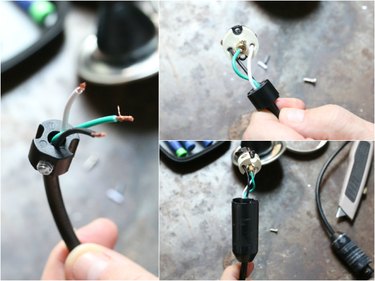
Refit the track connector onto the pendant in the same order you disassembled it from the excess cable. First slip the connector base onto the cable, followed by screwing the strain relief back onto the cable at the point where the original sheath was stripped.
Step Nine
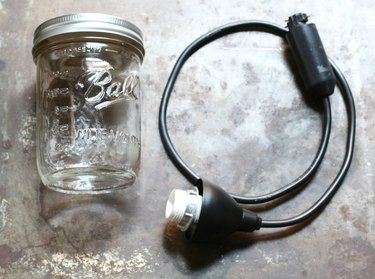
Reattach the wires to the connector just as they were connected before, along the line (black), neutral (white) and ground lines (green). Pull the connector base back up over the inside components, and you're ready to make the mason jar shade.
Step Ten
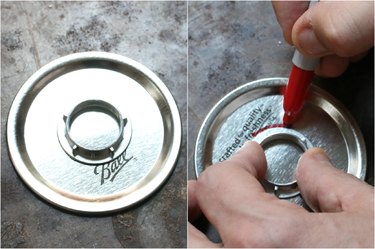
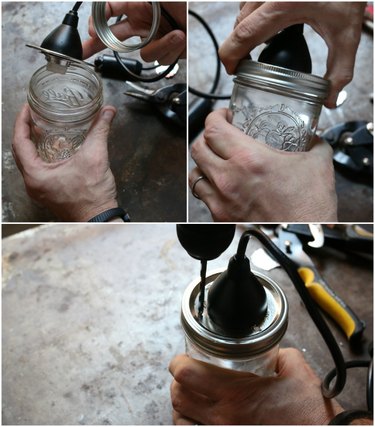
Remove the lock nut from the pendant, and trace it onto the center of the mason jar lid. This will mark where the pendant will attach to the top of the jar.
Step Eleven
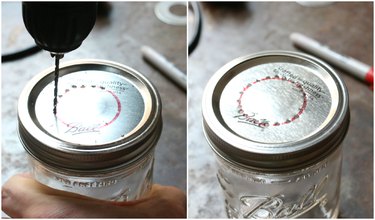
Next, use a power drill to puncture holes along the entire circumference of the marked circle. Drilling holes will create a guide and make it easier to cut a hole into the jar lid.
Step Twelve
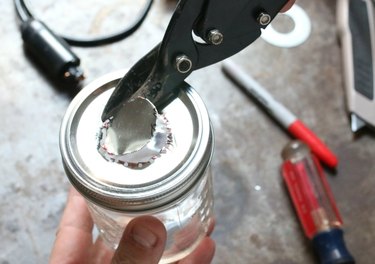
Using metal cutters, snip away the circle, revealing an opening in the jar lid to fit the pendant socket into.
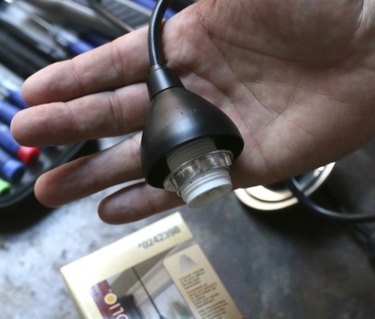
Step Thirteen
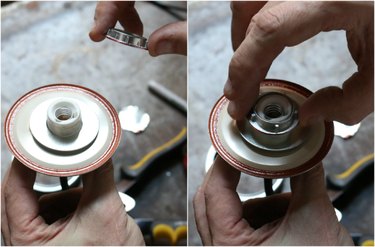
Insert the pendant socket into the top of the jar lid. Remove the ring and lid from the jar, but not from the cord of the light. Invert the lid and slide the reducing washer that came with the pendant kit (looks like a big washer) onto the socket. Twist the lock nut over the socket and reducing washer tightly to secure.
Tip: The reducing washer gives the socket a place to clamp onto if the lid hole were to be too big.
Step Fourteen
Twist the lid onto the jar and drill four vent holes around the outside of the pendant fitting, which will allow heat dissipation for the lamp.
Step Fifteen
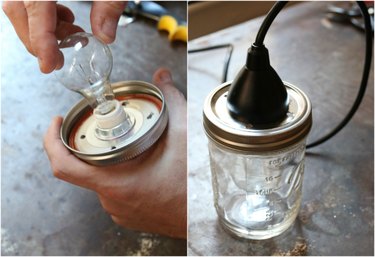
Remove the ring and lid to access the bulb socket. Twist the bulb into the socket, reattach the jar lid and it's ready to insert along the mounted track system.
Step Sixteen
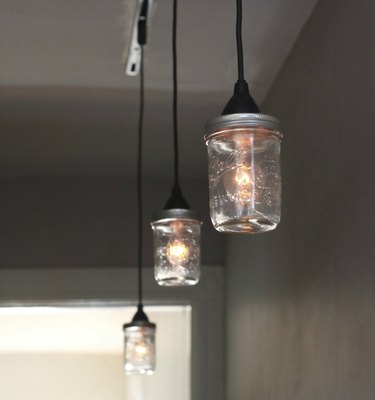
When inserted and styled, turn the breaker power back on, and marvel at the new rustic-modern mood lighting gracing your space!