Things You'll Need
11 pieces of 8 1/2-by-11-inch printer paper
1 template for your keystone (octagon or trapezoid prism)
1 template for each end of the base (3-dimensional 30-90-60 triangles)
4 templates for the remaining arch shapes (variations on cubes)
Stapler, glue or tape
Scissors or utility knife
Ruler
Pencil
Printer (optional)
Assistant

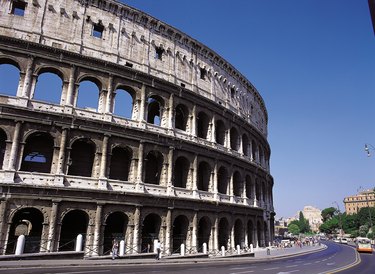
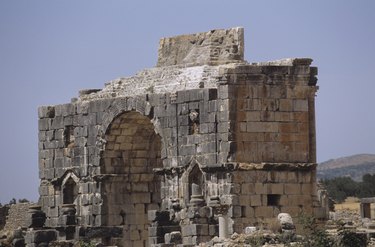
Although an arch looks sophisticated, its construction is relatively easy. You just have to use two certain crucial elements: the most lightweight material possible and a keystone. This technique allowed the ancient Romans to construct some very elaborate buildings. You can construct cubes and other geometric shapes out of paper to build a lightweight model of an arch. You can easily find templates for geometric shapes in books or online or use a ruler to create your own.
Keystone
Step 1

Choose the shape for your keystone. It needs to be an upside-down octagon or trapezoid, but any shape with two sides bent at a 45-degree angle can be used.
Video of the Day
Step 2
Print out your template using any type and color of your preferred paper, but the more lightweight, the better. As an alternative, you can use the pencil, scissors and ruler to make an accurate copy. Fold this shape into three dimensions.
Step 3
Cut out your template using the scissors. Fold and crease along the lines. Use the ruler to reinforce the creases.
Step 4
Close the flaps carefully of your keystone using as little glue or tape as possible. Set this aside to be used later; it is the final piece of your arch.
Base and Arch
Step 1

Follow Steps 2 through 4 in Section 1 to prepare the two triangle templates and the remaining cubes for your arch. You will have eleven pieces in total: two for the base, eight for the arch support and the keystone.
Step 2
Place one of the triangles flat with the 30-degree angle facing up. Choose one of the cubes and place it on the triangle. Adjust the cube if needed to fit the 30-degree angle of the triangle.
Step 3
Have your assistant help you assemble the rest of the arch. You need someone to hold the paper blocks in place until the arch is completed and can stand alone.
Step 4
Place the third and fourth blocks on top of each other, adjusting the angles higher as needed. After the fourth block is in place, you can add the keystone. One side of the arch has to stand up with one person holding the keystone, while the second person fills in the other side of the arch with the remaining paper cubes.
Step 5
Finish you arch by placing the triangle base first. Place the remaining cubes between the base and the keystone. Adjust the sides of the cubes as needed so they fit together and the arch stands on its own.
Tip
Your arch doesn't have to be made of eleven pieces; however, since the bridge is supported by its own weight, have an equal number of paper blocks on each side of the keystone. Have no less than nine unless your arch is exceptionally small. Your keystone can also be two blocks instead of one, but ensure they fit together snugly.
Warning
You can make your cubes freehand without the use of templates and alter them as your arch progresses. You may have to alter the angles on your arches as you build them so they support each other properly. Alternate materials like clay or stone can be used for more sophisticated models. The Romans used different mixes of concrete and stones when building their arches, but modern arches built with these materials must also be fitted with steel or wood to be safe. Do not attempt to use these techniques to build a large arch with heavier materials unless under the direction of a professional mason or bricklayer.
Video of the Day