Things You'll Need
Masonite board
Roll of shrink wrap
Cylinder-shaped object
2 clothespins
Wood glue
Heat gun

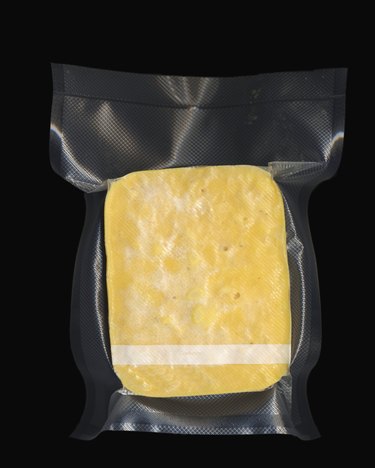
Shrink wrap is widely used as a packaging material. It begins as a large sheet of thin plastic that thickens and shrinks when heat is applied to it. Some types of shrink wrap can shrink up to 50 percent when heated. Shrink wrap can be purchased at most craft stores or made at home from No. 6 recyclable plastic. Shrink wrap is popular for packaging as it has an air-tight seal and keeps out moisture, light and dust while still allowing a customer to view the product.
Step 1
Cut a piece of masonite board to the size you need your machine to be.
Video of the Day
Step 2
Lay the masonite board flat on a stable surface with the smooth size up.
Step 3
Place the roll of shrink wrap at the top of the work space.
Step 4
Insert the cylinder-shaped object from your home, such as a rolling pin, into the center of the shrink wrap, the same way you would put paper towel on a paper towel holder. Ensure the object has space on either side of the roll of shrink wrap. This space will be needed for you to grab and move the roll of shrink wrap around.
Step 5
Use one clothespin at either corner of the top of your workspace to secure the end of the shrink wrap to the top of the work space.
Step 6
Cut a piece of masonite board the length of your machine and approximately 2 inches in height.
Step 7
Secure the strip of masonite board to the bottom of your work space with wood glue to create a lip to stop the shrink wrap roll from falling off your workspace.
Step 8
Pull the roll of shrink wrap toward the bottom of your workspace. Place the item you want to shrink wrap in the center of your workspace.
Step 9
Lift the roll of shrink wrap over the item placing it back at the top of you workspace.
Step 10
Cut the shrink wrap from the roll, and remove the clothespins from either side of the top of the work space.
Step 11
Use your hands to ensure the shrink wrap is tightly folded.
Step 12
Cut approximately 6 inches around the item to ensure when the wrap shrinks, there will be no gaps. If there is not enough overlap, the shrink wrap will have gaps in it.
Step 13
Plug in the heat gun and heat the back of the item first.
Step 14
Heat the front of the item last to tighten the wrap and give it that finished look.
Tip
If you keep finding there are gaps in the shrink wrap when it is heated, leave more overlap. If you are finding there are large amounts of shrink wrap in certain areas after being heated, try leaving less overlap in those areas for some layers of the wrap only. For wrapping multiple items, create a larger work space with a larger piece of masonite board.
Warning
Ensure you have good ventilation to prevent from inhaling toxic fumes while heating the shrink wrap.
Video of the Day