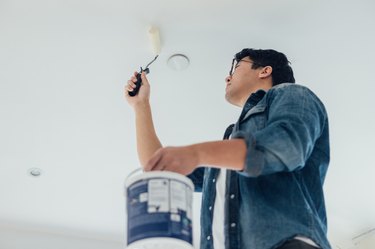
Creating a swirl texture on the ceiling is one of the many ways people choose to bring a little extra design to their spaces. Swirl textures, commonly referred to as fan patterns, are one of the most straightforward designs to add to a ceiling and can be completed with only a few supplies.
Prepare the Area
Video of the Day
To complete the project, you will need protective eyewear, fine sandpaper (between 120 and 220 grit), a rag, a taping knife, air-dry drywall mud, a V-notch trowel and a paint roller. It is essential that you adequately prepare the surface before creating the swirl texture on the ceiling. To ensure the ceiling is ready for application, lightly sand the area, taking time to remove any imperfections, such as pockmarks, humped seams and tool scratches. Ensure that you are wearing protective eyewear to avoid getting dust in your eyes.
Video of the Day
These markings will still show beneath the drywall mud, breaking up the swirl texture on the ceiling, so it is important to lightly sand down anything you do not want appearing in the final product. For any stubborn ridges that don't sand down, remove them with a taping knife. Once sanded, remove lingering dust with a damp rag and wait for the surface to dry before proceeding.
Apply the Drywall Mud
As the ceiling dries, start preparing the drywall mud. When selecting a drywall mud, also known as a joint compound, look for something that is premixed or air-dry. Avoid purchasing a fast-drying joint compound or it will dry before you can create the swirl texture on the ceiling.
Following the manufacturer's instructions, prepare the drywall mud for application, being sure to mix in a small amount of additional water to create a creamy consistency that you can paint onto a surface with a paint roller. Roll the drywall mud onto the ceiling with a paint roller, making sure to apply it in an even, consistent layer across the ceiling. This consistency ensures the swirl pattern will appear even.
Once applied in an even layer, comb through the perimeter of the drywall mud section with the V-notch trowel, creating a box. This action will help the swirl pattern blend in along the edges of the ceiling.
Create the Swirl Texture on the Ceiling
Line the V-notch trowel in the top right corner of the ceiling so the trowel's right side is close to the ceiling's edge, overlapping with the perimeter you just drew. Make sure there is enough room above the trowel to turn it counterclockwise. Once aligned, turn the trowel in a rainbow arch motion to the left, keeping the trowel's left corner anchored in place. Once you complete the semicircle, pull the trowel away, being careful not to smudge the design you just created.
Move the trowel over and align it so it is level with the previous semicircle and slightly overlaps. Then, steadily repeat the rainbow arch motion to the left, carefully pulling the trowel away once you complete the semicircle. Continue the process until you complete the first row.
To begin the second row, align the trowel so that the edge lines up with the perimeter's interior edge and it sits between the two semicircles above. Then, repeat the same rainbow arch motion. Repeat the same steps for the next semicircle, making sure to slightly overlap the previous one you drew. Be sure to stagger each row, alternating between overlapping the perimeter and lining up to the interior edge.