Things You'll Need
Concrete masonry drill-bit
Drill
1/2-inch concrete wedge anchor bolts
Hammer
Torque wrench

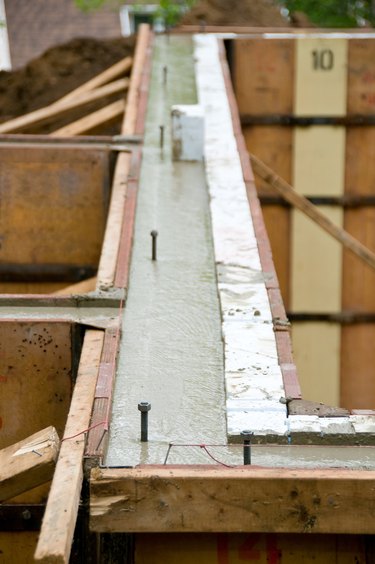
A sill plate is the bottom part of the wood framing wall in home construction. It is where the 2-by-4-inch wall studs are attached at the bottom of the wall. It must be securely attached to the concrete slab to keep the walls from caving in or falling down. The best way to do this for the do-it-yourself homeowner is to attach the sill plate using wedge anchors specifically manufactured for use in concrete. After you securely attach the sill plate to the concrete foundation, you can build the walls with confidence, knowing they are secure and will stand for a long time.
Step 1
Position the sill plate in place on the concrete slab or foundation. The sill plate is the bottom part of the wall that the framing studs are attached to.
Video of the Day
Step 2
Drill holes through both the sill plate and into the concrete, using a concrete masonry drill-bit. These are for the wedge anchors, which hold the bolts used to secure the sill plate to the foundation. The holes should be no closer to the edge of the concrete slab than the equivalent of five diameters of the lag bolts. For example, to use a 1/2-inch wedge anchor bolt, drill the holes at least 2 1/2 inches away from the edge of the concrete slab. Space the holes for the wedge anchor bolts about 6 inches apart all along the sill plate.
Step 3
Insert one wedge anchor bolt set into each drilled hole and hammer it into place with a hammer.
Step 4
Tighten the bolts in the wedge anchors with a torque wrench.
Video of the Day