Things You'll Need
Masking tape
Pencil
Drill with a diamond bit and screwdriver attachment
Cooling oil
Toggle bolts
Brackets

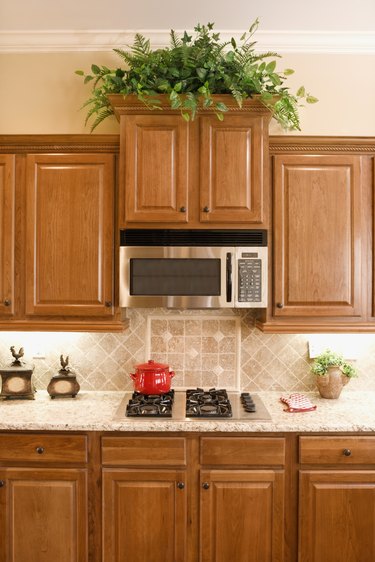
Installing the microwave above the kitchen range where a vent hood would normally go is becoming a frequently seen design. This frees up space on the counter and allows the microwave to double as the exhaust hood for the range. Because many hoods are higher than the bottom of the microwave, it's common to install the brackets for the unit to sit on through an existing kitchen backsplash. Rather than attempting to remove the tiles and patch the wall, drill through the tiles with a special drill bit.
Step 1
Mark the position on the backsplash where the bracket will be installed. Place pieces of masking tape over the areas where the holes will be drilled. Mark the exact spot with a pencil. The masking tape helps the drill bite into the smooth surface of the tiles.
Video of the Day
Step 2
Dip the end of a diamond drill bit into a vial of cooling oil before drilling, because the bit gets hot grinding through tile.
Step 3
Position the tip of the drill against the masking tape and begin to drill. Keep the speed and pressure steady as you drill through the tile to the wall behind. Keep in mind the tiles are probably only 1/4- to 3/8-inch thick. After this, you'll be drilling through the drywall. If the drill begins to glow red or smoke as it drills through the tile, dip the bit into the cooling oil again.
Step 4
Remove the drill and line up the brackets. Use the drill with a screwdriver attachment to slowly drive the toggle bolts through the brackets and tile into the drywall. The bolts will enlarge on the other side of the tile to help hold the brackets in place. Continue installing the microwave according to the manufacturer's directions.
Tip
Purchase cooling oil from a hardware store or home improvement center.
Warning
Wear protective eyewear when using power tools.
Video of the Day