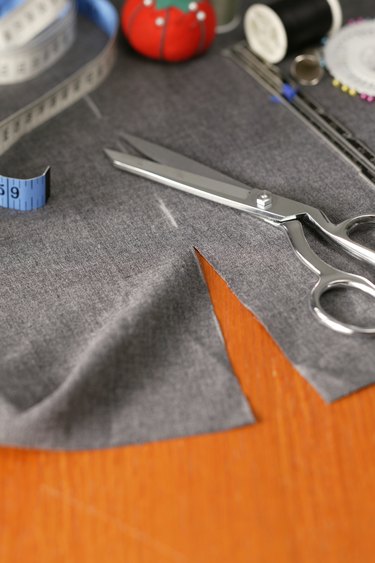
Things You'll Need
Fabric chalk
Ruler or measuring tape
Scissors

As your taste and style change, the back of your closet may fill with old t-shirts that still fit you but no longer suit you. Rather than bundling them all off to the thrift store, try repurposing some of them into tank tops, tunics, halter tops or even little-girl dresses. In many cases, the first things you have to change to update the look of a t-shirt are the boxy sleeves and neckline. Choose how much material to remove based on the look you want.
Step 1
Turn the shirt inside-out. Lay it on a flat work surface, and straighten the sleeves so they flare out naturally from the armholes.
Video of the Day
Step 2
Draw a line in fabric chalk on one sleeve where you want to cut. To create a cap or ruffled sleeve, draw a straight line on an angle, beginning an inch or two out from the seam on top and ending right at the seam on the bottom. To create a tank top or halter, draw a line on a slight curve, beginning and ending at the seam but curving inward lightly in the middle.
Step 3
Measure the line's distance from the seam at the top, middle and bottom. Use the measurements to draw a matching line on the other sleeve.
Step 4
Cut along the chalk line on each side. Try on the shirt to see whether you have cut the sleeves short enough. If not, draw new lines and cut again.
Step 5
Draw the new neckline on the t-shirt in fabric chalk. Measure the distance from the neck band as you go to make sure both sides are even. Cut along the chalk to remove the neck.
Tip
If you plan to add new sleeves or a collar or drawstring, you can cut immediately along the inside of the seams at the arms and the bottom of the neckband. Keep the scissors as close to the seam lines as possible. This does not help create shape, but it is a quick, simple way to remove the old sleeves and neck.
Warning
If you're not sure how much sleeve you want to remove, begin conservatively. You can always trim more later if you don't remove enough.
Video of the Day