Things You'll Need
Screwdriver
Voltage tester

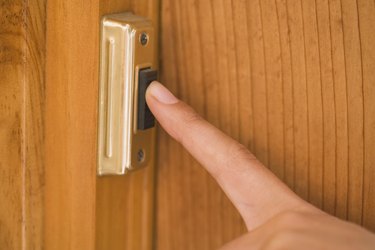
A doorbell provides a means for a person to announce his presence at your front door. Often a doorbell is more audible throughout a home than a knock is. If the doorbell stops functioning correctly, one problem may be that the diode is damaged. The diode is a component that allows the doorbell to continue ringing after the button has been released.
Step 1
Turn off the power to the circuit at the main electrical box.
Video of the Day
Step 2
Unscrew the mounting screws that keep the doorbell mounted to the house.
Step 3
Pull the doorbell away from the house, and test the wires with a voltage tester. If you get a reading, switch off a different circuit and test the line again. Proceed to Step 4 only after you have shut off the circuit that controls the doorbell.
Step 4
Loosen the terminal screws on the diode, and remove the wires. The diode is the flat plate behind the doorbell. Remove the diode and replace it with a new one.
Step 5
Wrap the wire leading from the transformer around one of the terminal screws on the diode, and tighten the screw.
Step 6
Wrap the wire leading to the doorbell button to the other terminal screw, and tighten the screw. The diode is now installed in the circuit.
Step 7
Screw the doorbell back into place.
Step 8
Restore power to the circuit, and test the doorbell.
Video of the Day