Things You'll Need
Sewing shears
Straight pins
Hand sewing needle
Thread
Sewing machine (optional)
Liquid seam sealer

Sweatpants are comfortable for everyday wear and participating in sports activities. As a result, they are prone to tearing and holes in the knees. Instead of replacing them with new pants every time there is a hole, repair them with a few basic sewing stitches. Since sweatpants are made of fleece, which tends to pill and fray once torn, follow a few steps to repair and maintain sweat pants for yourself and your family.
Round Holes or Simple Rips
Step 1
Turn the sweat pants inside out and place one hand inside the leg to hold the hole open. Do not stretch the fabric. With your favored hand, snip away excess pilling and threads from the hole using a small pair of shears or the tip of a regular pair of shears.
Video of the Day
Step 2
Pin the hole closed with a few straight pins. Position the pins vertically, if possible, around the hole. This helps relieve the stress on the stitching when the pants are worn. A horizontal stitch is more likely to stretch and open when the knee is bent. Place the first pin about 1/2-inch from the edge of the hole, just catching the fabric with the needle.
Step 3
Taper the position of the next pin around the outside of the hole, being sure you are outside the hole and leaving enough seam allowance to avoid fraying.
Step 4
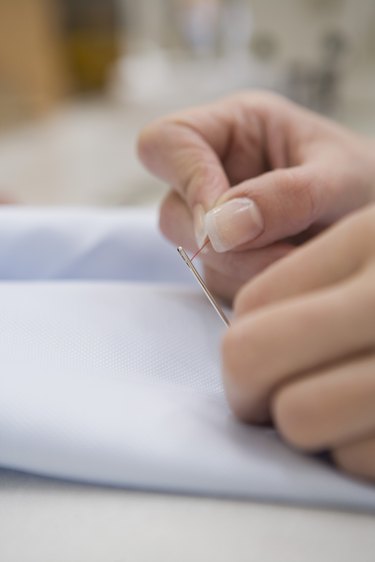
Thread the needle with coordinating thread and double it on the needle. Knot the end to secure.
Step 5
Start stitching at the first pin, just pinching the fabric together to start tapering the line of stitches. By tapering the stitches, starting with almost no fabric in the first few stitches, you will reduce puckering of the fabric.
Step 6
Continue stitching around the hole, tapering the stitches on the other side of the hole until you have almost no fabric in the last stitch. You will be creating an arc, or semi-circular shaped row of stitches around the hole that tapers on both sides.
Step 7
For added strength, stitch over the hand stitching with a machine zigzag stitch, if desired.
Step 8
Apply seam sealer along the edge of the fabric to prevent further pilling and fraying.
Irregular-Shaped Holes
Step 1
Sew an irregularly shaped hole, or a tear one with angles, by cleaning up the edges first, removing lint and threads.
Step 2
Pin along the angle of the tear, catching both sides evenly, with straight pins.
Step 3
Create a row of straight or overcast stitches along the line of the tear, tapering as needed along beginning and end of stitches to prevent excessive puckering.
Step 4
Secure the hand stitching with a row of machine zigzag stitches, if desired, easing around the points and curves of the tear.
Step 5
Apply seam sealer along the edges of the fabric to prevent further pilling and fraying.
Tip
For large holes that will pucker, a patch may be added to the inside or outside of the fabric, stitching along the outside edges of the patch.
Apply a lightweight patch of fleece fabric to both the inside and outside of the fabric, securely stitching around the edges.
Liquid seam sealer is machine washable and dry cleanable once dry. It is available in fabric and craft stores and on the Internet.
Video of the Day