Things You'll Need
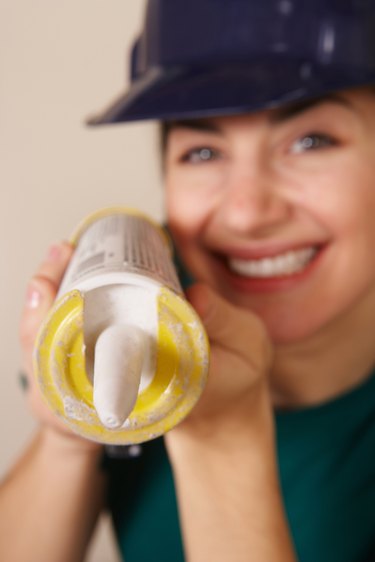
Polyurethane caulk or acoustical sealant
Caulk gun
Utility knife
Staple gun
Staples
Vapor barrier material (as needed)
Tape measure

Invading air accounts for a third or more of your home's heating and cooling costs, and cracks also allow entry to insects and pollutants. A vapor barrier combats these problems by blocking air flow completely and eliminating moisture transfers arising from condensation that forms on barriers between warm and cold environments. The best vapor barrier doesn't help much, however, unless it's complete -- without holes or seams through which moisture and air can seep, negating the effectiveness of the surrounding barrier. During installation, leave several inches of excess material on both sides of seams to allow for proper sealing. When remodeling walls where the vapor barrier was applied without proper seam treatments, create new seams and seal accordingly.
Step 1
Locate each seam, hole and edge formed across the length of the vapor barrier. Seams generally result from running out of a sheet of vapor barrier and attaching a new one or when changing direction, such as applying to an adjacent wall or ceiling. Holes and edges arise from punctures to the vapor barrier, cuts created to fit the vapor barrier around objects such as electrical outlets or windows, or the tops and bottoms of the vapor barrier if a new sheet isn't applied to the adjoining surface.
Video of the Day
Step 2
Check each seam, edge and hole to ensure that the vapor barrier is clean, dry and unobstructed. Clean where possible and necessary. Any dirt or debris will inhibit proper adhesion with the caulk, and you do not want to seal moisture inside the wall or ceiling. If the moisture barrier is too dirty or shows signs of significant moisture coming through the structure, remove the barrier and fix the problem before applying new material. In most cases, however, brushing or wiping the barrier edges clean will be sufficient.
Step 3
Load a tube of polyurethane caulk or acoustical sealant into a caulk gun. Avoid silicone formulas, which can slowly dissolve plastics such as polyethylene film. Cut the tip of the caulk tube with a utility knife, at an angle, far enough down the tip to allow a generous bead of caulk to emerge. A line as wide as a pencil is generally adequate.
Step 4
Flip the edge of the material down, if working on a wall edge or the far edge on a ceiling vapor barrier, to expose the surface underneath. If there are two layers of vapor barrier created by overlapping separate sheets several inches, pull both up if possible.
Step 5
Squeeze a continuous, generous line of caulk across the entire length of the vapor barrier edge. Do this either on the framing underneath or, if you have overlapping seams, on both the framing and the top of the first layer of the barrier. Do not allow breaks in the caulking; the caulk works more as a sealant than a glue, and any gap allows air or moisture to penetrate.
Step 6
Press the material back into place and smooth. Continue across all other edges and seams in the same way. Avoid stretching the material enough to tear it, but do not leave wrinkles, sags or other gaps anywhere in the material.
Step 7
Cut strips of vapor barrier as needed to cover seams where excess material was not left to ensure an overlap. Any break in the vapor barrier defeats the entire application. Measure, cut and caulk a strip that is long and wide enough to cover the seam or gap. Extend back to the nearest floor joist, stud or other framing structure on both sides of the void. Caulk into place as directed, spreading sealant under the edges of the barrier beneath the new patch and smoothing the material before covering with the new barrier patch. Run a bead of caulk under all sides of the patch as well.
Step 8
Staple through the bead of caulk at all seams and breaks. Place the staples carefully; the caulk should be fresh and the staple entirely surrounded by caulk. As it dries, the caulk seals the puncture created, maintaining your vapor barrier's integrity. A misplaced staple that is not encapsulated in caulk will undermine your efforts.
Step 9
Squirt a generous amount of caulk into and over any holes or voids in the vapor barrier. If you find a severe tear, consider either creating a patch and applying as previously performed or replacing the entire sheet of vapor barrier. Caulk seals any gap in the vapor barrier that is 1/2 inch wide or less, taking the place of the vapor barrier.
Tip
For extra protection, spread polyethylene tape over each caulked and stapled area.
Seal other gaps in your house to capitalize on the energy efficiency of your vapor barrier. Air or moisture leaks around windows, doors and other areas are easy to seal with caulk or expandable foam.
Warning
In order for the caulk to perform properly, the temperature must be above 40 degrees Fahrenheit.
An exposed vapor barrier is prone to punctures, tears and other damage. Cover it with a wall covering as soon as possible to support and protect your material.
Video of the Day
- Air Seal of West Florida: Air Sealing - Seal Air Leaks and Save Energy!
- Natural Resources Canada: Caulking and Other Air-Sealing Materials
- Do-It-Yourself Housebuilding: The Complete Handbook
- Fine Homebuilding Magazine: Sealing a Crawlspace
- Rineheart Real Estate Inspection Service: Air Sealing Materials