Things You'll Need
2-inch thick foam or quilt batting
Fabric glue or glue stick
Paintbrush
Chest muscle diagram
Scissors
Fabric
Thread
Sewing machine
Tissue paper (optional)

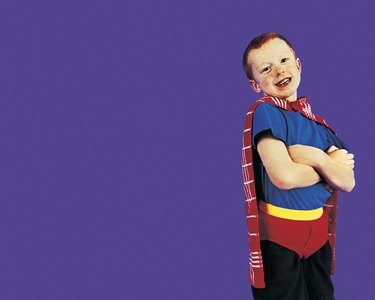
Many children and adults enjoy dressing as superheroes for Halloween or other costume parties. Superhero costumes are also a good addition to a child's dress-up box. Some of these costumes are just a shirt and cape. Adding chest muscles makes them look more realistic. The materials to create chest muscles are inexpensive and creating your own is often more economical than purchasing a costume that includes them. A fabric or craft store is a good place to look for the items you need to make your costumes.
Step 1
Look at a picture of chest muscles. This allows you to determine what size and shape to make each muscle. Make a pattern out of tissue paper, which helps you get muscles that are symmetrical and properly sized.
Video of the Day
Step 2
Trace the muscles onto foam or quilt batting. Use a fabric pencil, which is easier to work with than a traditional pencil or pen.
Step 3
Cut out the muscles. Lay them in the proper order on fabric that coordinates with the costume, which ensures you will sew them in the right way.
Step 4
Glue the muscles onto the fabric. One at a time, lift each muscle, apply a thin layer of fabric glue with a paintbrush to the underside and press it lightly onto the fabric. A glue stick also works well.
Step 5
Sew the edges of the fabric to the inside of the costume with the muscles on the inside of the two pieces. Use a sewing machine and thread that matches the costume. Make the seam as close to the underarms and neckline as possible, which helps disguise it. This can be done by hand if you prefer.
Step 6
Sew between the muscles. Make a seam around each muscle, which gives it definition. Use a small stitch to make the seams tighter and sew as closely to the muscle edges as possible to prevent the fabric from sagging, and to keep the muscles from shifting.
Tip
The same technique can be used to add abdominal, leg and arm muscles to costumes.
Warning
Some of the types of fabric used to make costumes is thin and delicate, so use caution when sewing with them to prevent making holes.
Video of the Day