Things You'll Need
2-gallon plastic pail
2 ½-quart plastic pail
Distilled water
Flowers
Orange slices
Lime slices
Mint
Towel
Platter
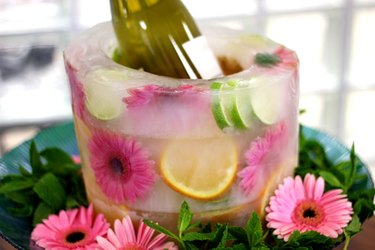
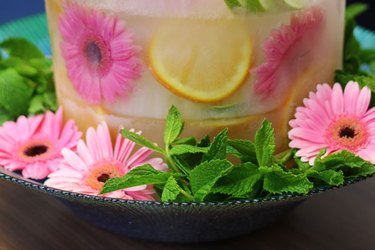
Are you ready to chill out in style? For your next get-together, you can't get much cooler than this ice bucket made of actual ice. It's a functional centerpiece, with fresh flowers and fruit frozen inside. Depending on the season, you can always vary what you encase in the ice, so this ice bucket would also be a showstopper for a summer soiree, a baby shower or a winter cocktail party. We'll toast to that!
Making the Frozen Ice Bucket
Step 1
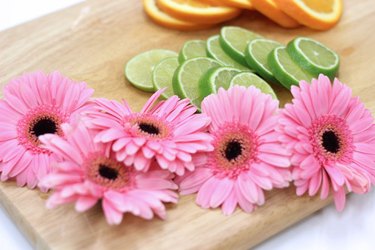
Select flowers with hearty blooms like daisies or roses. More delicate blooms like hydrangeas may fall apart in the water. Cut stems completely off of flowers, and cut oranges and limes into thick slices.
Video of the Day
Step 2
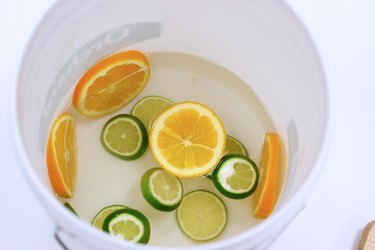
The challenge in freezing objects in water is that they tend to float to the top. To make sure there are flowers and fruit visible throughout the ice, this ice bucket will be prepared in three layers. First, we want to create the bottom of the ice bucket. Start by filling the 2-gallon pail with about two inches of distilled water. Distilled water results in clearer ice cubes than tap water. Then place some orange and lime slices in the water, making sure that some are at the edge. Place in the freezer for several hours or overnight.
Step 3
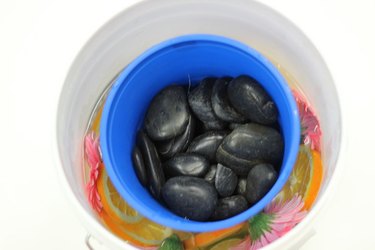
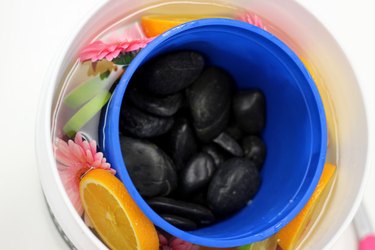
Remove the large pail from the freezer. Place the smaller 2 ½-quart pail on top of the frozen layer of ice and fill with rocks to weigh it down. Insert one layer of flowers and fruit slices in the space between the two pails, positioning the flowers so they face outward. Pour just enough distilled water in this space to cover the flowers and fruit. The water level should only be about half way up at this point. Place in freezer for several hours or overnight.
Step 4
Remove the pail from the freezer and place a final layer of fruit and flowers in the pail, followed by more distilled water. Do not fill water to the top of the pail, as the water will expand when it freezes. Place the pail and all its contents in the freezer.
Step 5
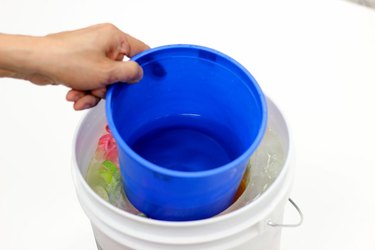
When the entire contents are frozen, it is time to reveal the ice sculpture. Remove the rocks from the inner pail and pour cold water in it. After a couple of minutes, the inner pail slides right out.
Step 6
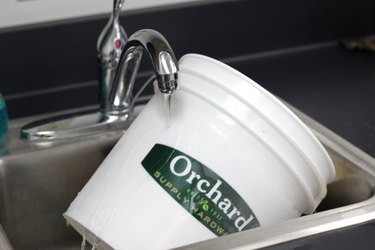
Place the large pail in the sink and run cold water along the sides for a couple of minutes. Tip the pail to the side, and the entire ice bucket will slide out. It will be heavy and slippery, so be careful.
Step 7
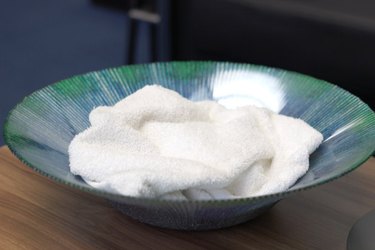
Select a platter large enough to hold the frozen ice bucket. Place one or two towels in the platter to absorb water as the ice melts.
Step 8
Set the frozen ice bucket on top of the towels, and surround the ice bucket with more flowers and sprigs of mint. Display the ice bucket away from direct sunlight, and it will stay frozen for the duration of your gathering.
Tip
For ice that is even more clear, boil the distilled water and then cool it before pouring it into the mold.
Warning
Do not use hot water to separate the ice from the mold, as the difference in temperature may crack the ice.
Video of the Day
