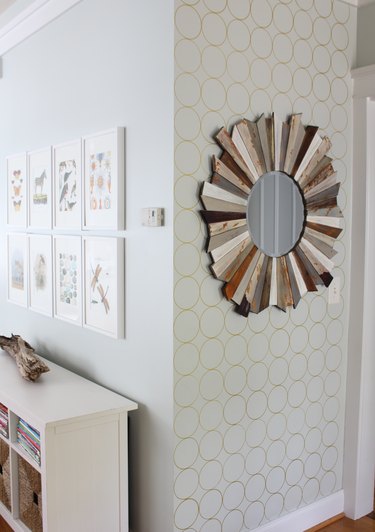
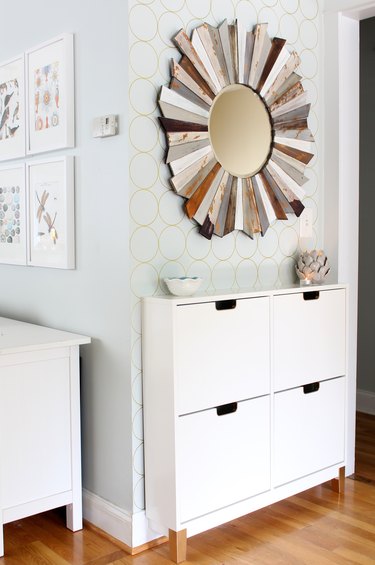
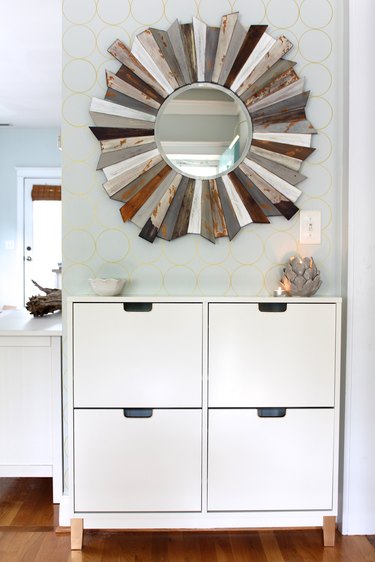
The IKEA shoe cabinet is a perfect way to create a functional storage solution for mail, clutter or decor, while giving you a stylish spot to drop your keys when you get home.
Things You'll Need
Liquid gilding gold paint or spray paint
Natural bristle paint brush
Painters tape
Assemble and Paint the Cabinet
Assemble the IKEA shoe cabinet using the instructions included with the box up until it's time to attach the doors.
Video of the Day
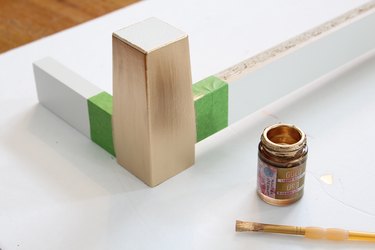
Before attaching the doors, tape around the handle area and paint two coats of paint on the handles. Let the paint dry for approximately thirty minutes between coats. Next, tape around the legs and paint them using the same method.
Tip
You can paint the legs during assembly or after depending on your comfort level. It is easier to paint during assembly and before attaching the base to the cabinet.
Once your cabinet has been painted and is dry, attach it to your wall according to the IKEA instructions.
Video of the Day
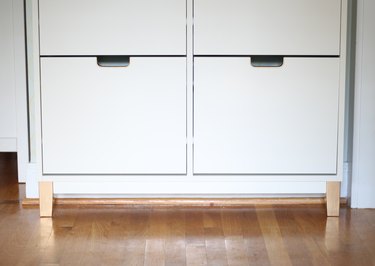
Organize Your Entryway Storage Area
Give each cabinet a purpose. Store your child's artwork or school files in reach to avoid paper clutter at the end of the week. Use one cabinet for magazines or other material that is wanting to be opened or read, or use it as a file system for bills, taxes, and other items that need to be filed.
If you really want to maximize it's use, use the bottom two cabinets to hold flip flops or house shoes for quick and easy access.
To complete the look, add a cute bowl to drop keys and create a small vignette with a pretty candle or vase of flowers.
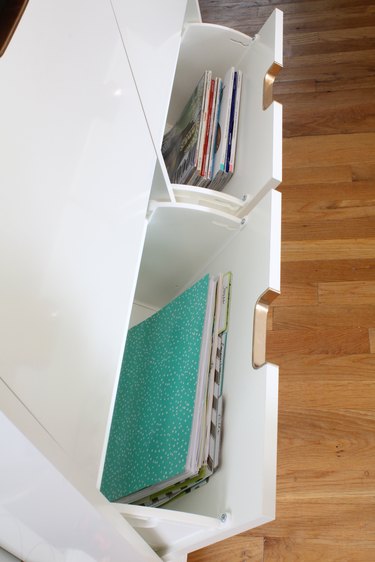
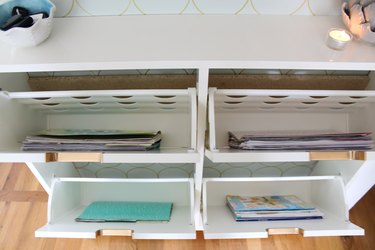
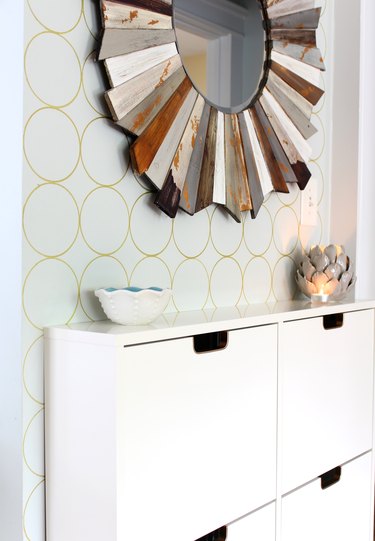
Before and After
At one time, the wall that greets you when you enter your home serves no purpose, but now you can have a functional storage space that feels like a chic entryway. Sprucing up a shoe cabinet with a little paint is an easy way to create a stylish and functional storage area, and it doesn't have to end there! You can also dress up the wall by creating a patterned accent wall using a sharpie, or adding a stylish mirror or piece of art.
