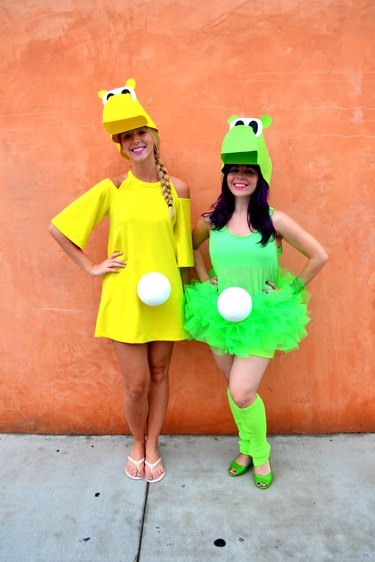
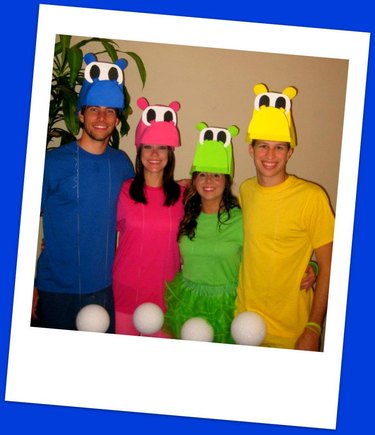
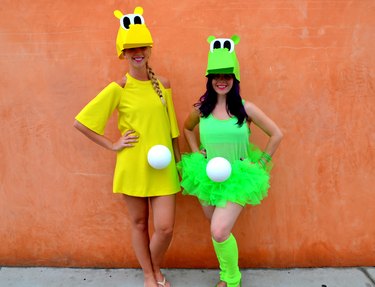
Creativity meets childhood nostalgia with these fun, colorful, and interactive Hungy Hungy Hippo Costumes. Great for couples or groups, these easy-to-make costumes are a guaranteed hit for your next party.
Things You'll Need
Glue gun
Glue sticks
3 foam sheets in Hippo color of choice, 12 inches by 18 inches
1 white foam sheet,
9 inches by 12 inches
1 black foam sheet, 9 inches by 12 inches
Ruler
Exacto knife or sharp scissors
Pen or pencil
Stapler
Small piece of elastic
6-inch foam ball
Fishing wire
Create Your Hippo Parts
Step 1:
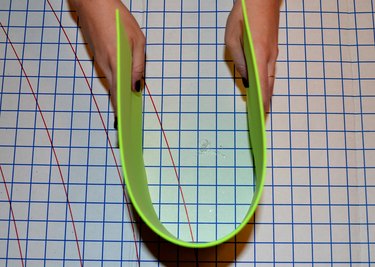
Select the color of your Hippo. (I decided to go with my favorite color, green.) Use a 12 inch by 18 inch foam sheet of your selected color and create a "U" shape. This piece will be used to create the base of your hippo headpiece.
Video of the Day
Step 2:
Lay down another green foam sheet. Place your "U" shape on top and trace around the outside.
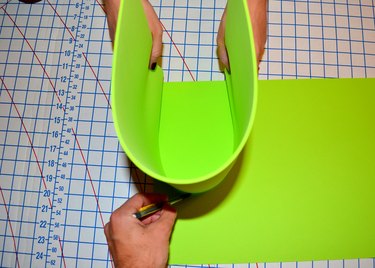
Tip
Start out close to the edge of the foam sheet to save room.
Step 3:
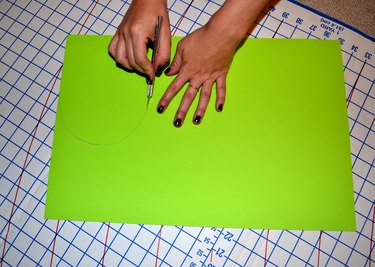
Cut out your "U" shape using an exacto knife or scissors. Trace and repeat. You should have two U-shaped foam pieces.
Step 4:
Video of the Day
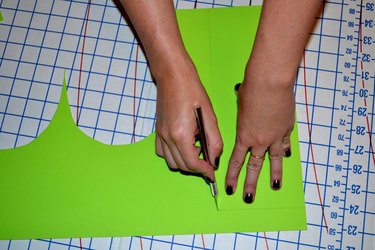
Measure and cut a 4 inch by 11 inch strip to be used for the mouth. Create a "U" shape and repeat steps 1 through 3.
Step 5:
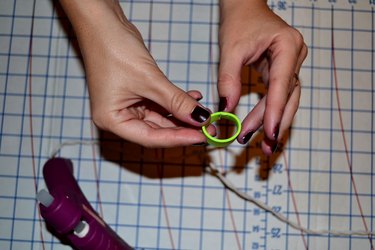
Measure and cut two 1/2-inch by 3 inches strips to be used for nostrils. Create a cylinder and use a glue gun to attach the edges.
Step 6:
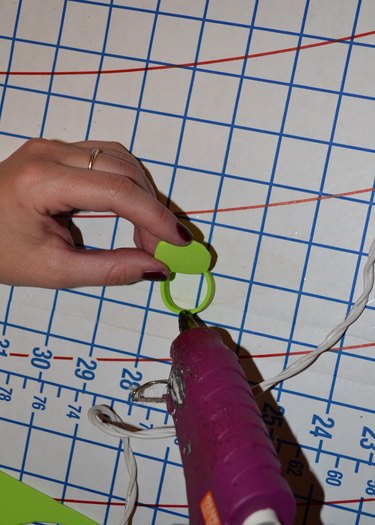
Use the cylinder to trace and cut out two circles. Glue the circles to your cylinders to create the nostrils.
Step 7:
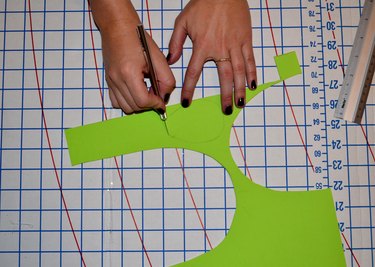
Draw an ear shape measuring approximately 3 inches length and 2 inches for widest width and cut out. Trace and repeat.
Step 8:
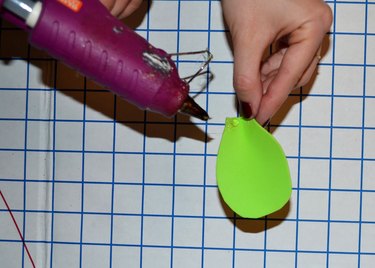
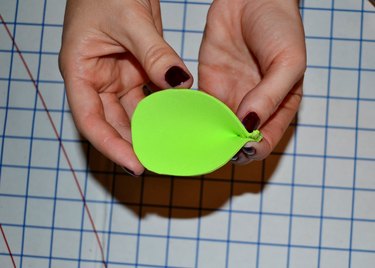
Using the glue gun put a small dot of glue at the bottom of the ear and pinch corners together. Repeat for the the other ear.
Step 9:
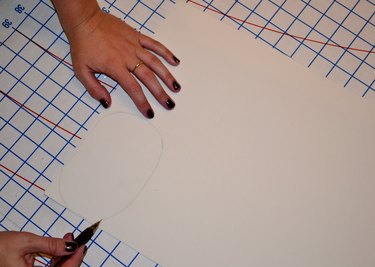
Create the whites of the eyes using your white foam sheet. Your shape should be a rectangle with rounded edges, measuring approximately 5.5 inches width by 3.5 inches length.
Step 10:
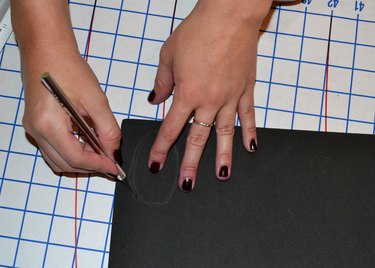
Use your black foam sheet to create your eyes. Draw two ovals measuring approximately 2.5 inches by 1.5 inches and cut out.
Construct Your Hippo
Step 1: Assemble Large "U" Shape
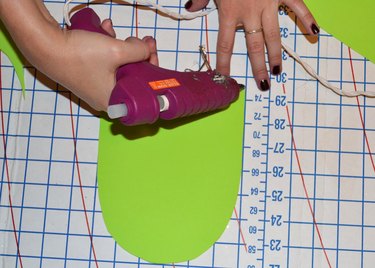
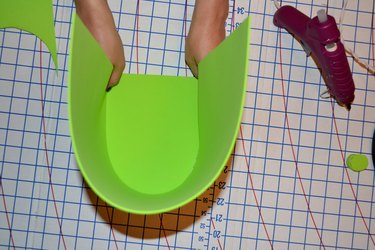
Take your 12 inches by 18 inches foam sheet and recreate a "U" shape. Use the glue gun to line the edges and attach end piece. Repeat on the opposite side.
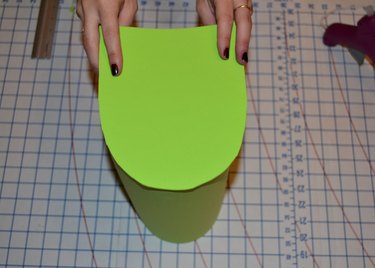
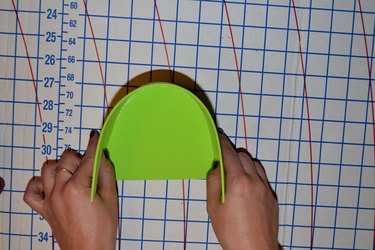
Step 2: Assemble Small "U" Shape
Take your 4 inch by 11 inches strip and recreate a "U" shape. Use the glue gun to line the edges and attach end piece. Repeat on the opposite side.
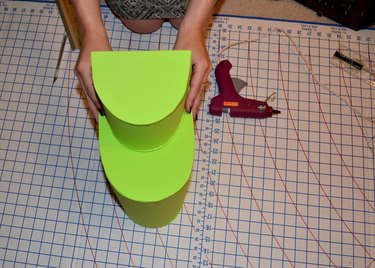
Step 3:
Use the glue gun to attach both "U" shaped pieces.
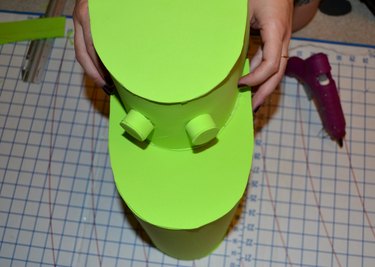
Step 4:
Attach cylinders to nose area to create nostrils
Step 5:
Attach ears to large "U"shape. The placement should be closer to the front.
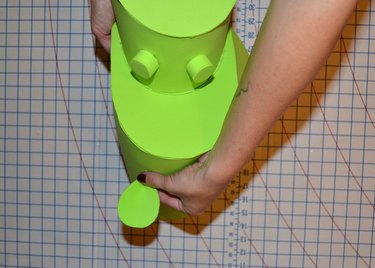
Step 6:
Create the eyes by gluing the black pieces to the white background. Then attach above the nose.
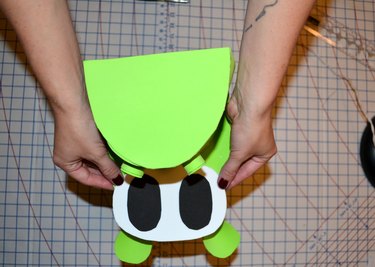
Make Your Hippo Wearable
Step 1:
Measure and cut three .75 inches by 12 inches foam strips. (Note: This section will not be seen so you can use any color you choose.)
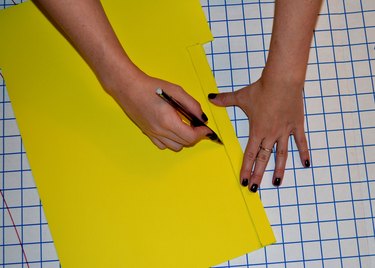
Step 2:
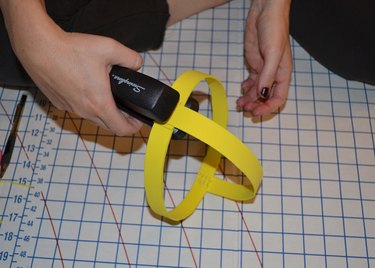
Connect two of the strips by creating a 1-inch overlap and staple. Use this piece to create a circle that fits snugly around your head. Overlap and staple.
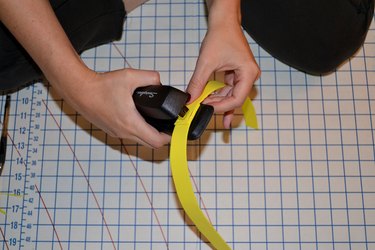
Step 3:
Once circle is created, use the last strip to measure the top of your head. Staple in place and trim any excess
Step 4:
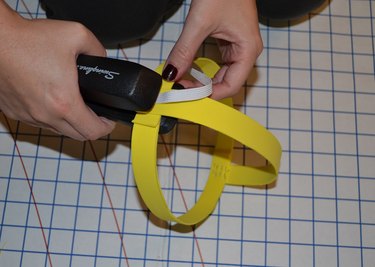
Attach your head piece to your hippo. Start by stapling the small piece of elastic on the outside of your circle and then attach the opposite side to the back of your hippo. This piece of elastic will allow the headpiece to bob up and down.
Step 5:
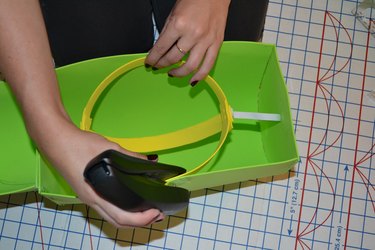
Stabilize your head piece by stapling each side to your Hippo
Create the Full Costume
Step 1:
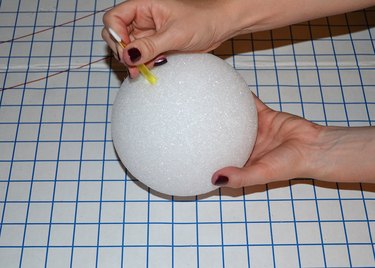
Now that your headpiece is ready, it is time to create our favorite accessory, the beloved ball. Create a necklace using fishing wire and a foam ball. Just poke a hole through the ball with a small paintbrush or pencil and drop the fishing wire through the ball. Tie the ends of the fishing wire into a knot and you are all set!
Step 2:
Now that your costume is complete, it is time to dress the part. Be sure to wear your selected color head to toe and accessorize with matching sweatbands or bracelets.
