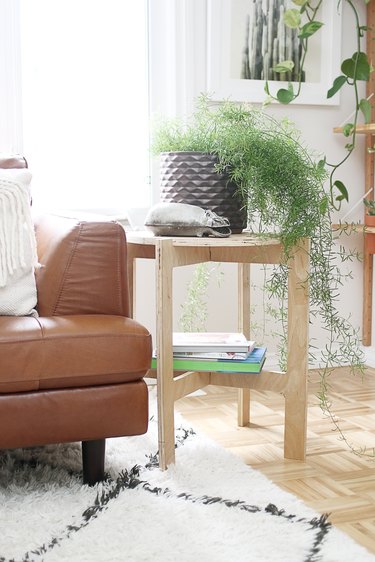
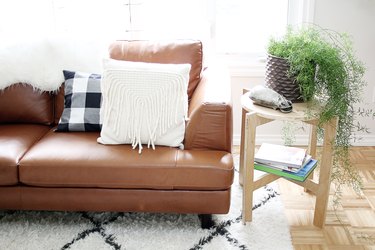
If you are faced with the dreaded small space syndrome in your home, this collapsible side table is a great solution. It's modern, sleek and fully functional -- and it can easily be stored whenever you need some extra space.
Things You'll Need
1/2-inch MDF board
3/4-inch plywood
Tape measure
Pencil
Jigsaw (bandsaw optional)
Circular saw
Drill with 1-inch spade or Forstner bit
Double-sided tape
Router with 1-inch flush trim router bit
Sandpaper
Satin polyurethane
Step 1: Create a Template
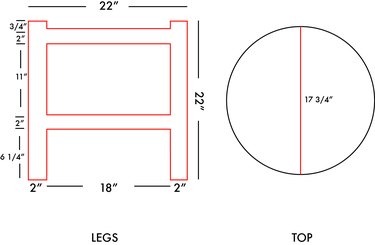
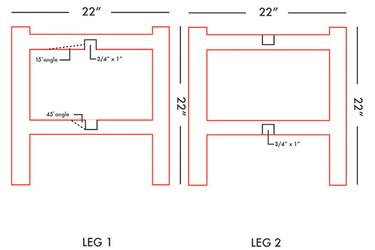
Measure and trace your table dimensions onto the MDF board, referring to the diagram below for the proper dimensions. A template made from MDF board allows you to create markings and holes without compromising the final piece.
Video of the Day
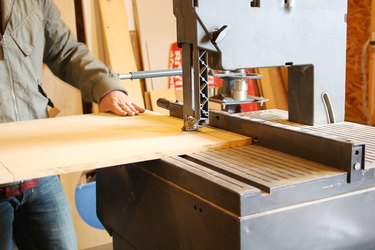
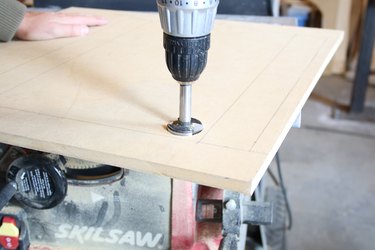
Step 2: Cut out Your Template
Using the bandsaw, cut out the template you traced on the MDF board. To cut the center piece out, simply drill a hole into the middle of the board, following with the jigsaw.
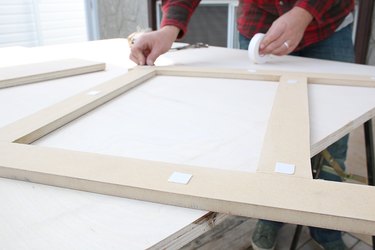
Step 3: Adhere the Template to the Plywood
Using double-sided tape, secure the templates onto the plywood with at least 1/2 inch clearance on all sides.
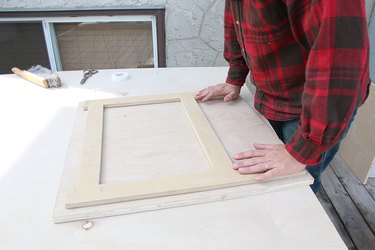
Step 4: Cut out the Plywood Pieces
Using the router, follow the secured template with the bearing of the flush trim router bit.
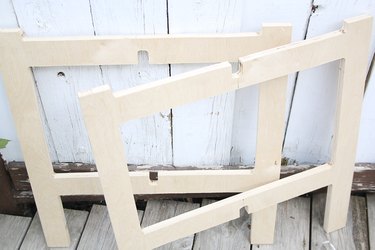
Step 5: Cut out Notches and Angles in the Legs
In the center of both leg pieces, cut out notches and angles, referring to the diagram below for the proper dimensions.
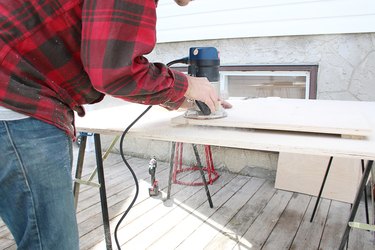
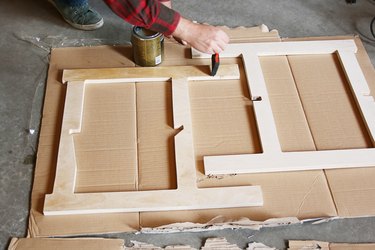
Step 6: Sand and Finish
Using a fine sanding block, sand all the edges and faces of your three table parts. Wipe clean using a damp cloth, and then brush on satin water-based polyurethane on all three parts. Allow to dry. Repeat until you achieve your desired finish.
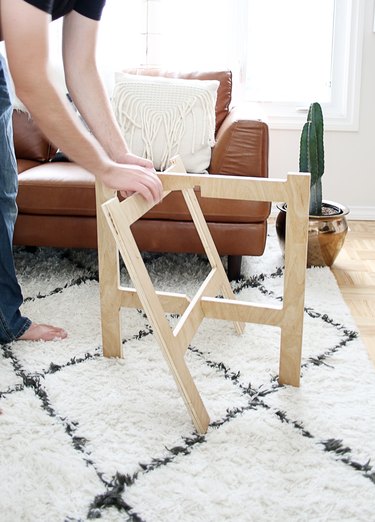
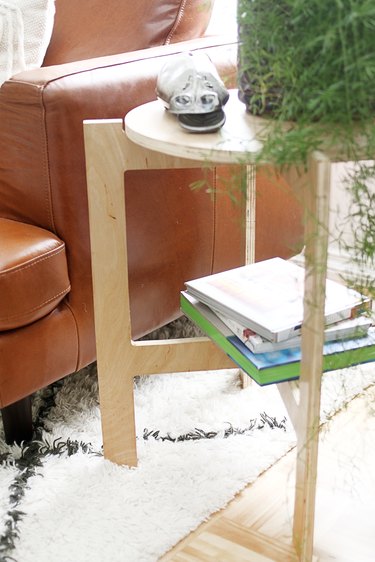
Step 7: Assemble the Table
Once the finish is completely dry, slide the notches in the table legs together so the legs stand upright on their own. Place the tabletop piece on top of the legs, fitting it within the notches so that it rests snugly on top of the legs.
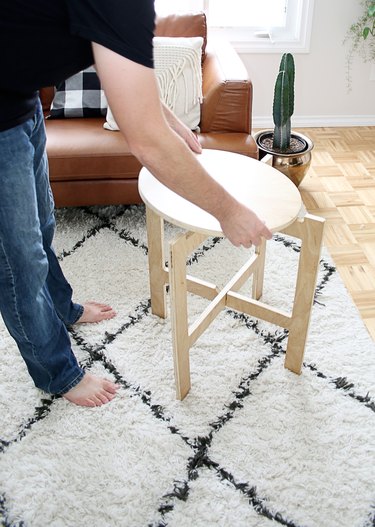
This table is versatile and can easily be used in any room in the home. Its minimal design works for all decor types. When you need that extra space, simply collapse it and store it for future use.
Video of the Day