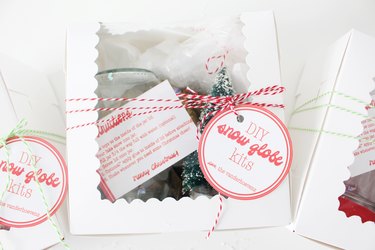
Pass out these cute little DIY snow globe kits to neighbors and friends this holiday season. They're quick and easy to put together, and give your friends a fun activity to do together as a family. Plus, the snow globes make for a unique gift they can use every year.
Things You'll Need
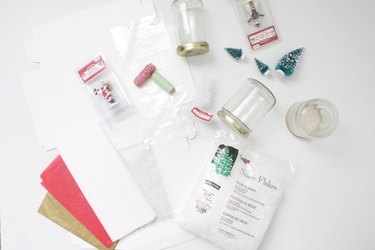
Empty, clean jars
Assorted toys/trees/Christmas village props
Fake snow
Cellophane bags
Baker's twine/ribbon/string
Cardstock paper
Hole punch
Cupcake/gift boxes
Assorted tissue paper
Tip
To clean jars, soak them in water, then scrape away labels with a razor and use Goo Gone or baby oil to rub the stickiness away.
Step 1: Prepare and Stuff Boxes
Cupcake boxes like the ones used here can be found online or at restaurant supply stores. These are 7-inch-by-7-inch-by-3-inch.
Video of the Day
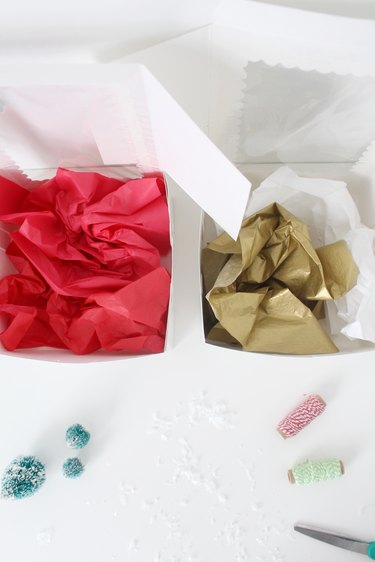
Fold up your boxes and gently stuff some tissue paper in them.
Step 2: Decorate Jars
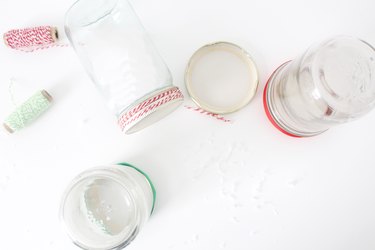
Add ribbon, washi tape or string to the lids of the jars that have writing or decorative elements on them to make the resulting snow globes even cuter.
Step 3: Package Snow
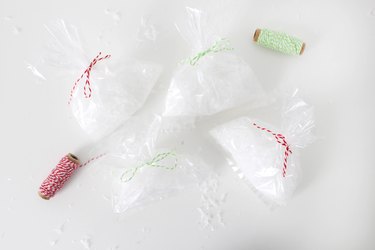
Use an assortment of fake snows and glitter and put about 1/2 cup in each cellophane bag, then tie with twine.
Step 4: Print Out the Free Printables
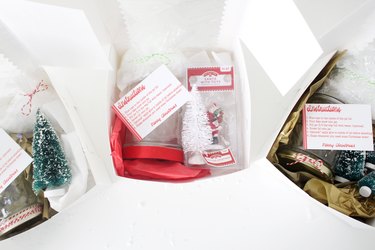
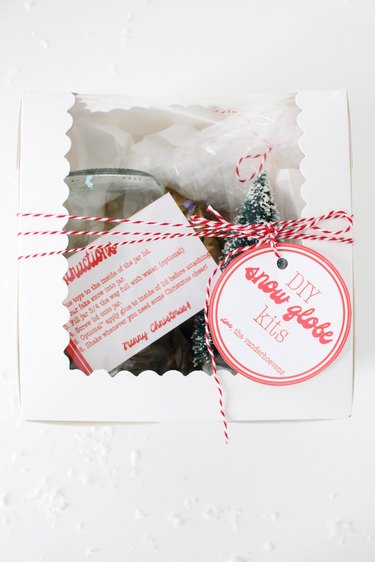
Print out the free printable instruction cards, cut them out and place an instruction card in each box with one jar, your chosen toys/props and one bag of snow.
Tip
Bottle brush trees, Christmas village figurines and miniature ornaments make excellent snow globe props.
Step 5: Wrap Up Boxes
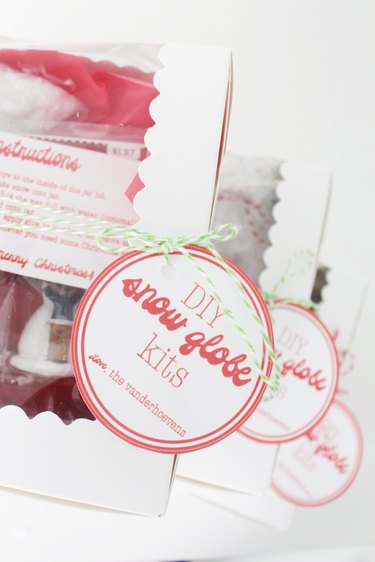
Print off the free printable tags, cut them out and use a hole punch to create a hole.
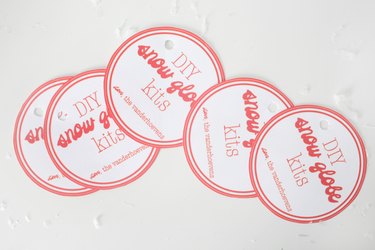
Close up your boxes, tie ribbon or twine around them and tie a tag on to each one.
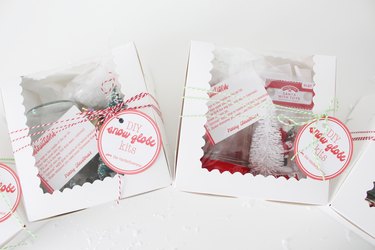
Hand these out to neighbors, friends, family or teachers and maybe even make a snow globe yourself!
Video of the Day