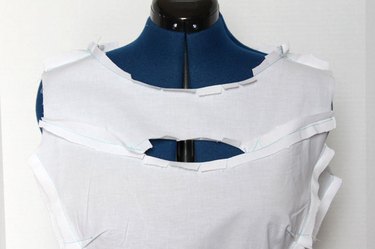
Whether you're an expert seamstress or a beginner, it's always a good idea and well worth the effort to make a muslin before sewing a garment. A muslin is essentially a practice garment made from a cheap fabric similar to the type of fabric that will be used for the real garment. Typically, you make one to check for fit as well as determine whether a style is good for your body type.
Video of the Day
Things You'll Need
Fabric similar to the garment fabric
Pattern
Pins
Sharp scissors
Marking tools
Iron and ironing board
Measuring tape
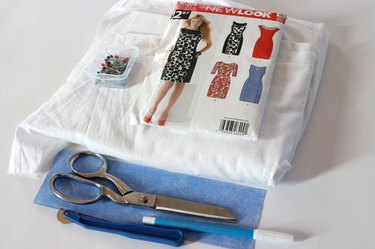
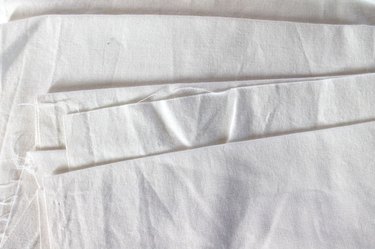
The fabric you use to create a muslin doesn't have to be an actual, 100% cotton muslin fabric. It can be any fabric you wish, as long as it is the same type and weight of fabric you will use for the real garment. You can stock up on cheap fabric to make muslins, or you can even use old bed sheets from your cabinet or the thrift store. Just be sure to press them with an iron to get the wrinkles out before you use them.
Video of the Day
Step 1
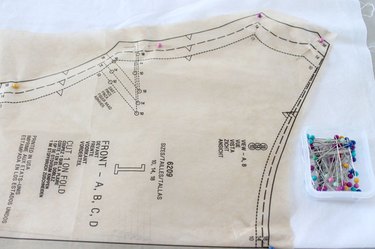
Locate the pattern pieces needed to make your garment minus the facings and detail pieces, unless they are needed to check for fit. Pin them onto the muslin fabric just as you would if you were making the real garment, placing pieces on the fold and along the grain line.
Step 2
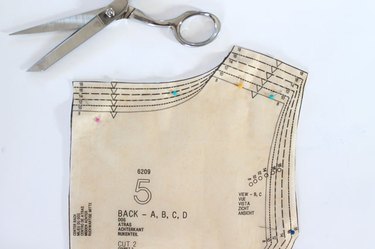
Determine your size from the size chart on the pattern envelope and cut the pattern along the size lines.
Tip
If you fall within 2 size ranges, it's always a good idea to cut out the larger size. It's much easier to take in a garment than it is to make one bigger.
Step 3
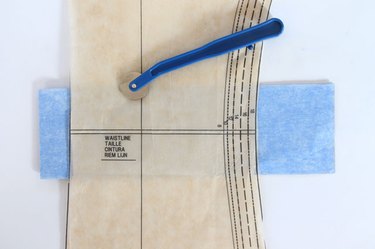
Mark the waistline onto your muslin fabric using a tracing wheel and carbon paper.
Step 4
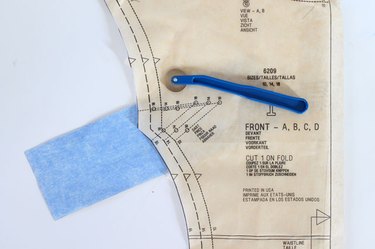
Mark the darts and any other important markings from your pattern onto your muslin fabric.
Step 5
Set your machine to the longest stitch (basting stitch) to sew the seams on your muslin. This will make it much easier to remove the seams later if adjustments are needed.

Step 6
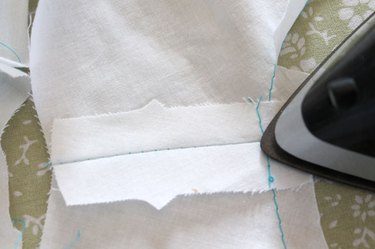
Follow the pattern directions to construct the test garment from the muslin fabric. Press open the seams with an iron.
Step 7
Since you aren't using any facings on your muslin, stitch 5/8 inch away from the edge of your fabric where the facings would be located so you can see where the edges of your garment are. If the facing edge is curved, clip or notch the seam allowance so it will lie flat when you press it under.
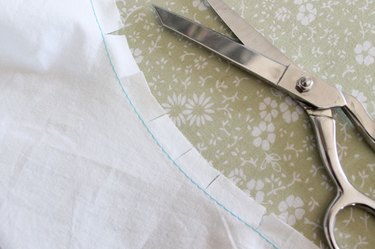
Step 8
Press the facing seam allowances under along the stitch lines.
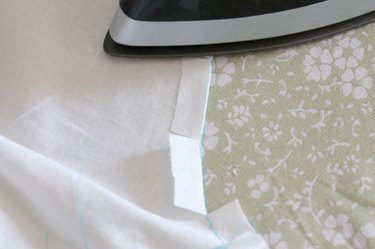
Step 9
Once the muslin is sewn together, turn it inside out so the seams show and place it on your dress form or on yourself.
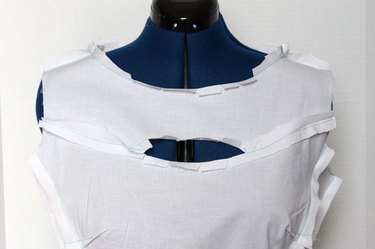
Step 10
Now you can make the fit adjustments by using pins to adjust the seams to fit.
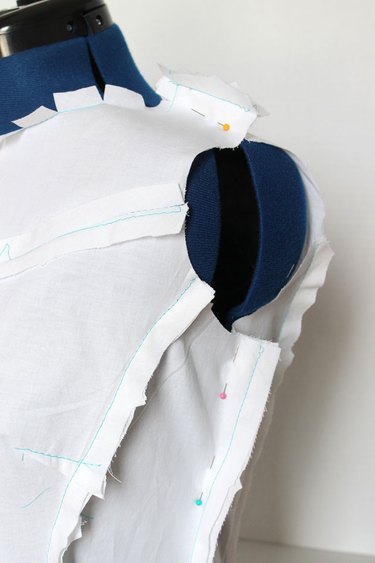
Step 11
The pin lines will become the new seam lines. Use a washable marker to mark the new seam lines.
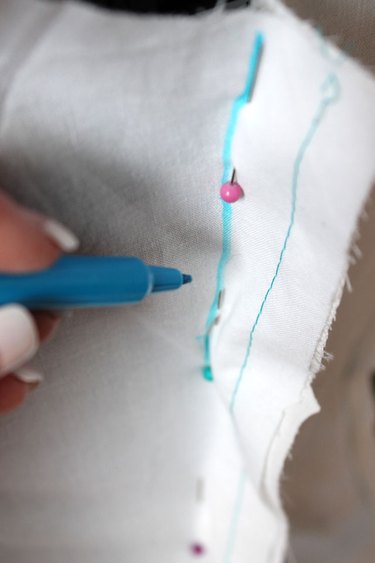
Step 12
Remove the muslin from the dress form and measure 5/8 inch from the new seam line and mark on the muslin. This will be the new cut line.
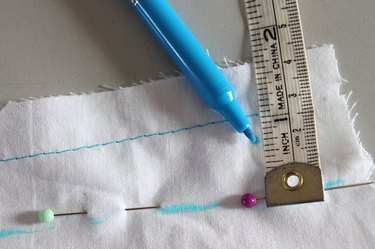
Step 13
Remove the seams of the muslin with a seam ripper and cut along the new cut lines. The pieces of the muslin will now become your new pattern pieces so you can cut and sew your real garment, knowing that after all of your hard work it will fit you perfectly.
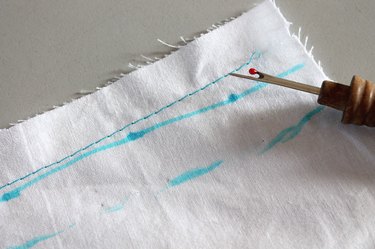
Don't miss the rest of the series!