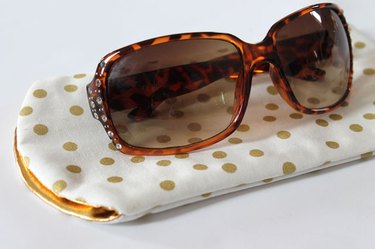
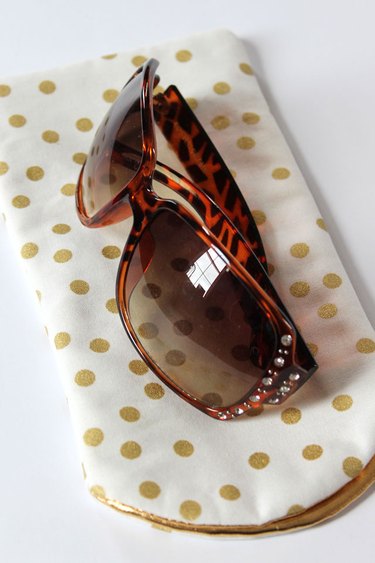
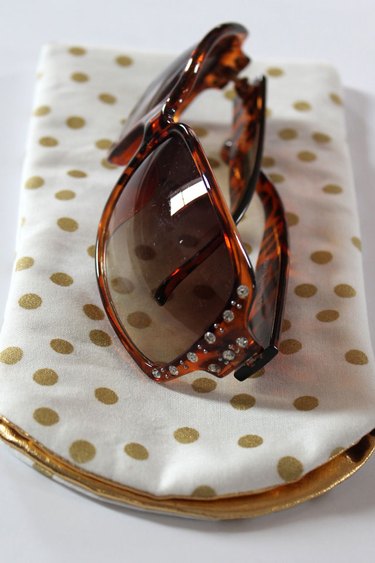
Warmer weather is finally on its way, and you know what that means: it's time to bust out all of your fun sunglasses! As part of the ongoing Learn to Sew series, you can keep your favorite pairs of sunnies scratch-free and protected by sewing together a stylish case to keep them in. Pick out bright, cheerful fabrics to match your refreshed spirit, and hone your newfound sewing know-how with future pool parties in mind. When you're finished, you can safely tuck your sunglasses away whenever you take a break in the shade.
Video of the Day
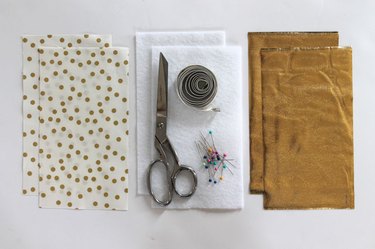
Things You'll Need
Two 5-inch by 9-inch pieces of outer fabric
Two 5-inch by 9-inch pieces of lining fabric
Two 5-inch by 9-inch pieces of fusible interfacing
Sharp scissors
Iron and ironing board
Marking pen
Pins
Step 1: Measure and Cut Six Pieces of Fabric
Line up the three different fabrics in front of you. Cut two 5-inch by 9-inch pieces of fabric to use for the outside of your case, and then another two pieces of the same dimensions for the lining of the case. Lastly, cut two pieces of the same dimensions for the fusible interfacing.
Video of the Day
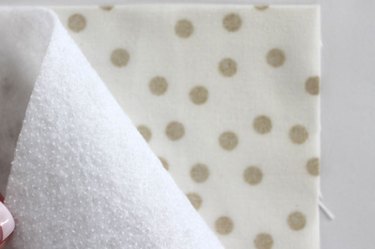
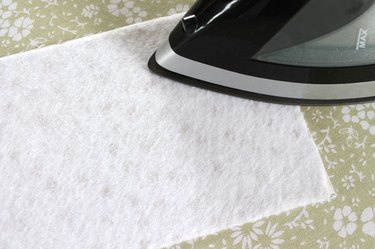
Step 2: Press the Interfacing onto the Outer Fabric
Place the fusible side of the interfacing onto the "wrong" side of the outer fabric. Be sure to match up the edges, and then press the fabrics together with a hot iron.
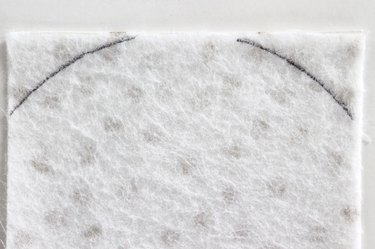
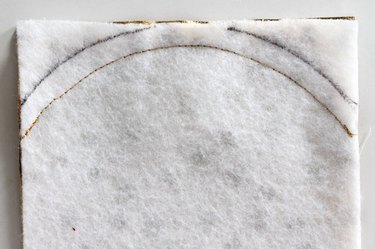
Step 3: Draw a Curved Line onto the Fabric
Use a bowl or a plate as a guide to help you draw a curved line at the top of the fused piece.
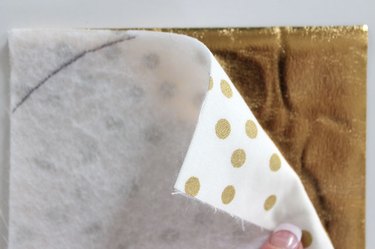
Step 4: Place the Two Fabrics' Right-Sides Together
Place the outer fabric onto the lining fabric with "right" sides together. Match all of the edges.
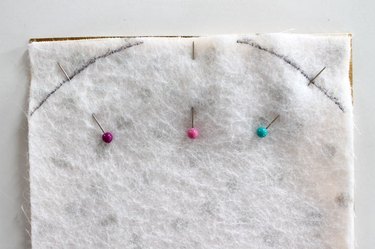
Step 5: Pin the Layers of Fabric in Place
Place pins along the curved line to hold the layers in place.
Step 6: Stitch Inside the Curved Line
Stitch a 1/4-inch seam inside the curved line.

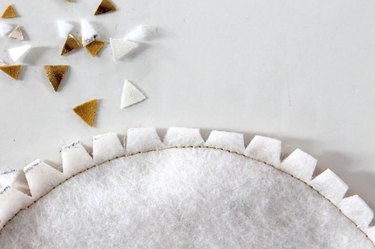
Step 7: Use a Sharp Pair of Scissors to Cut Notches
Cut notches along the curve with a sharp pair of scissors. But, be careful! Don't cut any of the stitching.
Step 8: Turn the Fabric Right-Side Out to Press. Then, Repeat.
Turn the fabric right-side out and press along the curved edge. Then, repeat the previous seven steps with the remaining two fabrics.

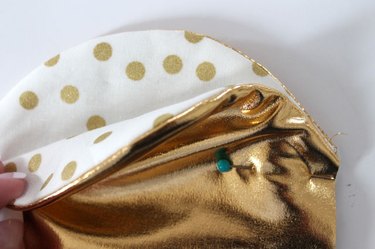
Step 9: Place the Two Remaining Pieces With Their Outer Sides Together
Place the two pieces you just prepared with the outer-fabric sides together. Line up the curved and straight edges. Place pins along the three straight edges to hold everything in place.
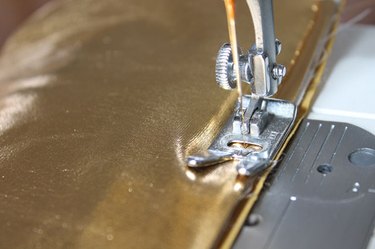
Step 10: Stitch a 1/4-Inch Seam Along the Three Straight Edges
Stitch a 1/4-inch seam along the three straight edges of the case. Be sure to backstitch at the beginning and end of your stitching lines to hold them in place.
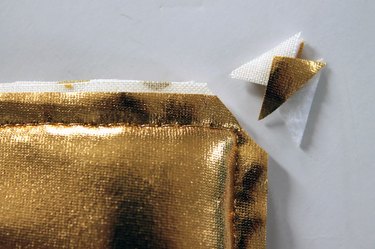
Step 11: Clip the Case's Bottom Corners
Clip the case's two bottom corners close enough to the stitching without cutting the seams.
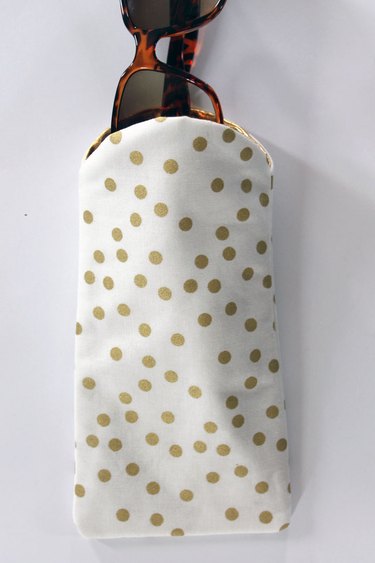
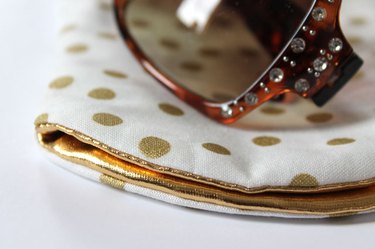
Step 12: Turn the Finished Case Right-Side Out
Turn the completed case right-side out and press it with an iron. Slide in your sunglasses and enjoy!
Don't miss the rest of the "Learn to Sew" series:
- Part 1: Essential Sewing Tools
- Part 2: Basic Sewing Machine Stitches
- Part 3: Choosing Patterns and Fabrics
- Part 4: How to Mark the Fabric Before You Cut
- Part 5: How to Read a Sewing Pattern
- Part 6: How to Make a Muslin to Check for Fit
- Part 7: DIY Travel Makeup Organizer
- Part 8: How to Make Homemade Sachets