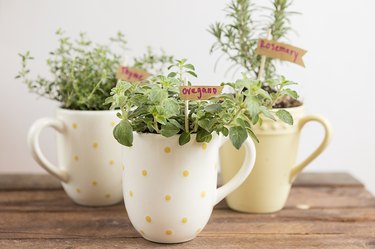
Spring is here, which means it's the perfect time to plant an herb garden. Herbs make thoughtful housewarming gifts and are the perfect addition to any kitchen. With their handles and small shape, a mug herb garden is an easy way to incorporate herbs into your home, whether you live in a large space or small apartment. This project gives you an excuse to revitalize any old mugs collecting dust in your cabinet, or to pick some up at your favorite home goods store to create these adorable and functional little planters!
Video of the Day
Things You'll Need
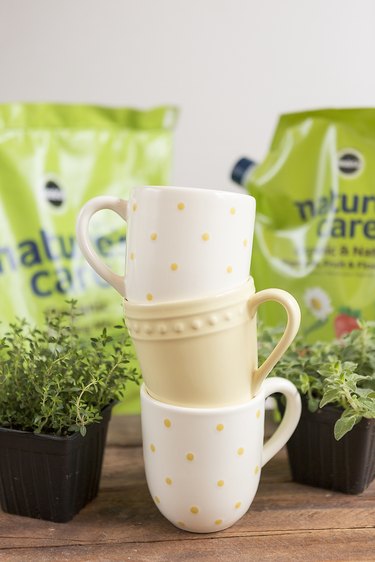
Mugs (8-12 oz)
Painter's tape
Glass and tile drill bit
Drill
Gloves
Garden hand trowel
Miracle-Gro® Nature's Care® Organic and Natural Vegetable Fruit & Flower Food
Assorted herbs
Tip
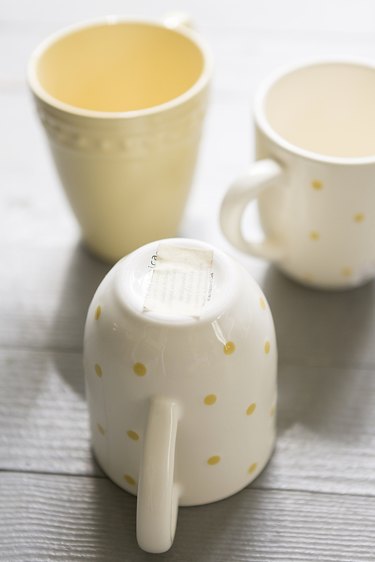
Choose ceramic mugs for this project over porcelain. Ceramic is a bit tougher and will not crack when you drill into it. Read the label on the mug before purchasing to see whether or not it's ceramic.
Step 1
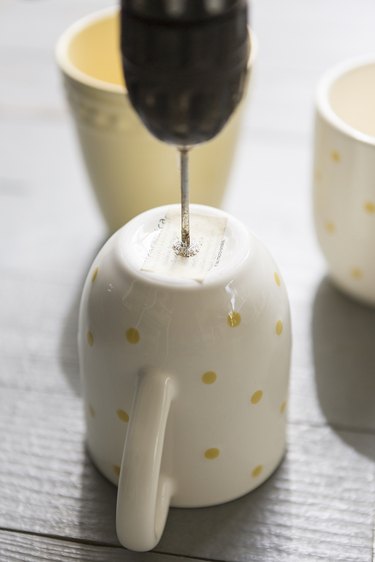
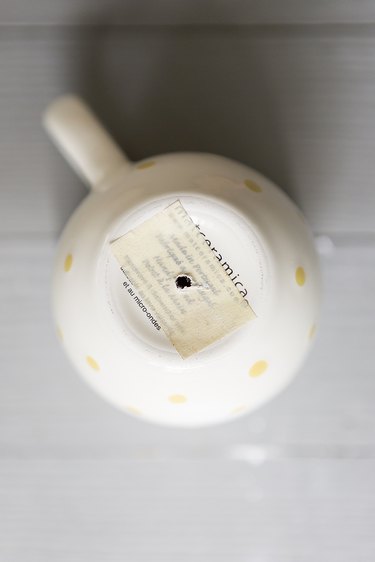
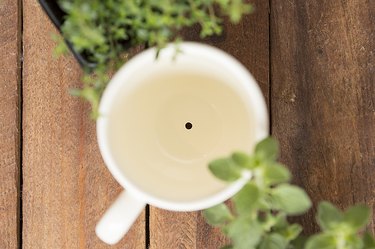
Before planting your herbs, you need to create a hole in each mug for drainage. Place a small square of painter's tape on the bottom of your mug. The tape will help you visually see where to drill and will keep the drill from slipping. Using a glass and tile drill bit, slowly drill a hole into the bottom of your mug. Once your drill has moved cleanly through the mug you should be left with a perfect pen sized hole.
Video of the Day
Step 2
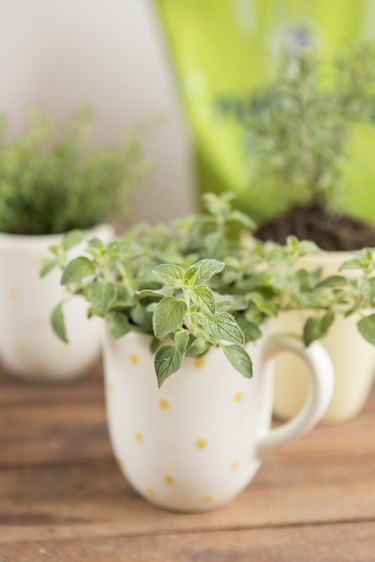
Wearing your gloves, gently remove your herbs from their plastic containers. The best method is to squeeze the container sides as you gently slide the plant out. Using your garden hand trowel, shovel a little Miracle-Gro® Nature's Care® Organic Potting Mix potting mix into the mug. Loosen up the roots of the herb with your gloved hands and place in the mug, then fill in any empty spaces with additional potting mix using the trowel. This potting mix is ideal for gardeners lacking a green thumb, as it absorbs like a sponge, protecting your plant from over and under watering.
Step 3
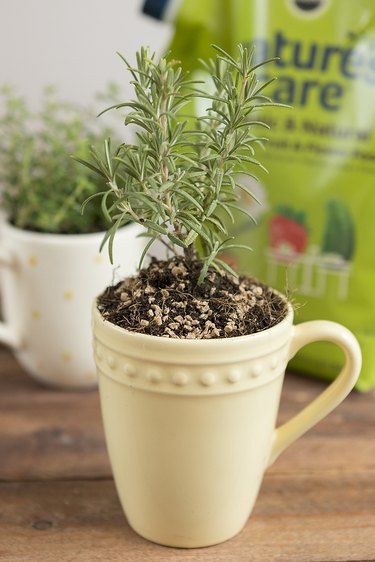
After planting your herbs use your hand trowel to sprinkle Miracle-Gro® Nature's Care® Organic and Natural Vegetable Fruit & Flower Food onto the soil. Gently mix into the soil using a small spoon. This plant food from Nature's Care will give your herbs a solid foundation from the start, keeping them healthy and happy!
Step 4
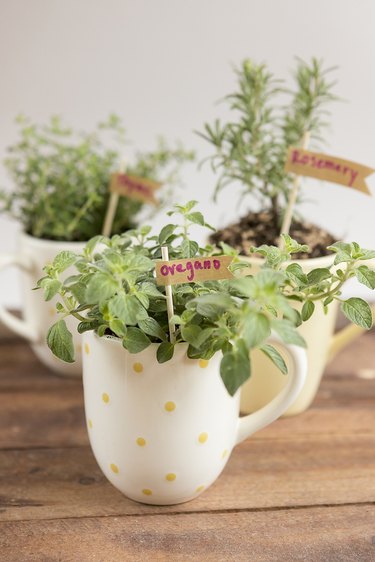
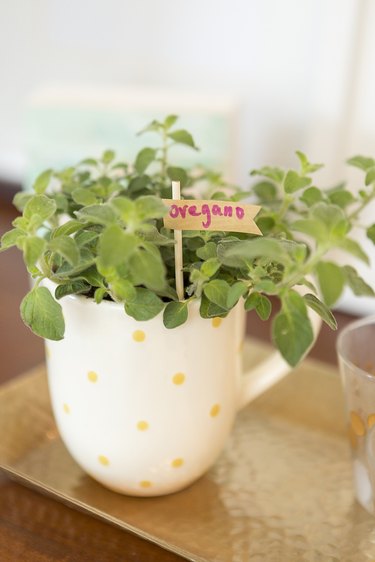
Finish your mug herb garden with little plant markers so you know which herb each mug contains. You can use just about anything to create your markers, such as toothpicks or popsicle sticks and washi tape. A mug herb garden can be placed just about any sunny spot in your home and makes the perfect spring housewarming gift!
This post is sponsored by Miracle-Gro ® Nature's Care