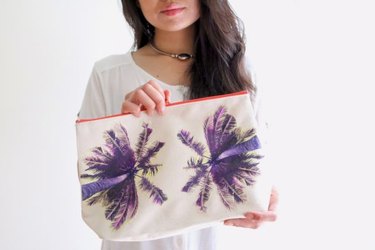
With summer in full swing, it's time to start dreaming about sunny vacations and crashing waves. Fortunately, you can easily get the beach vibes going with a DIY palm tree print pouch inspired by this $58 designer version. Made with iron-on transfer paper and an exclusive eHow printable, this accessory also doubles as an excellent travel bag.
Video of the Day
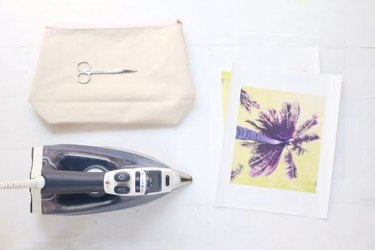
Things You'll Need
Canvas pouch
Scissors
Dark fabric iron-on transfers (2)
Iron
Tip
Before beginning this project, print two copies of the free palm tree print download on dark fabric transfer paper. Because canvas pouches often have a waxy finish, this type of iron-on transfer paper works best.
Step 1
Cut around the main palm tree image. Don't worry about the tiny crevices and precise details — you'll work on that part later. For now, focus on cutting around the general shape of the palm tree.
Video of the Day
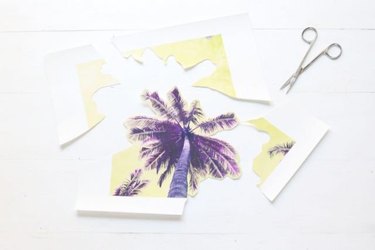
Step 2
Peel away the paper backing. Be patient, this part might take some focus and concentration.
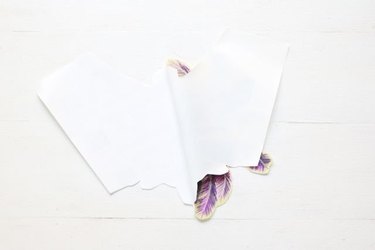
Step 3
Repeat Steps 1–2 with the second palm tree.
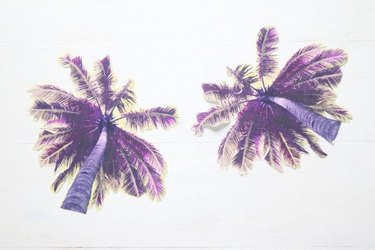
Step 4
Now, carefully cut crevices in between the details of the palm tree's leaves. Use short, quick snips. Remember, you don't have cut every single crevice. Instead, trim the image every now and then to help add some depth and dimension.
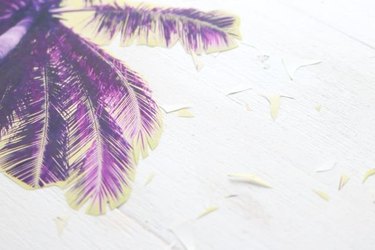
Step 5
Place the image on the canvas pouch, printed side facing up. Cover with the protective tissue paper provided. Apply the iron firmly, moving around to evenly distribute heat. For most dark fabric transfers, about one minute of heat will suffice.
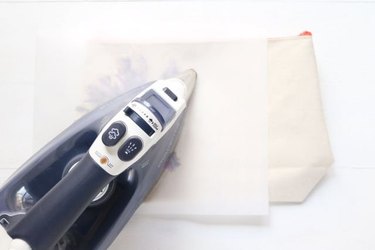
Step 6
Repeat Steps 4–5 with the second palm tree image. Leave to cool.
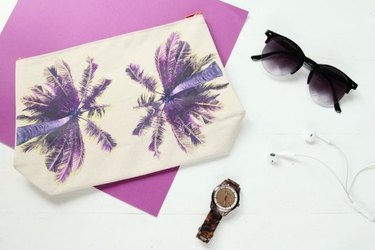
How easy was that? Your new pouch can serve as a clutch, organizer or even as a case for an electronic device.
