At this time of year, apricots are ripe, abundant and just begging for the early-summer spotlight. While simply biting straight into one is a great idea, this is the type of fruit that tastes wonderful as part of a sweet or a savory treat — so why not get creative? Grab a bunch, along with some brie, baby greens and bacon, and create an incredibly decadent grilled cheese sandwich. If the ooey-gooey factor alone doesn't win you over, the first flavorful bite sure will!

Video of the Day
Things You'll Need
2 slices hearty bread
4 thick-cut slices cooked bacon
2 ripe apricots
5 ounces soft brie
Handful baby greens
2 tablespoons butter

Step 1: Butter the Bread
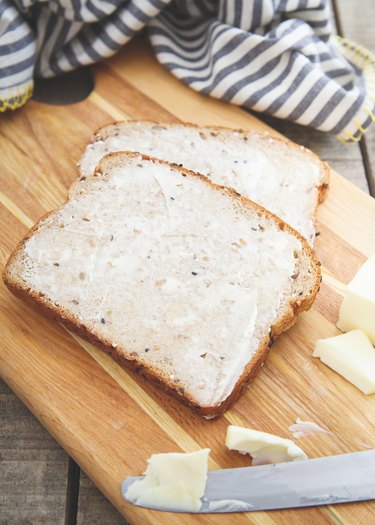
One of the most important steps of a good grilled cheese is buttering the outside of the bread for a crispy, toasted bite. Spread 1 tablespoon of butter on one side of each slice of bread.
Video of the Day
Step 2: Assemble the Sandwich
Grilled cheese sandwiches are all about the layers. Assemble yours by placing apricot slices on top of the non-buttered side of the slice of bread. Continue layering in this order: brie, bacon, baby greens, apricot slices and brie. Top the sandwich with the remaining slice of bread, buttered-side up.

Step 3: Grill the Sandwich
If you have one, use a panini press to grill the sandwich. If not, place the sandwich in a hot skillet to cook until the cheese is melted and the bread is crispy. Enjoy your perfectly seasonal, melt-in-your-mouth lunch!
Tip
If using a skillet, place a heavy item on the top of the sandwich to help melt the cheese. Flip it after a couple of minutes and repeat on the other side.
