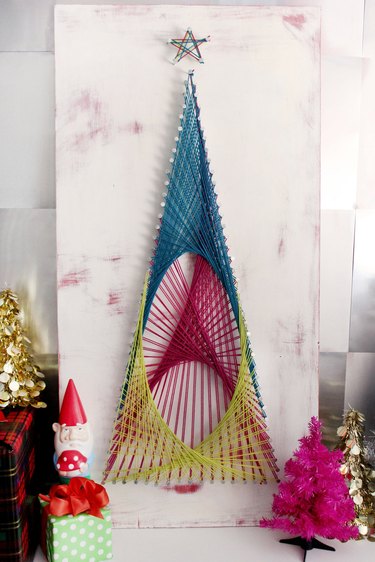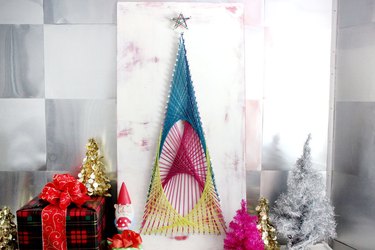
For a holiday decoration that's spectacular but a little out of the ordinary, make a string art Christmas tree. Similar to the string art sculptures many of us created in elementary school, these wood, nail and yarn masterpieces always elicit a "Wow, how did you do that?" reaction. But they're surprisingly simple to make, as you'll see with this tree string art piece.
DIY Christmas Tree String Art
Video of the Day
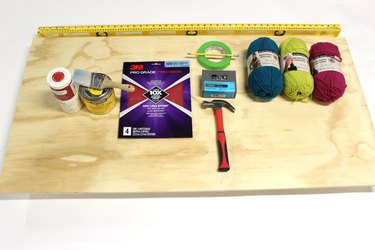
Things You'll Need
Wood board, 2 feet by 4 feet
Paint
120 grit sandpaper
Finishing paste wax
Ruler
Pencil/pen
Nails
Hammer
Masking tape
Yarn, three colors
Step 1: Paint the Wood Board
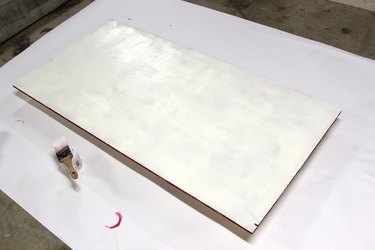
Wood boards are available at home improvement warehouses in a precut size of 2 feet by 4 feet, which is an ideal size for this string art Christmas tree. While you can paint it just one color, I decided to give the wood a weathered look by layering two colors and sanding off some of the top coat. To achieve this look, start with one color for the bottom coat. I chose a deep red. This is the color that will peek through the main color.
Video of the Day
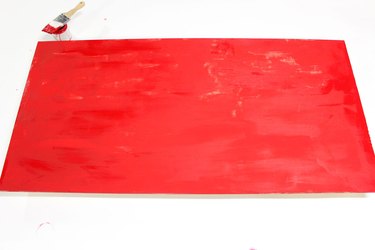
Then cover the bottom coat with the main color, which is white in this example. Do not worry about having full coverage, as you will want some of the red showing through anyway.
Step 2: Sand Off the Top Layer
Using 120 grit sandpaper, distress the top layer of paint, allowing some of the undercoat to show through in various sections. The sandpaper adds a vintage feel to the wood.
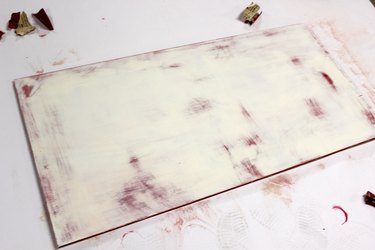
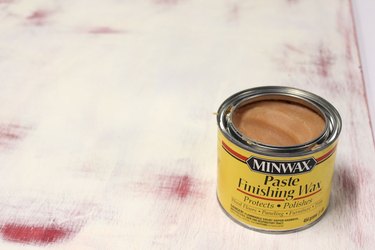
With a rag, rub some finishing wax over the paint to seal the weathered patina.
Step 3: Mark Nail Holes
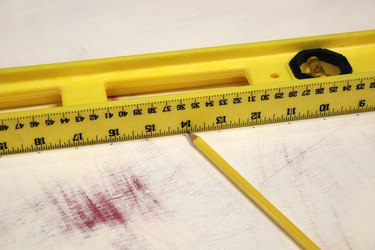
Draw a triangular tree shape on the wood board using a pencil and a long ruler or measuring tape, indicating marks at one-inch intervals where you will be placing nails. This is essentially your Christmas tree string art template.
Step 4: Hammer Nails into the Board
Hammer nails into the board where you indicated. String art nail size isn't important as long as you choose nails with a large head, which will help secure the yarn when it wraps around each nail.
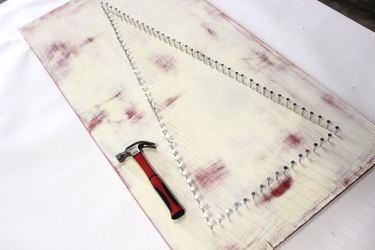
Hammer five nails above the tree shape for the star.

Step 5: Number Each Nail
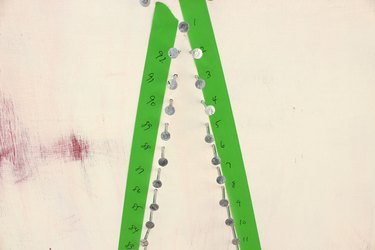
To guide you when stringing the yarn, apply masking tape next to the nails and number each nail. Start at the top and write #1, and go clockwise until each nail has a corresponding number. This example has 92 nails in it, with number 1 at the top, number 38 at the bottom right, number 54 at the bottom left, and number 92 back at the top. Numbering the nails might seem like an extraneous step, but it really helps you keep track of your string patterns.
Step 6: String the First Color
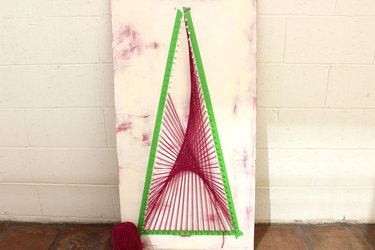
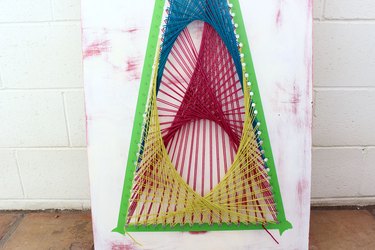
For the first color, tie the end of the yarn at nail number 1. Then take the yarn to the bottom of the tree and wrap it around number 41. Go up to number 2, and then down to 42. Up to 3 and then 43, and so on. You can see how the numbers take a lot of the confusion away about how to string the yarn. Keeping track of the numbers also helps you avoid accidentally skipping a nail. For the first color, I only went as far as nail number 80, a third of the way up the left side instead of going all the way back to number 1 at the top because I wanted an asymmetrical pattern.
Step 7: String the Second Color
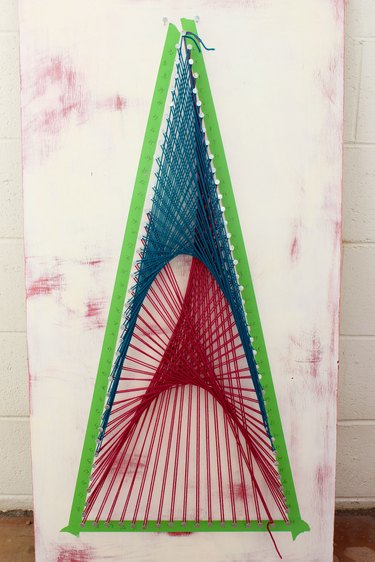
For the second color, we'll want to fill in the space at the top of the tree. To achieve this effect, tie the end of the yarn once again at nail number 1, go across to the left side of the tree and wrap it around nail number 61. Then go back to the right side to number 2, then to number 62, then 3 then 63, and so on until you get to the last nail, number 92. Notice I always count in tens to make it easier to remember where I'm going.
Step 8: String the Third Color
For the third color, we want to fill in the space at the bottom of the tree. Start the yarn midway on the right, tying the end around nail number 20. Then go down and wrap the yarn around number 40, then up to 21, then down to 41, then 22 and 42, and so on.
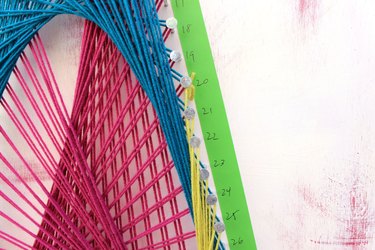
I ended the pattern at nail number 72, which was directly across from nail 20, so this pattern would be symmetrical.
Tip
Note that there is no right or wrong place to begin or end the string patterns. This is totally up to you, and your exact string patterns will vary. The nail numbers just give you a roadmap so you don't get lost along the way.
Step 9: String the Star
To top off your tree, make a star shape with the five nails above the tree using all three yarn colors.
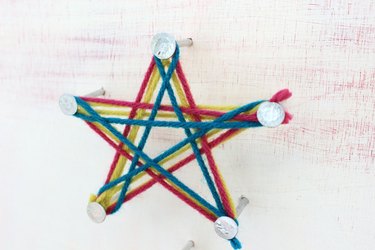
This string art Christmas tree adds nostalgic charm to any room, and it can also serve as an alternative for those who don't have room in the house for an actual tree.
