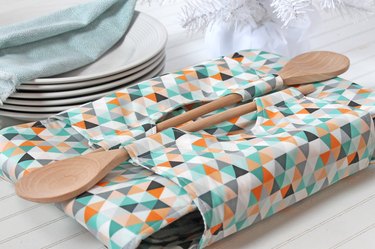
When it's cold outside and you're on your way to a potluck, the last thing you want to happen is to arrive at the party with a chilly casserole in hand. Instead of asking to reheat your recipe when you arrive, pack your dish in this convenient and stylish casserole carrier. Made from an on-trend fabric and a few sewing steps, including a feature that attaches serving spoons to the top, this carrier will turn heads as soon as you walk through the door. Share your how-to secrets over your delicious meal — if you really want to make your friends green with envy.
Video of the Day
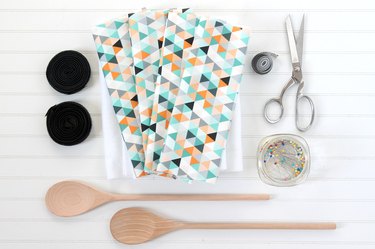
Things You'll Need
2 yards cotton fabric
1/2 yard batting
Pins
Small bowl
Marking pen
Sharp scissors
Peel-and-stick hook and loop fastener
Measuring tape
Step 1: Cut Fabric Strips and Batting
Cut 2 11 inch x 38 inch pieces of fabric and 2 11 inch x 29 inch pieces of fabric. Then, cut 1 11 inch x 38 inch piece of batting and 1 11 inch x 29 inch piece of batting.
Video of the Day
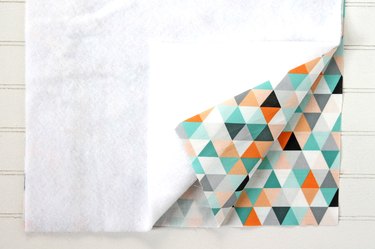
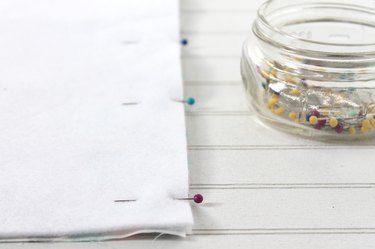
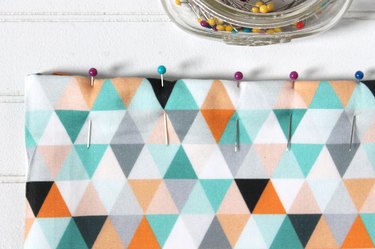
Step 2: Pin and Sew the Long Pieces
Place the long fabric pieces with their right-sides together, and then place the batting on top — there should be three layers. Pin and sew a 1/4-inch seam along the two long sides and one of the short sides to form a long fabric tube.
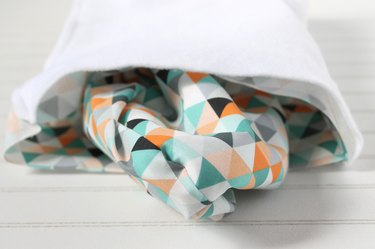
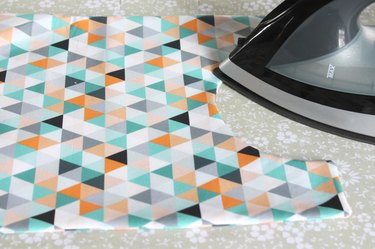
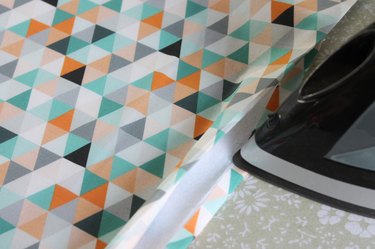
Step 3: Turn Right-Side Out and Press
Turn the fabric tube right side out and press it with an iron.
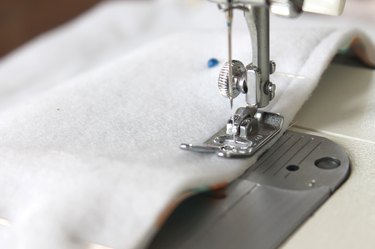
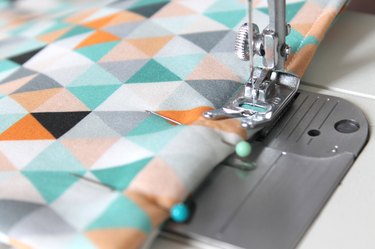
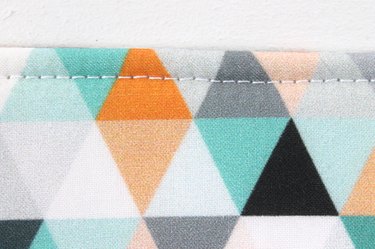
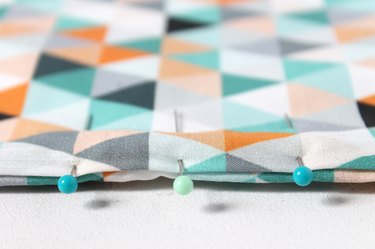
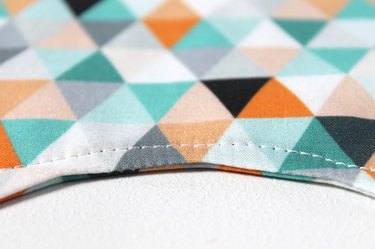
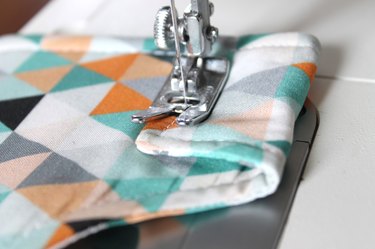
Step 4: Pin and Topstitch
Fold the raw edges of the open edge in toward the wrong side, then press and pin it together. Next, topstitch to close the short end of the fabric tube and continue topstitching around all four sides.
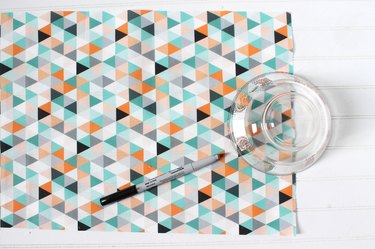
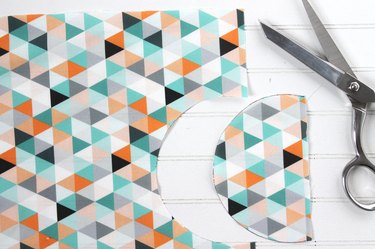
Step 5: Cut the Handle Openings
Trace around half of a small bowl on the short ends of the 11 inch x 29 inch piece of fabric. Cut along the traced lines. Repeat this step on the other short side. Use this for a pattern to cut out the other piece of fabric and the batting.
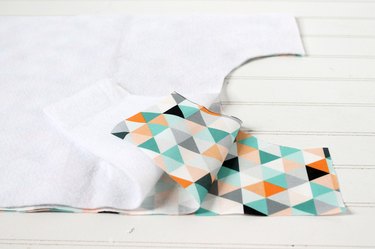
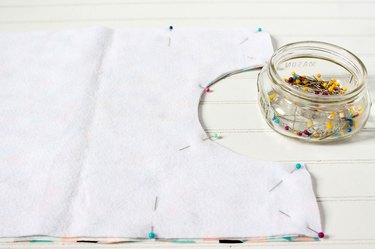
Step 6: Pin and Sew the Handle Openings
Place the shorter fabric pieces with their right-sides together, and then place the batting on top. Pin along the three sides, leaving 10 inches on one of the long sides open. Start sewing on one end of the opening, and then sew a 1/4-inch seam around the edge until you reach the opposite end of the opening.

Step 7: Notch the Corners
Use sharp scissors to cut out small notches on the curved edge at every inch or so. Be very careful not to cut your stitches.
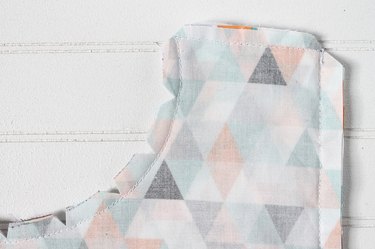
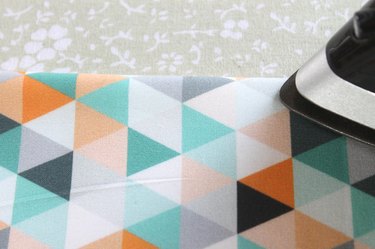
Step 8: Turn Right-Side Out and Press
Turn it right side out by pulling everything through the side opening. Press with an iron.
Step 9: Pin and Topstitch
Tuck 1/4-inch of fabric at the opening in toward the wrong side, pin and topstitch to close. Continue topstitching around the entire piece.
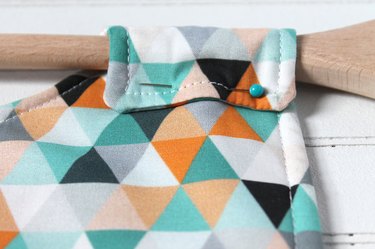
Step 10: Pin and Sew Spoon Slots
Fold the top edge over the spoons, pin and sew in place.
Step 11: Attach Hook and Loop Fasteners
Remove the backing from the hook and loop fasteners and adhere them to the corners of the long piece. When it's folded over the casserole dish they will close together.

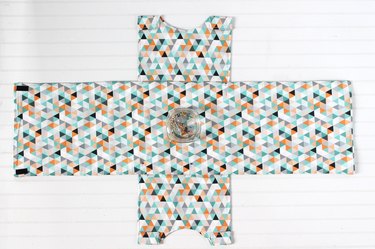
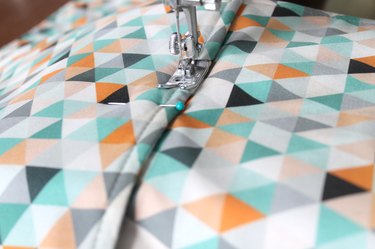
Step 12: Center and Sew the Two Fabric Strips
Center the two fabric strips. Pin in place and sew.
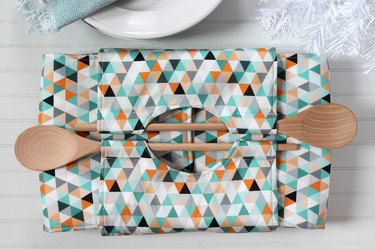
Step 13: Bake and Go
Now you're ready to bake your favorite casserole dish, wrap it up and head to your next potluck in style.