As a traditional craft, macrame has been around for decades, but in recent years, this art of knotting has stolen the spotlight. It's often used to create beautiful wall hangings that can spruce up at any home, but with the right materials, you can make charming mini macrame for jewelry. The best part? You don't even need to use fancy knots to get that classic macrame look. Here's how to do it.

Video of the Day
Things You'll Need
Cotton cord
Large jump ring or key ring
Tape
Scissors
Tip
For this project, a 25mm jump ring was used. Feel free to use any kind of ring that you have on hand. Even a spare key chain ring can work.

Tip
For a true macrame look, use simple, uncoated cotton cord. Skip the hemp, nylon and polyester materials — these are usually too stiff to look like macrame.
Step 1
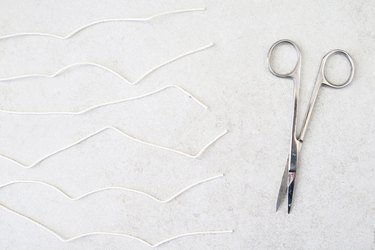
Cut six strands of cotton cord measuring at least 20 inches each.
Video of the Day
Step 2
Fold one strand in half (pictured left in the photo below). Insert and bend the loop through the jump ring (right). This is the start of a larkshead knot, the most common way to start a macrame pattern.

Step 3
Pull the rest of the cord through the loop. To do this, insert your fingers through the loop, grab the strand, and pull it through (left). Pull the cord to tighten (right). This completes one larkshead knot.

Step 4
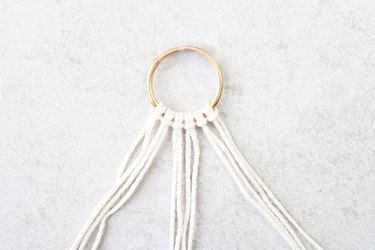
Repeat with the remaining cord to create a total of six larkshead knots. You'll be working with four strands (from two knots) at a time.
Tip
Tape the ring to a sturdy surface like a table — this will make tying knots much easier.
Step 5
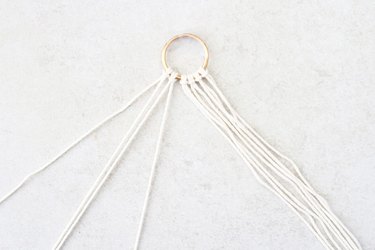
Set aside the first four strands. Place the middle two together and separate the outer two. This is the beginning of a square knot, another common macrame knot.
Step 6
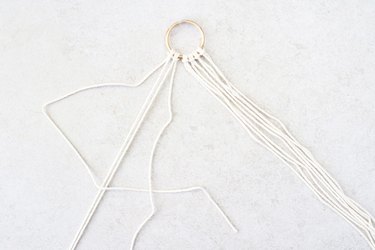
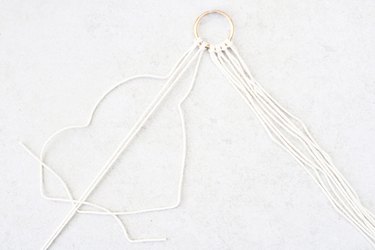
Bend the left strand and place it over the center. It should create a loop while the end should "spill" onto the right side. Take the right strand and lay it on top.
Step 7
Bring the right strand under the center. Insert it up and through the left-hand loop. The two strands should look like they're hugging the center.
Step 8
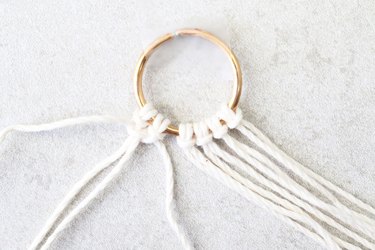
Pull both ends to tighten. This completes one half of the square knot.
Step 9
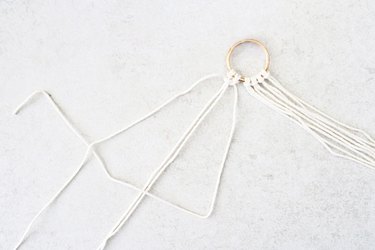
This time, start on the right side. Bend and place the right strand over the center. Lay the left strand on top.
Step 10
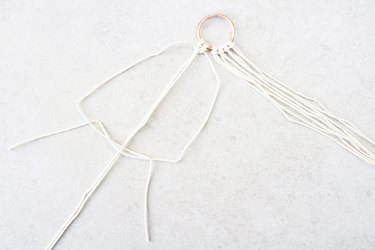
Bring the left strand under the center and through the right loop.
Step 11
Pull both ends to tighten. This step completes one square knot.
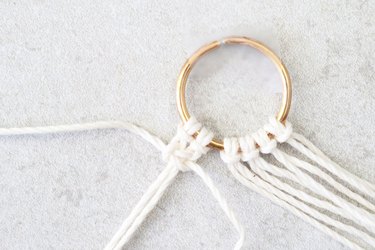
Step 12
Repeat Steps 6 through 11 to make another square knot.
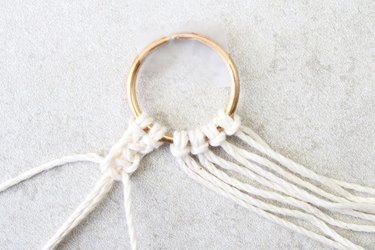
Step 13
Make two square knots with the next four strands. Repeat again with the last four. You should have three sets of two square knots each.
Separate the first and last two outside strands. Group the center strands into two groups of four.
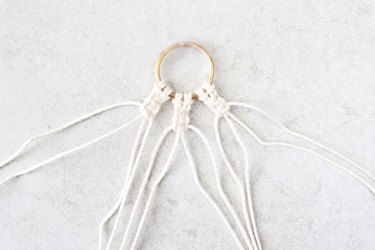
Step 14
Make another two square knots in each set.
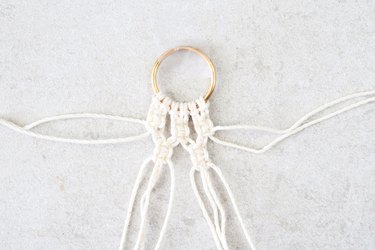
Step 15
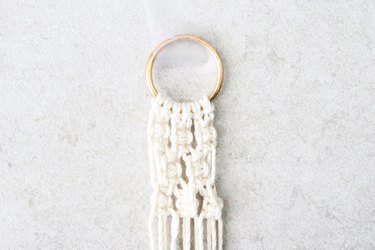
Bring the outside strands back down. Make three sets of two square knots. Again, work in three groups of four strands each.
Step 16
Trim the excess thread, leaving at least three inches below the mini macrame. You can cut straight across or at an angle, depending on the look you want.

Tip
To straighten the cord, use an iron (this is another good reason to use uncoated cotton cord). Make sure to work on a sturdy heat-resistant surface, like an ironing board. You can also use a hair straightener.

To turn your mini macrame into a darling necklace, add it to a long strand of chain. For a more playful look, hang it on a strand of beads.

Craving a new pair of ear candy? Make two mini macrame. Attach an earring hook to each jump ring.