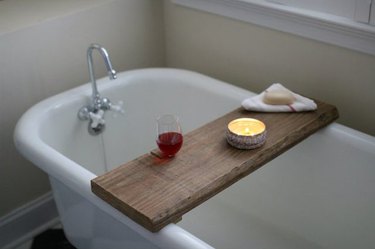
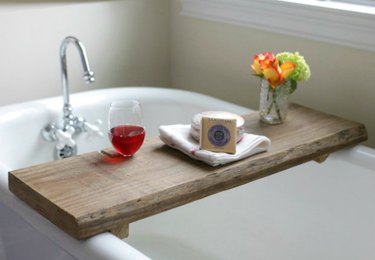
Make this rustic bath caddy — with the added bonus of a built-in wine holder — from a single board of reclaimed wood. Use it to relax and bring a true spa feeling to your bathroom.
Things You'll Need
Reclaimed wood board, 37 inches by 8 1/2 inches by 1 1/2 inches
Tape measure
Circular saw
Sandpaper, P80 grit
2-inch wood screws, 4
Power drill
Jigsaw
Multisurface waterproofer
Paintbrush
Reclaimed wood can be found at local salvage yards, building supply stores and online. Its weathered texture and imperfections are what make this rustic caddy so inviting. We had fun hunting down the perfect board at our local Habitat ReStore.
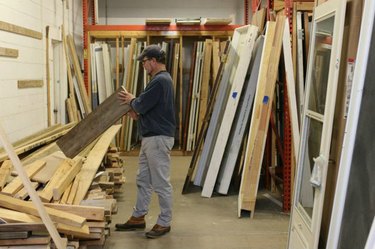
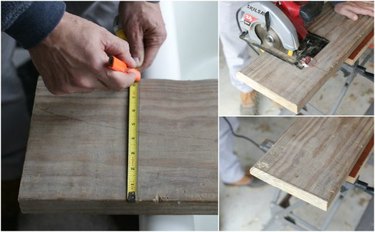
Look for a piece of reclaimed wood that extends at least 6 to 7 inches past the full width of your tub. A longer board allows for using a single piece of wood for the entire project, which provides a nice consistency in wood finish throughout the caddy. This caddy design will work with any style bathtub, and classic claw-foot tubs typically measure between 30 and 31 inches in width, so a 37-inch board will work nicely.
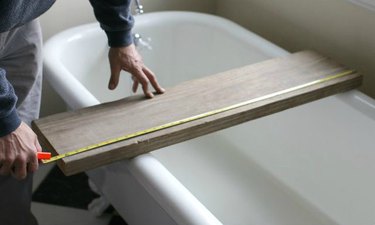
Dust and clean away any debris from the board, and then measure where to cut the width, using the tub as a guide. Our tub width measured 30 inches, so we made the cut at 31 inches to allow for a 1/2 inch overhang on either side.
Video of the Day
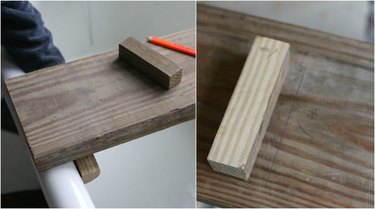
Use the excess cut wood from the board to make the underside slats. These keep the board snug along the tub walls and prevent sliding. Make 1 ½-inch cuts with a circular saw along each shorter end of the excess wood piece. Our extra piece was 6 inches long, so we ended up with two slats measuring 6 inches in length.
Tip
Cutting the slats from each shorter end of the excess wood results in pieces with three weathered sides and one freshly cut that will end up concealed when screwed in place.
Using the tub as a guide, hold the slats in place underneath the caddy against the tub wall, marking with a pencil for placement. For added security, mark a number on either end of the caddy corresponding with each slat.
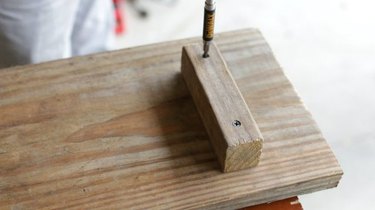
Using 2-inch wood screws, screw the slats onto the underside of the caddy along centered marked measurements, allowing for a 1 1/4 overhang on either side.
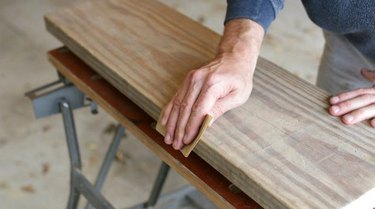
Give the entire board an all-over sanding using a medium-grit sandpaper. Sand with added pressure along each edge and corner of the caddy and slats to soften, adding aged character to the overall piece.
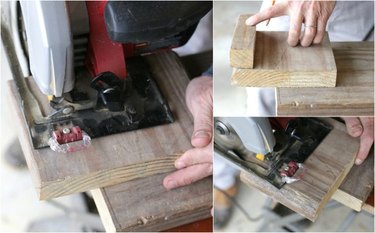
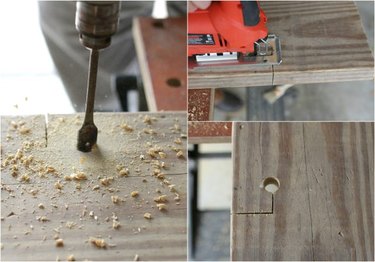
To make the wine glass holder, drill a 3/4-inch round hole 2 inches from the side of the board where you want the glass to rest. Using a jigsaw, cut an "L" shape from the edge of the board into the center of the hole. Go back over the lines with the jigsaw, making the L shape ¼-inch wide, to allow easier sliding for the wine glass stem.
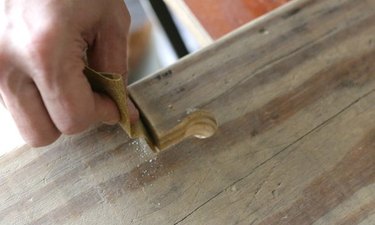
Sand to smooth the edges of the wine glass holder using medium-grit sandpaper.
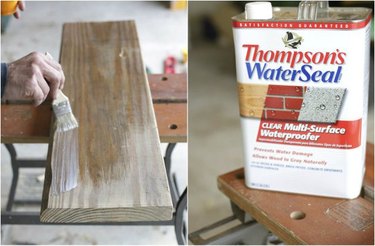
Apply a multisurface waterproofer along the entire caddy using a paintbrush. Waterproofer protects the wood from water damage, dries clear and allows the wood to continue to gray naturally over time.
Allow the waterproofing agent to fully dry before bringing the caddy inside to set up along the bathtub.
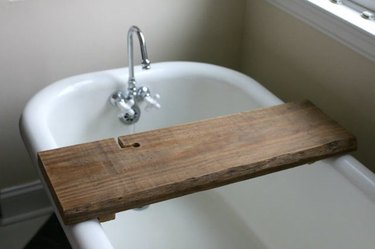
Place the caddy onto the tub and use it to store all those things that turn bathing into a relaxing spa experience.

Candles, fragrant soap, freshly cut flowers, a favorite book — oh, and that glass of wine to enjoy while unwinding from the day — all make nice touches.