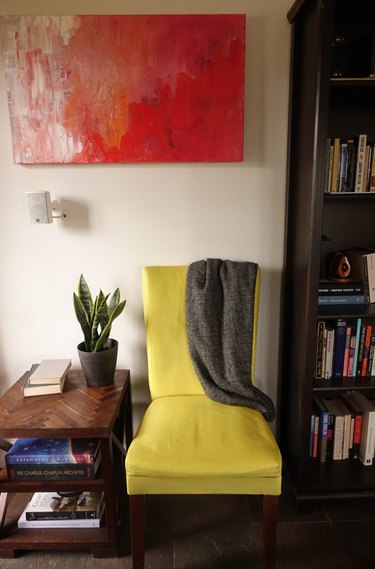
Looking for a cheaper DIY alternative to getting a piece of furniture professionally reupholstered? Of course you can reupholster it yourself if you've got the skills, but if the fabric is still in relatively good condition, consider painting it with chalk paint! Yes, it's not only possible but the basic process is a simple one. However, it does require patience and, depending on the size of your furniture, it may take a bit of elbow grease as well.
Video of the Day
Things You'll Need
Chalk paint
Chalk paint brushes or regular natural bristle brushes -- one larger and one smaller
Spray bottle
300 - 400 grit sand paper
Clear cream furniture wax and brush or rag (optional)
Tip
This tutorial shows the basic painting process and steps required for this DIY. It's important to note that different types of fabric as well as different painting techniques will yield different results, so pay attention to the tips at the end of the tutorial. You’ll need to try it out on a test patch first to see what will work best for your specific piece.
Step 1: Dilute Chalk Paint & Test
When using chalk paint on fabric, you'll need to dilute it with water in order for the fibers to fully absorb the color. The amount you dilute, however, will depend on the original color and type of fabric as well as the amount of pigmentation in the paint. We highly recommend that you start with about a 1:1 ratio of paint to water and then paint a small test patch on an inconspicuous area and allow it to dry before painting the entire piece.
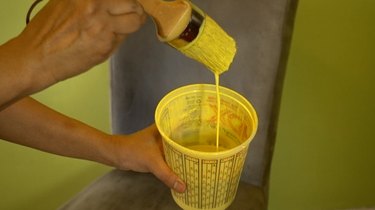
Step 2: Paint First Coat
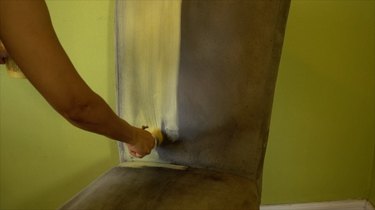
You're going to apply the paint in a thin coat, making sure that the fabric is fully absorbing it. To help with the absorption of your first coat, lightly spritz each section with water before laying down your paint in that section. Moisten thoroughly, but don't soak.
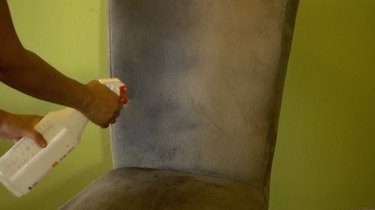
As you stroke, you also want to push the bristles into the fabric to work the paint into the fibers. Lightly spritz more water as needed if the paint is sitting on top of the fabric instead of being absorbed. Use a larger brush for quicker coverage of large flat areas and use a smaller brush to reach between any narrow crevices. (See additional painting tips at the end of the tutorial.)
Tip
You can achieve many different types of finishes with chalk paint on fabric -- from a light translucent dye-type wash to very heavy coverage producing a canvas or even faux-vinyl/leather effect -- all depending on the amount of dilution, the number of coats, and the type of fabric you begin with. Generally, the more water and/or less coats (plus the more thoroughly you sand in step 4) the more the fabric will retain its natural texture -- though it won't retain it entirely. After all, no matter how much paint you use, you are coating it, not dyeing it.
Step 3: Let Dry Completely
Once the piece is fully painted with the first coat, let it dry. You may need to leave it for an entire day, depending on how much water you've had to add. If you're doing a light one-coat dye wash, make sure that the coat has been applied evenly, as this layer will represent the final effect. While wet, you may still dilute and evenly spread the color to even out any splotchy areas. Make sure, however, not to soak the fabric to the point that it's dripping wet.
Step 4: Lightly Sand
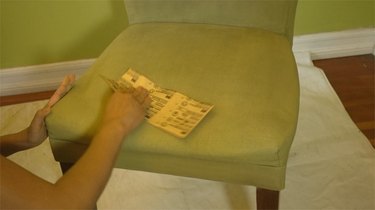
With 240 - 400 grit sandpaper, lightly and evenly sand the surface of the fabric, taking care not to remove too much paint when sanding along the edges and corners. This will help soften the fibers. Thoroughly remove the paint dust that will accumulate on the surface of the fabric before proceeding to the next step.
Step 5: Apply Additional Coats as Needed (Sanding In Between)
Repeat steps 2 through 4 as many times as needed until you achieve your desired coverage and texture. Note that you won't need to spritz the fabric with water after the first coat, and you won't need to dilute the paint quite as much.
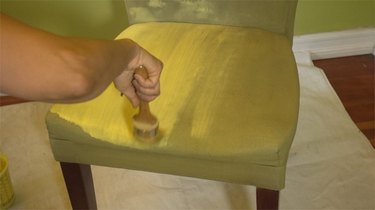
Make sure not to skip the sanding step in between coats.
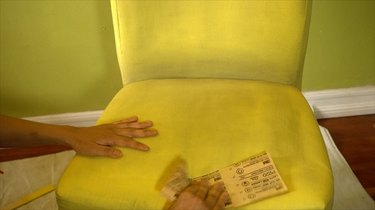
Step 6: Apply Cream Wax
Finally, to seal and protect your painted upholstery, we recommend applying a thin coat of cream wax with either a brush (for smoother finishes) or a rag (for textured finishes).
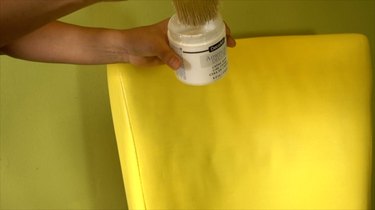
Additional Painting Tips
You may be wondering what types of strokes to use when painting on your coats. Again, this depends on the type of fabric you're starting with as well as the effect you're going for. More textured/knappy fabrics/finishes will require shorter, firmer strokes in randomized directions and/or circular motions in order to work the paint evenly into the fibers. However, for the finishing stroke, make sure that the knap lies in the direction you want it to be once dry. For smooth finishes/fabrics, use long, lighter strokes all in the same direction.
Although it's possible to paint textured fabrics like tweed and velvet, as well as raised patterns like in brocade, this technique is much easier and less time consuming if you're painting a smoother fabric with minimal to no pattern.
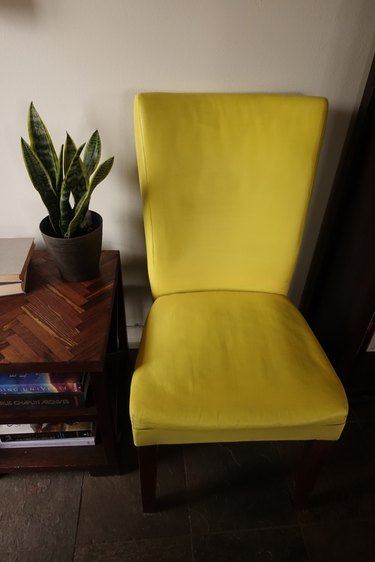
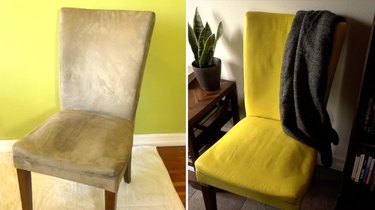
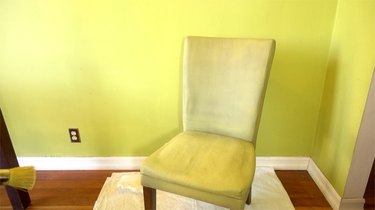
The chair used in our example shown was originally upholstered with microsuede fabric. We transformed it into a smooth faux vinyl using four coats of lemon yellow chalk paint diluted at a 1:1 ratio applied with long, even strokes, and finishing with a thin layer of cream wax.
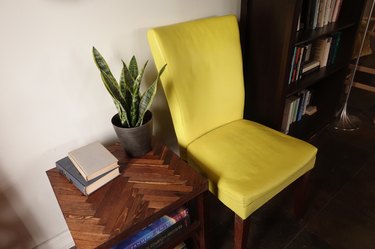
Originally a drab sage dining chair languishing in a basement, it's now an eye-catching accent piece that adds a bright pop of color to this living room.
