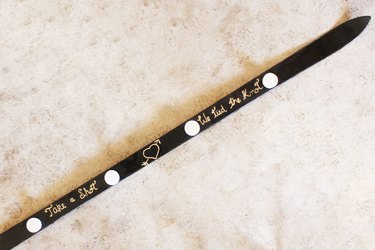
Cutting the cake, tossing the bridal bouquet and raising a toast to the bride and groom are timeless wedding traditions. Create a new tradition that reflects the couple's interest in the outdoors by having guests take a shot from a handcrafted shot ski. Not just for weddings, a shot ski is a novel way for party guests to share drinks and funny moments together.
Things You'll Need:
Video of the Day
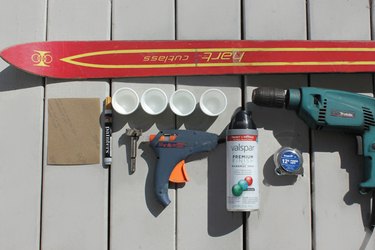
- Men's or women's ski, 170 centimeters or longer
- Sandpaper, 60 or 80-grit
- Drill
- Drill bit, 1 3/8-inch
- Paint
- Shot glasses, 4
- Glue gun
- Paint pen
- Tape measure
Video of the Day
Note: Some skis have laminated metal inside. Research the construction of the ski to ensure you won't hit a layer of metal when you drill it. If your ski does have laminated metal in the core, you'll need to use a high-speed, steel drill bit.
Step 1: Measure the Ski
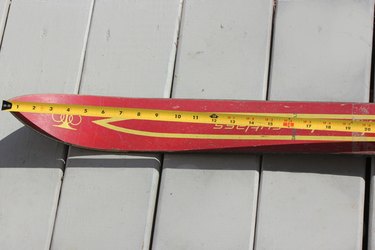
Measure the length of the ski to determine where you'll place the shot glasses. To ensure the shot glasses are evenly spaced, divide the length of the ski by 4. With a pen or pencil, place a mark every quarter length in the middle of the ski.
Step 2: Drill Four Spots for the Shot Glasses
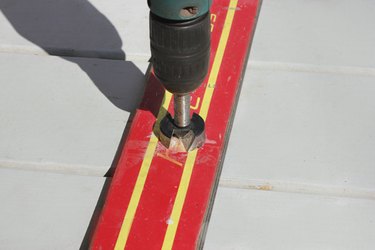
Secure the drill bit in place and hold the drill at a 90-degree angle above the first mark on the ski. With light pressure, drill a shallow depression into the ski, but don't drill through the ski. You only need to drill a few millimeters down. Drill a depression at each of the remaining marks on the ski.
Step 3: Sand the Surface
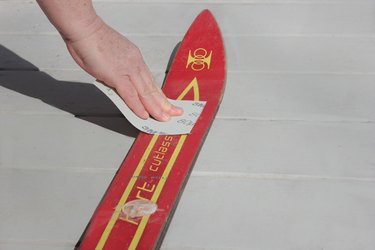
Sand the top surface of the ski until the finish is no longer glossy. The rough surface helps the paint adhere to the ski.
Step 4: Paint the Ski
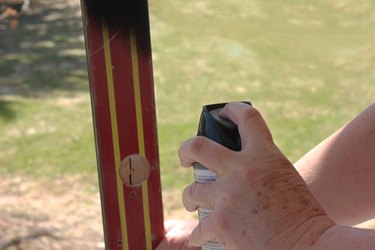
Paint the top of the ski with thin, light coats to avoid drips. Let the paint dry for at least 30 minutes in between each coat. Be sure to paint outdoors or in a well-ventilated area. After you apply the final coat of paint, let the ski dry completely.
Step 5: Decorate the Shot Ski
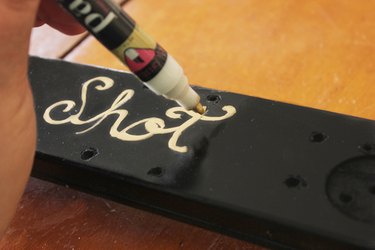
Using a paint pen, write a saying, quote, name or date, or draw a design in the space between the areas you drilled.
Step 6: Apply Hot Glue to the Ski
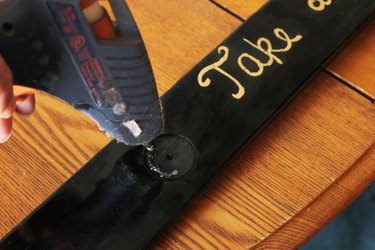
With your glue gun, squeeze hot glue around the perimeter of each of the four depressions.
Step 7: Attach the Shot Glasses
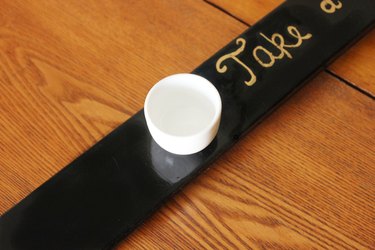
Working quickly before the glue dries, set the shot glasses in the depressions, one at a time, and press down firmly. Allow the glue to dry and cool for 10 minutes.
To Use the Shot Ski: Pour a Drink
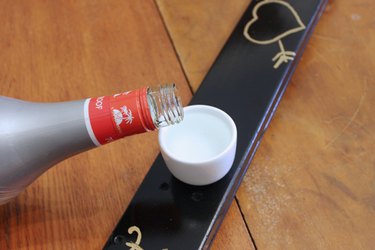
With the base of the ski resting on a flat surface, pour a drink into each shot glass.
Raise the Shot Ski in Unison

Have four people line up behind the shot ski, one person behind each shot glass. At the same time, they should all raise the ski, tip it and take a shot in unison.
Tips and Warnings
- Wear eye protection while drilling the ski.
- Clean the shot glasses in between each use by wiping them with a soapy washcloth or wet wipe and dry them with a clean cloth or paper towel.
- Hot glue burns, so use caution when using a hot-glue device.