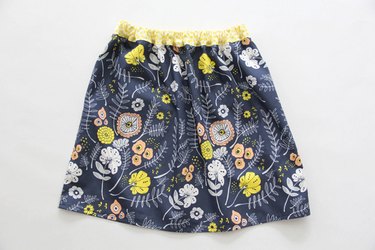
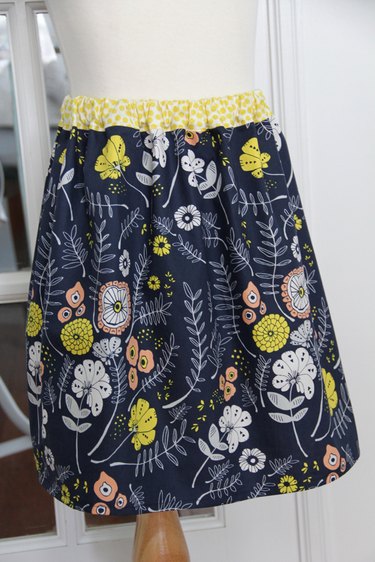
Sometimes, you simply need to replace an old waistband in order to have the perfect skirt fit. Sewing an elastic waistband is easy to do, and will leave you with a cute, comfortable, long-lasting skirt. With just a little bit of fabric, elastic, and basic sewing skills, you can put an elastic waistband on any gathered skirt. All you need is about 30 minutes for this easy sewing DIY.
Video of the Day
Things You'll Need
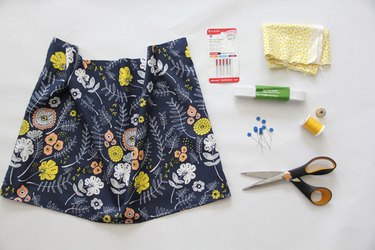
Skirt bottom
1/8 yard of fabric
Universal regular point sewing needle
1 yd 1" elastic
Coordinating thread
Scissors / rotary cutter
Pins
Sewing machine
Tip
This tutorial is for sewing an elastic waistband on a basic woven gathered skirt. For a fitted skirt with tapered top, please use a waistband tutorial that includes a zipper.
Step 1: Cut Out the Waistband Fabric
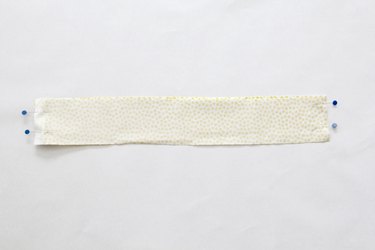
Measure the top of the skirt's width, and cut two waistband pieces the same width as the skirt adding 1 inch for seam allowance to the sides. The length of the fabric waistband should be 3 1/2 inches.
Video of the Day

Step 2: Sew Front and Back Waistband Together
Place the two waistband pattern pieces right sides together, pin and sew the side seams using a 1/2-inch seam allowance. Press side seams open.
Step 3: Press the Waistband
Fold the waistband in half, wrong sides together, matching up the bottom raw edges. Press, creating a center folded seam along the top edge.
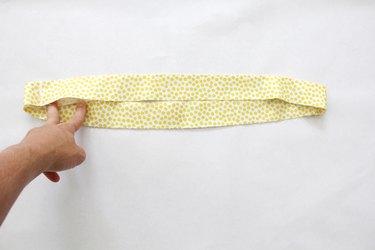
Unfold the pressed waistband. Fold the top edge of the waistband 1/4 inch toward the wrong side of the fabric, and press.
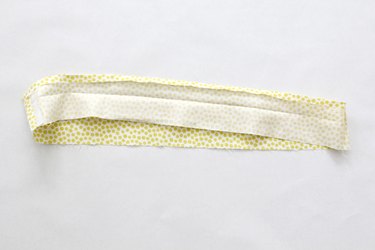
Step 4: Sew Waistband to Skirt
Slip the unfolded waistband around the top edge of the skirt, right sides together, matching up the raw, unpressed edge and side seams. Pin around and sew, using a straight stitch and 1/2-inch seam allowance. Press seam up when done.

Step 5: Create Casing for Elastic
Fold the waistband toward the inside of the skirt. The middle pressed seam will now be the top of the skirt waistband, and the folded bottom edge will be on the inside of the skirt enclosing the raw sewn waistband edge. Pin the waistband in place around the bottom edge. Sew around, leaving a 2-inch opening for inserting the elastic.

Step 6: Measure and Cut Elastic
Measure your waist circumference, and subtract 2 inches from that measurement. Cut the elastic length to this size.
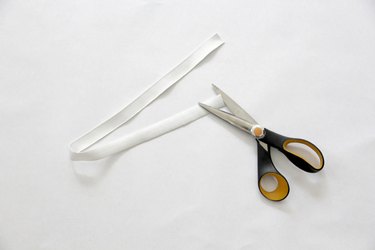
Step 7: Insert the Elastic
Place a safety pin on one edge of the elastic. Insert elastic into the opening of the waistband casing, and slip elastic through the waistband, making sure not to twist the elastic as you pull it through.

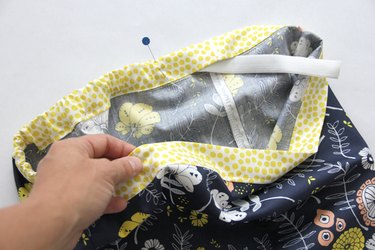
While pulling the elastic through, make sure the other end of the elastic does not get pulled into the casing. To do this, pin the other side of the elastic to the opening in the waistband. Continue weaving the safety pinned side of the elastic all the way through.
Step 8: Sew Elastic Ends Together
Once the elastic is all the way through, remove the pin holding the elastic in place. Making sure the elastic is not twisted anywhere in the casing, overlap the ends of the elastic by a 1/2 inch and pin together. Sew around the overlapped elastic using a straight stitch or zigzag stitch to secure.

Step 9: Finish Sewing Waistband Closed
Pull the elastic into the waistband fully, and pin the waistband opening closed. Sew the opening closed, using a straight stitch.
Step 10: Follow this Simple Trick to Keep an Elastic Waistband from Twisting
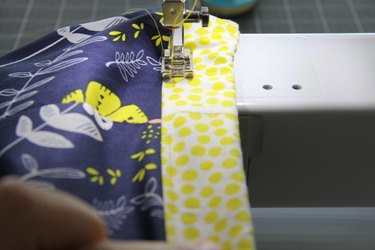
To keep the elastic waistband from twisting later on, I like to do this simple trick. First, stretch the elastic waistband making sure the skirts gathers are even all around. Once the skirt is even, sew a nice straight line down the side seam of the waistband, being careful to sew directly over the seam, on both sides of the skirt. Press skirt when finished and enjoy!
