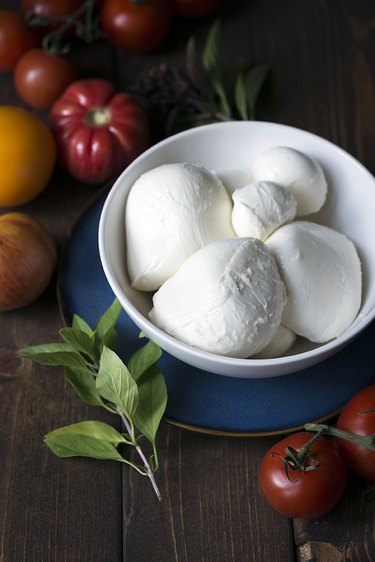
There's a bit of an art to making homemade mozzarella; it's definitely a labor of love. There are numerous steps involved, and sometimes it takes a few attempts to get it right. If you love cheese, homemade mozzarella that you have stretched and shaped yourself is something quite special. It has a fresh, milky taste that is unbeatable.

Video of the Day
Things You'll Need
1 1/2 teaspoons citric acid
1/2 cup cold, filtered water, divided
1 gallon pasteurized whole milk (not ultra-pasteurized or UHT, see Step 1)
1/4 teaspoon liquid animal rennet
1 teaspoon kosher salt
6-quart Dutch oven or stockpot
Thermometer
Large knife or offset spatula
Slotted spoon
Colander
Microwavable bowl
Optional: rubber kitchen gloves
Step 1: Gather Your Ingredients and Tools
Citric acid and rennet can be purchased in many craft and gourmet shops, but the easiest (and often cheapest) place to find them is online. Citric acid helps to coagulate and acidify the milk, and rennet helps set the milk and form curds. Animal rennet, which can be found in both liquid and tablet form, tends to offer more consistent results. However, vegetable rennet is also available to those who avoid using animal products.
Video of the Day
Warning
You always want to use the freshest milk possible for the best tasting cheese. However, the recipe will not work if the milk has been ultra-pasteurized or ultra-heat-treated (UHT). Unfortunately, most organic milks are ultra-pasteurized, so be sure to check the labels. Even more importantly, check the sell-by date. Dairies are not legally required to label their products as ultra-pasteurized or UHT. Be suspicious of anything with a sell-by date past 2 weeks. There are also online resources for seeking out good milk.
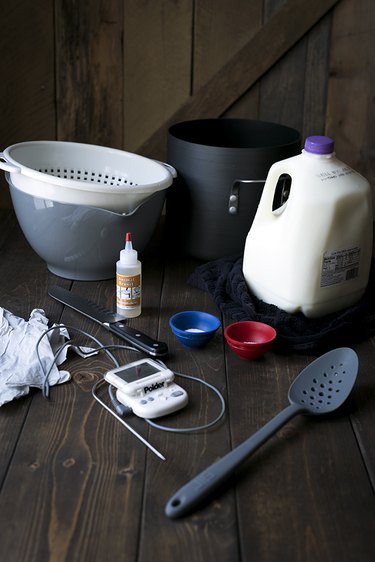
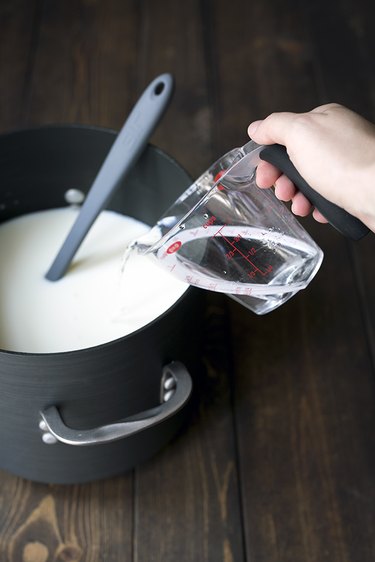
Step 2: Add Citric Acid and Rennet to the Milk
Dissolve the citric acid in 1/4 cup water, stirring to combine. Place the Dutch oven on the stovetop and pour in the milk, then add the citric acid solution and stir thoroughly for approximately 45 seconds. Turn the heat to medium, and heat to 90 degrees Fahrenheit, stirring frequently. Remove from the heat. Stir the rennet into the remaining 1/4 cup water and stir into the milk for 30 seconds. Cover the pot and allow it to sit for 10 minutes, undisturbed.
Tip
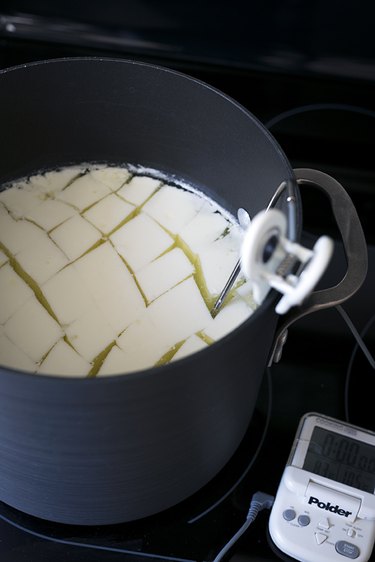
Any thermometer will work, but a meat thermometer with an alarm is an excellent option for cheesemaking. It can easily clip to the side of the pot, and will notify you when the proper temperatures have been reached.
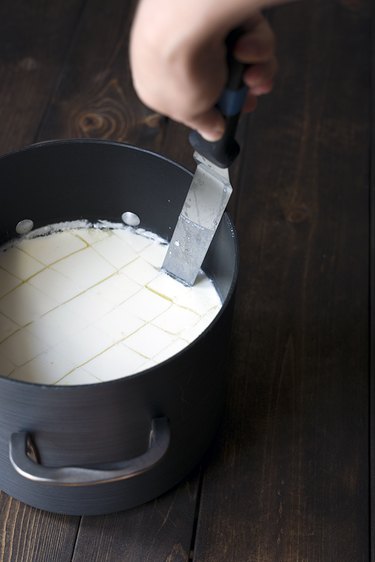
Step 3: Separate the Curds
Remove the lid. Gently press against the curd on the side of the pot to see if it has properly solidified into a delicate custard. The whey should be clear, and the curd should feel similar to silken tofu. If necessary, cover the pot and let it sit for another 5 minutes. Once it's ready, use a long knife or offset spatula to slice the curds into a 1-inch grid, reaching down to the bottom of the pot. Gently twist the pot back and forth to release the curds from the sides and let it sit for another 3 minutes.
Step 4: Cook the Curds
Return the pot to the heat. Over very low heat, slowly bring the whey to 105-107 degrees F, gently twisting the pan periodically to help the heated liquid distribute evenly around the curds. This process will take anywhere from 15 to 25 minutes. Once the proper temperature is reached, remove the pot from the heat, and allow it to rest for 3 minutes.
Step 5: Strain the Whey
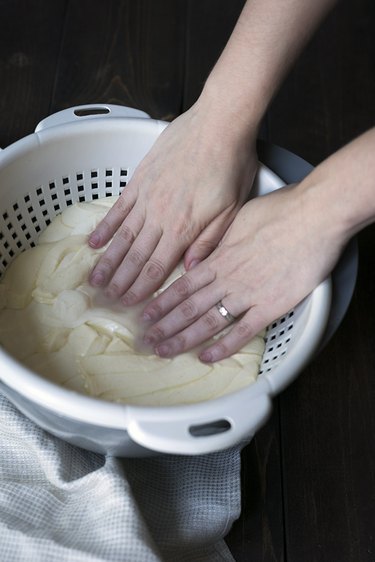
Place a colander over a large bowl. Using a slotted spoon, slowly and gently transfer the curds to the colander. With clean hands, alternate between gently pressing down to help release the whey and swirling the colander to drain it. Don't rush this step.
Step 6: Microwave the Curd
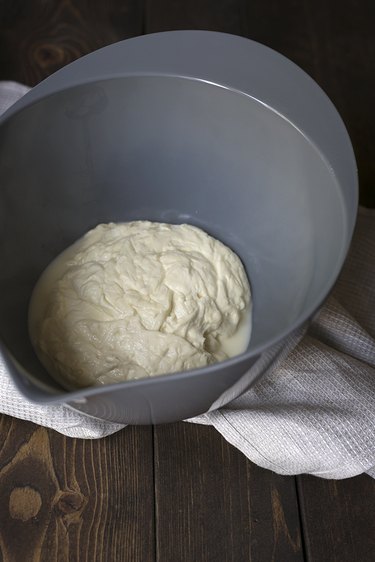
Place the curd into a heat-resistant bowl and microwave for 1 minute. Drain off any excess whey. If your hands are sensitive to heat, this is where you can put on rubber gloves to help with the next steps.
Step 7: Knead and Microwave
Gently fold and knead the hot cheese as you would bread. Place back in the bowl and microwave two more times for 35 seconds, draining the whey each time and kneading. Using a thermometer, check the temperature. You want the cheese at 135 degrees F.
Step 8: Add Salt and Stretch
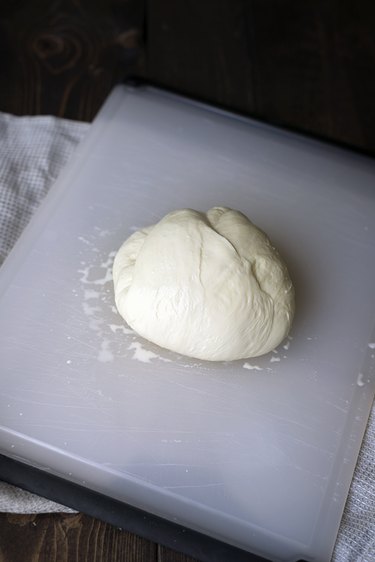
If necessary, microwave again briefly to get the cheese to 135 degrees Fahrenheit. Once it's ready, fold in the salt and begin pulling and stretching the cheese until it's smooth and shiny.
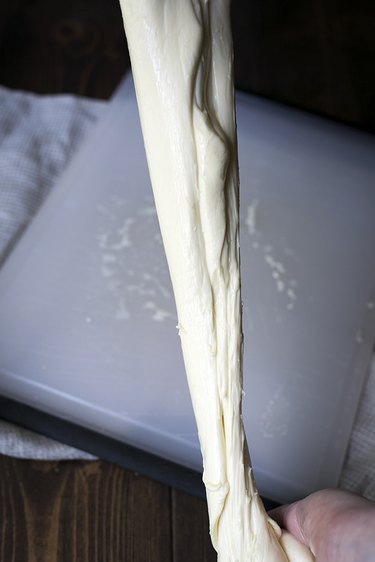
Step 9: Shape the Mozzarella
Shape the cheese into one large ball or multiple smaller balls. Serve immediately or store in the refrigerator for up to one week. Store the mozzarella in an airtight container filled with a mixture of whey and salt (1 teaspoon salt for every 1 cup whey).
