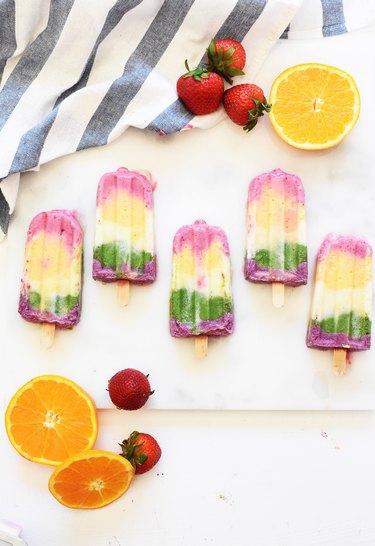
Spring is a time when the world is blooming in a rainbow of colors, so why not make a healthy dessert to match it? These easy, fruity rainbow yogurt ice pops are the perfect treat to make for an afternoon snack. Kids and adults with both love them! Learn how to make these swirly rainbow yogurt ice pops in five simple steps.
Video of the Day
Watch the video tutorial
Things You'll Need
2 1/2 cups plain Greek yogurt
1 cup milk
1/4 cup frozen strawberries
1/4 cup frozen raspberries
1/4 cup frozen oranges
1/4 frozen mangos
1/2 cup frozen pineapple
1/2 cup frozen spinach
2 1/2 cups frozen bananas
Step 1: Arrange fruits and veggies
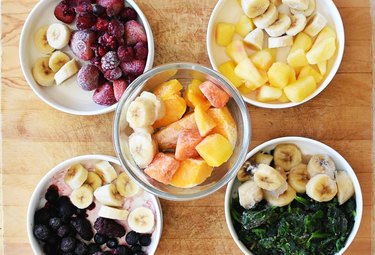
Arrange frozen fruits and veggies in separate bowls by color.
Tip
Cut up ripe bananas in thin slices the night before, and let them freeze on a parchment-lined cutting board overnight. Store excess bananas in a ziploc bag for future smoothies.
Step 2: Blend together layers by color
For the red layer, add 1/2 cup Greek yogurt, 2-3 tablespoons milk, strawberries, raspberries, and 1/2 cup bananas to a blender. Blend on high for 30 seconds until well mixed. Pour in a separate bowl.
For the orange layer, add 1/2 cup Greek yogurt, 2-3 tablespoons milk, oranges, mangos, and 1/2 cup bananas to a blender. Blend on high for 30 seconds until well mixed. Pour in a separate bowl.
For the yellow layer, add 1/2 cup Greek yogurt, 2-3 tablespoons milk, pineapple, and 1/2 cup bananas to a blender. Blend on high for 30 seconds until well mixed. Pour in a separate bowl.
For the green layer, add 1/2 cup Greek yogurt, 2-3 tablespoons milk, spinach, and 1/2 cup bananas to a blender. Blend on high for 30 seconds until well mixed. Pour in a separate bowl.
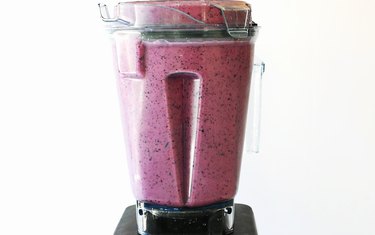
For the purple layer, add 1/2 cup Greek yogurt, 2-3 tablespoons milk, blueberries, blackberries, and 1/2 cup bananas to a blender. Blend on high for 30 seconds until well mixed. Pour in a separate bowl.
Step 3: Pour rainbow ice pop layers
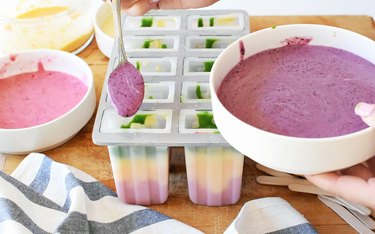
Spoon 1-2 tablespoons of each color layer into your ice pop mold, starting with red. Repeat this step with orange, yellow, green and purple until the molds are full. Colors will slightly blend together to give the ice pops a swirly, tie-dye appearance.
Step 4: Insert wooden sticks and freeze
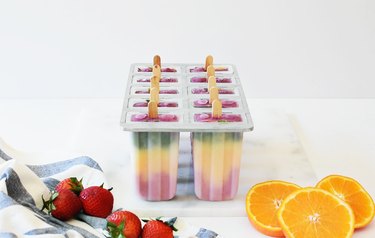
Place lid on top of the mold, and insert wooden sticks. Freeze for 3-4 hours until solid.
Step 5: Serve and enjoy!
When ice pops are firm and ready to be removed, run the bottom of the mold under warm water for about 20–30 seconds. Gently grip the handles and pull upward to get a clean ice pop. Serve immediately and enjoy!
