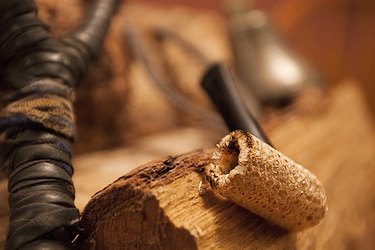
Smoking from a corn cob pipe is an old-timey custom that is firmly interwoven in the fabric of Americana, serving as a classic example of the ingenuity and resourcefulness passed down from a bygone era. Make your own corn cob pipe and enjoy the nostalgia of sitting on your porch, pipe in hand, puffing away at a centuries-old American pastime.
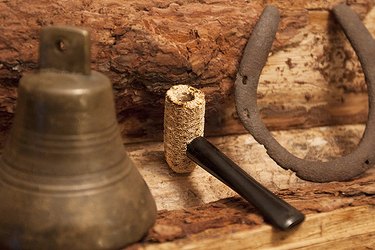
Video of the Day
Even if you're not a tobacco lover, a corn cob pipe makes a fun accessory for snowmen in winter!
Video of the Day
Things You'll Need
Ear of corn
Sandpaper, 60 grit
Pocket knife
Drill
Drill bits, 5/16-inch and 5/32-inch
Plastic pipe stem
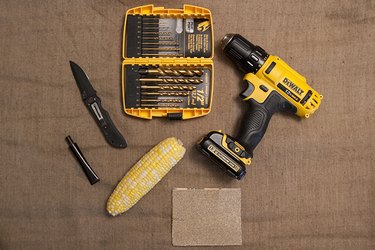
Step 1: Prepare the Corn
Select the widest ear of corn available. The corn will shrink dramatically during the drying process. Cook the corn to your preference and eat the corn kernels, leaving the bare corn cob. By hand, snap the cob roughly in half. The wider base of the cob, not the pointy tip, will be used for the pipe.
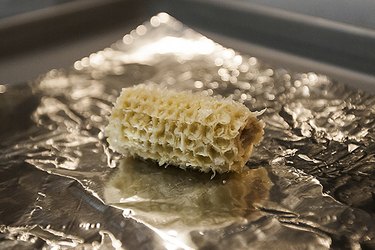
Step 2: Dry the Cob
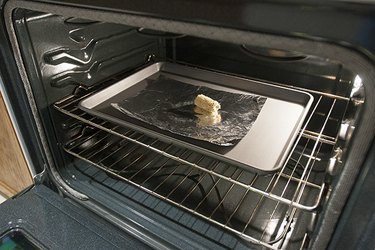
Preheat the oven to 200° Fahrenheit. Line a cookie sheet with a layer of aluminum foil and place the cob in the middle of the sheet. The aluminum foil will prevent the cob from sticking to the cookie sheet. Bake the cob in the oven for seven hours, rotating it every hour to ensure even baking.
Tip
- Baking time will vary depending on the size and moisture content of your corn cob. If the center of the corn cob still feels soft and malleable when you take it out of the oven, place it back in the oven, checking it every 20 minutes. When the cob is completely dried out, it will feel hard and brittle.
- Do not try to speed up the drying process by increasing the oven temperature. Increasing the temperature will burn the outside of the cob and leave the center too moist to turn into a pipe.
Step 3: Sand the Cob
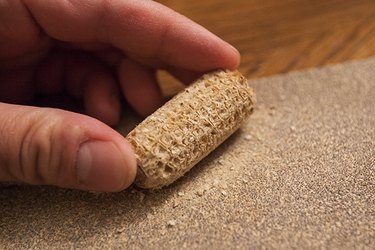
Once the cob has cooled, gently sand the exterior to create a smooth surface. Sand the top and bottom of the cob to ensure the surface is smooth and level.
Step 4: Hollow Out a Bowl
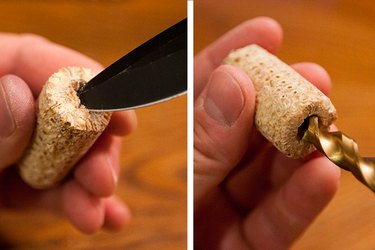
Use the pocket knife to carve a pilot hole in the top center of the cob for the drill bit. The pilot hole will help prevent the drill bit from slipping. Secure the 5/16-inch drill bit in place and holding the cob in one hand, carefully drill into the pith. Drill approximately halfway down the middle of the cob. Remove the drill bit and secure the 5/32-inch drill bit. Drill a second, smaller hole deeper into the pith, stopping about three-quarters of the way down the center of the cob. The second hole will create a draw tube, allowing smoke to enter the stem while preventing tobacco leaves and residue from being inhaled.
Warning
- Use caution when carving the pilot hole with the pocket knife.
- Wear eye protection when operating the drill.
Tip
If you are not comfortable holding the corn cob while drilling, place the corn cob in a vise instead.
Step 5: Drill a Hole for the Stem
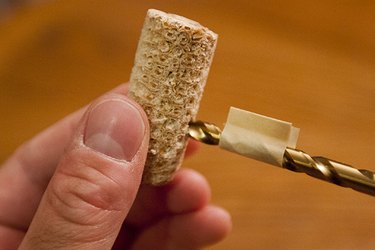
Use the pocket knife to carve out a small pilot hole on the side of the corn cob, roughly two-thirds of the way down the length of the cob. Attach the 5/32-inch drill bit to the drill and slowly drill toward the center of the corn cob, stopping when you feel the drill bit hit the draw tube. Do not drill entirely through the cob.
Tip
- The drill bit size needed for the stem hole may vary depending on which size pipe stem you use. Measure the width of your pipe stem and use a drill bit equal to the width of the stem.
Mark the drill bit with masking tape to act as a stop from drilling too far into the cob.
Step 6: Add the Stem
Insert the stem into the hole you drilled on the side of the corn cob. Breathe in through the stem to make sure it has reached the draw tube and air is able to pass through the stem.
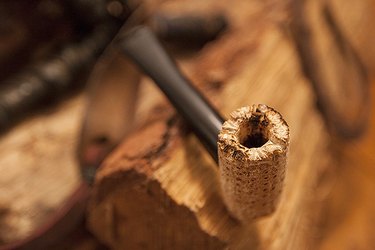
Step 7: Use the Corn Cob Pipe
Fill the bowl of the pipe with your favorite smoking tobacco and enjoy the calming, savory experience that only a handcrafted corn cob pipe can provide.
