Things You'll Need
Cotton shirt
Transfer paper
Ink-Jet printer
Scissors
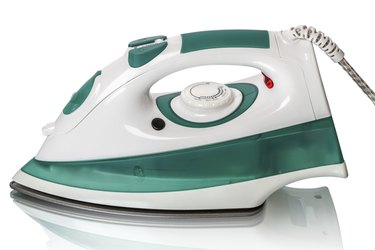
Iron

A customized shirt with a picture printed on it makes a very unique statement. The shirt can be completely personalized, showing a picture of your family, your pet or even your favorite television star. Best of all, you can create the shirt in the comfort of your own home. Although the picture cannot be printed directly on the shirt, it can be added using iron-on transfer paper. These shirts make excellent gifts, party favors or group shirts for events.
Step 1
Choose a picture to print on the shirt. Use photo-editing software to create a mirror image of the picture since it is going to be flipped in the transfer process. Print a color preview of the photograph on regular paper to be sure it prints correctly. Make necessary adjustments within the photo-editing software for any photographs that are not printing correctly so you don't waste your transfer paper.
Video of the Day
Step 2
Print the photograph using iron-on transfer paper specifically created for ironing on fabrics. Make sure the ink is dry before you start handling the transfer sheet.
Step 3
Cut out your design, leaving a 1/4-inch boarder around the picture.
Step 4
Set your iron to the highest setting without steam. If your iron has a "cotton" setting, use that one. Allow it to pre-heat for about 10 minutes.
Step 5
Prepare a clean, hard, flat surface for the ironing process. An ironing board may be too soft. Protect the surface with a pillowcase or other piece of fabric. Iron the shirt before placing the transfer down on it.
Step 6
Line up the picture on your shirt exactly where you want it printed, transfer side down.
Step 7
Press the iron down on the transfer at a 90-degree angle without wiggling it. Iron the back of the transfer by holding the iron down firmly for 15 to 20 seconds while moving it around the transfer area. Apply pressure evenly until the whole transfer area has been pressed.
Step 8
Gently rub the back of the transfer with a clean cloth for about 10 seconds.
Step 9
Remove the paper backing very carefully starting with the corners until the entire sheet is removed.
Tip
Text can be added to the picture in photo-editing software to create different kinds of shirts.
Pre-washing the shirt eliminates the possibility of subsequent shrinkage that could stress the picture you've transferred.
If the image looks yellow after the transfer, your heat setting on the iron was likely too high.
Video of the Day